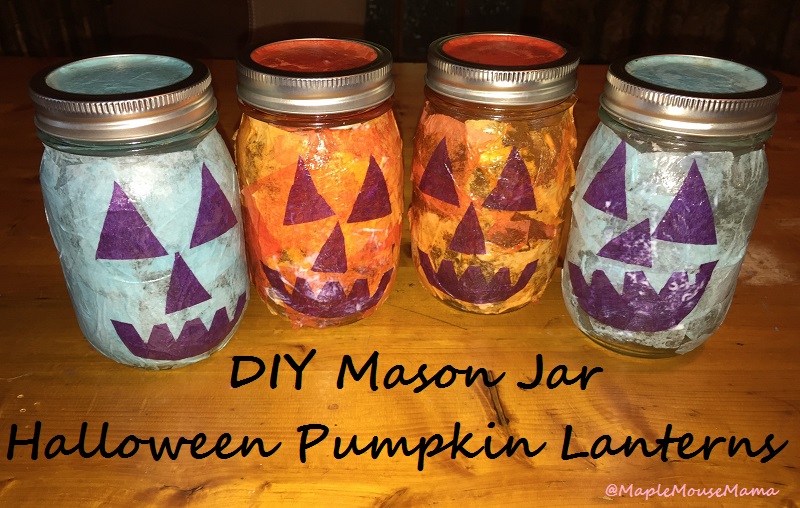
Not being a very crafty person I am always on the look out for easy things to make with the kids. Even if I don’t love doing a ton of crafts, I still enjoy the time it gives me with the kiddos and that is worth getting glitter glued to death. 
You Will Need:
- Mason Jars, whatever size you like
- Orange tissue paper ( we used two shades of orange)
- Purple or black tissue paper
- Teal or greeny-blue tissue paper (we used this to make our #TealPumpkinProject lanterns)
- Mod Podge
- Sponge brushes
- Tin foil bowl
- Paper or plastic cloth to protect your work surface
- Ribbon in matching colours (optional)
I know a concern when doing crafts is the cost. A while back I knew I wanted to do some things with Mason Jars so I waited until they went on sale at a local Michael’s then bought a box of twelve for about $6.00. The tissue paper is cheap at the dollar store as are the tin foil bowls and sponge brushes. The Mod Podge was about $5.00, but since you only use a little this bottle will go a long way. I estimated the cost of each DIY Mason Jar Halloween Pumpkin Lantern to be about $2.00, possibly less.
Before You Start:
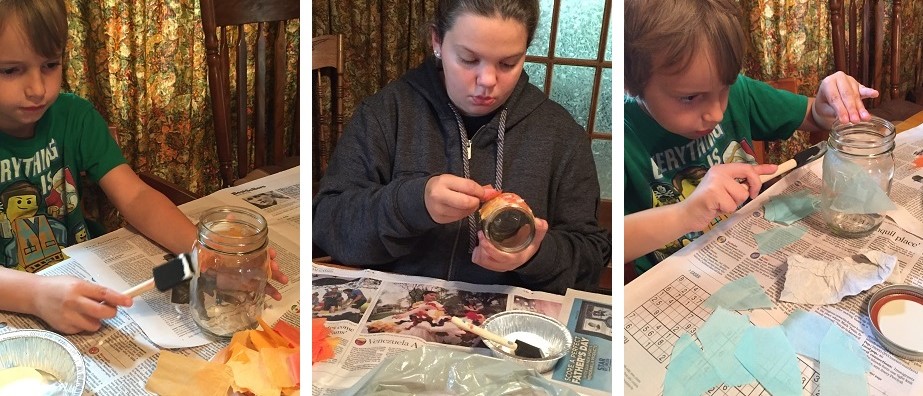
- Cut or rip up your orange (and teal) tissue paper in small pieces, about an inch square, but they do not have to be uniform.
- Cover your work surface with paper.
- Pour about a tablespoon of Mod Podge in the tin foil bowl. I threw these out after because the Mod Podge gets very sticky.
- Make sure your Mason Jar is clean and you remove the lid before starting.
Steps To Take:
- Begin by “painting” a small section of the outside of the Mason Jar. Dip your sponge brush in the Mod Podge and “paint” a light coat on the jar.
- Place a square of the ripped up tissue on the Mod Podge and then use your sponge to brush another coat of Mod Podge over the tissue to seal it to the jar. Then place another square of tissue on the jar and cover with Mod Podge.
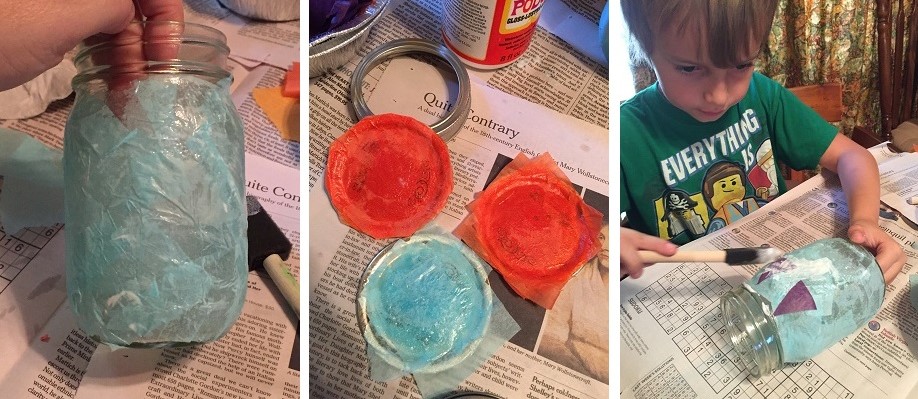
- You repeat this process until your jar is completely covered with one layer of tissue. The main thing to remember is to place the tissue on top of Mod Podge and then cover the tissue with Mod Podge. You can do as many layers of tissue paper as you like. We did two layers, but in several spots there may be just the one layer. This will allow the light to come through and refract in several ways. We also let the jars dry a bit between layers, but you may not find that is necessary as the Mod Podge dries fast.
- Next, you can cover the lid of the Mason Jar using the same process, but this is optional. You could leave them untouched, or put something else on top if you like. Once the Mod Podge dried I trimmed the edges to the size of the lid.
- The next step was to make the face of our pumpkin. I could not find black tissue paper so we used dark purple. I cut out the eyes, nose and mouths and using just one layer we Mod Podged these on. You could put more layers if you want the features to be darker.
- The last step was to add the ribbon to the rim of the lids and I again used the Mod Podge for this.
The whole process took about an hour or so and we had fun while doing it. It makes a bit of a mess so you may want to have some wet paper towel on hand. The jars were quick to dry, which is another great reason to make them!
The neat thing about this project is that you can use it for different things. We have little battery operated tea lights to put inside the jars so they can be displayed outside. Another option is to fill them with Halloween candy and give the jars as gifts if you have a party. Perhaps even create a cool centerpiece for your table! The kids and I enjoyed this so much we plan to do some more for Christmas!
Have fun with this one folks and Happy Halloween!
FT&PD
Suz


These are so cute! I’ll have to tell my friends with kids about this one
these are cute and even younger children can make these.
awesome craft to do with my Grandson thanks for sharing , he would really enjoy doing this super cute idea !
I might just be able to make a couple in time for tomorrow!
This is such a neat project!! I’d love to try it with snowmen for Christmas!!
I love DIYs …thanks for sharing this! it looks like all these things can be found at the dollar store … even better!
these ar so cool I cant wait till next year to try them with my kids thanks for the great idea
Great, have fun with it!
As a kid I used to LOVE LOVE making tissue paper podgy on jars and bottles to make “vases” – love this pumpkin idea. Awesome!
This is such a neat project!
We are going to do these with the grandkids this year,should be fun !