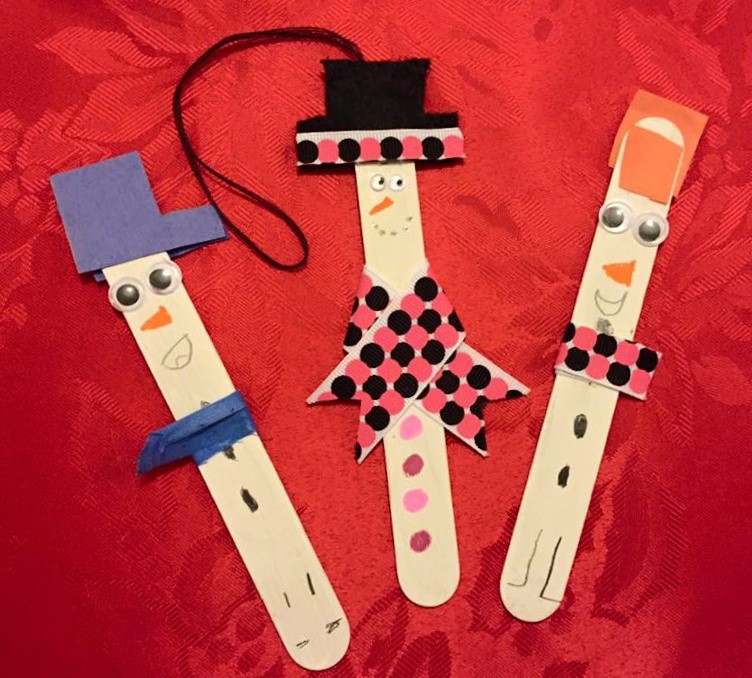
This year I wanted to try something simple for a seasonal craft. Something that could be whipped up in a short time frame, but be fun for the kids and I to do together. This Snowman Craft totally fits the bill and has so many great uses to boot! You can make them into ornaments to hang on your tree, stick them in Styrofoam to create a winter scene for display or use them as name tags for gift-giving. 🙂
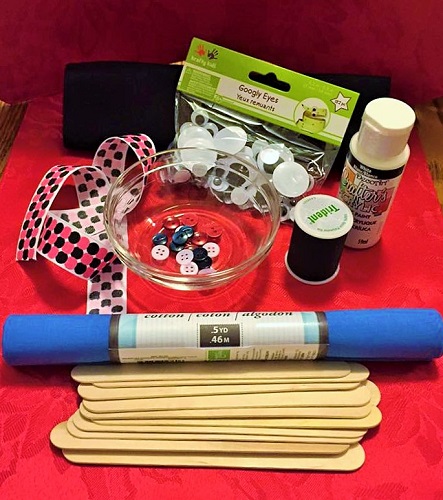
You Will Need:
- wooden tongue depressors
- white paint
- googly eyes
- ribbon
- black felt
- buttons
- string or thread
- markers
- glue gun and/or white glue stick
You can add to your supplies if you like by using old fabric you have at home or little stick on gems. The options are only limited to your imagination. 🙂
Directions:
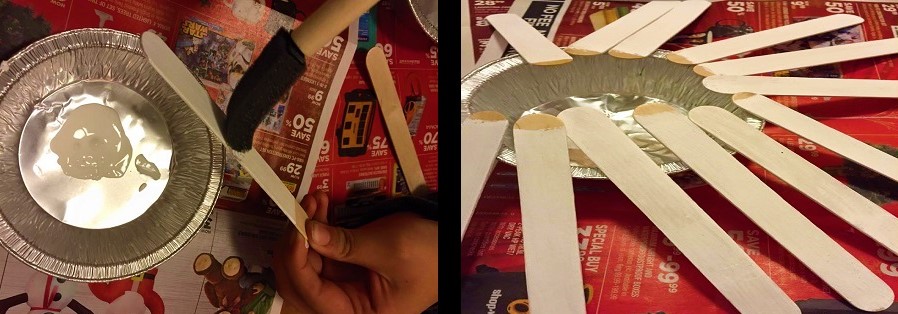
First you will want to prep your work area with newspaper or a plastic art cloth because you are working with paint. We had a rather large bag of tongue depressors to work with, courtesy of buying from the dollar store, but as I mentioned there are many uses for these things and I can see some adorning our gifts this year.
Next we painted the tongue depressors. A whole bunch! We painted both front and back and all around the edges. I suggested to the kids to leave a small spot unpainted right at the top so they could hold the stick without getting paint on themselves. One child did this and the other opted to paint the whole thing! To dry the sticks we just propped them up against the little tin foil bowls we had the paint in. They did not take very long to dry, which is important when you are working with young kids.
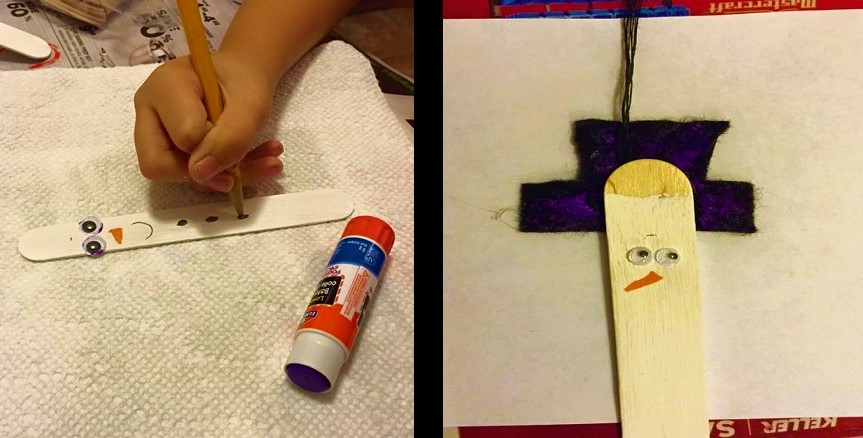
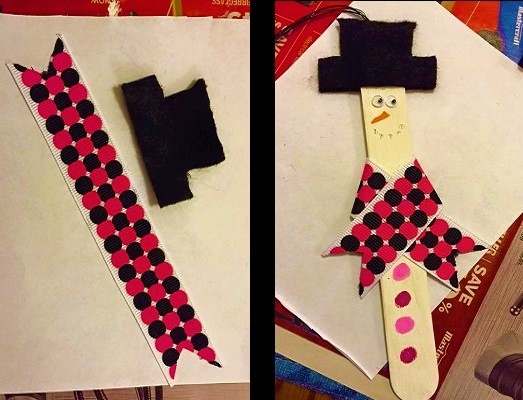
Now comes the fun part – dressing your snowman! I did not have a black marker handy at first so I drew the mouth on with a pencil, which works fine. An orange marker makes the nose and the googly eyes made, you guessed it, the eyes. We tried a couple of different sizes to mix it up a bit. 🙂 Before cutting the hat out of black felt I drew a template on a piece of paper and then traced it on the felt. You will want to cut two pieces to marry together. I made a traditional top hat, but my creative boy William decided to make a baseball cap worn sideways. I thought the end result was awesome! William also used construction paper for his hat. Just to note that before gluing on your hat you should cut your string to attach to the top. Make it long enough to hang from a tree and then glue it between the hat pieces.
For the body you can add buttons down the front using your glue gun. The hot glue was easier to work with, but a glue stick is better for the little kiddos. Once again William went rogue and made his buttons from the markers. 🙂 He was totally happy with the outcome and that is what it is all about.
Next step was a scarf because every snowman need ones, right? I used some ribbon, carefully measuring it and trimming the edges and even added a bit to the hat. I love how it looks, don’t you? The kids used some blue material to make a scarf and created two different looks. The combinations are endless for what looks you can achieve.
The final touch, which again came for the six year old, was to write on the back. This is where the idea to use some of our snowmen as name tags came about. William gave his snowman a name, but you could easily put a “To” and “From” on there and attach it to a gift. 🙂
Time wise this craft took about an hour and a half. You can definitely shorten the time by cutting up your pieces before hand, but I like doing the prep as we go along. The kids can cut things up and you can chat while you work.
What do you think of our Snowman Craft? A young child could easily do this with a parent’s help.
FT&PD
Suz
∗∗ Looking for some holiday gift giving ideas? Check out the #MMMGiftGuide! We have lots of giveaways as well. 🙂
This is such a cute and great idea. My 5 year old son would love it. He was actually creating something similar the other day with Popsicle sticks. I’ll be doing this with him on the weekend. Awesome idea, thanks 🙂
Thanks Maya, it was a lot of fun. The little ones can really get creative with them. 🙂
These are adorable. I bet Evan would like making these.
what a great idea for a craft project and really getting the kids involved. so easy and fun to do!
This is so easy even I can do it (I’m not crafter). This would be a lot of fun for my three year old. I think we will head to the store tomorrow and grab some supplies.
My 11 yr DD made one of these last year..i absolutely LOVE them. Think we’ll make them as a family this year. It’s so cute and easy!
These are so adorable! My kids are a bit older but we still love to work on relatively simple crafts. Keeps this mom from having a meltdown when things get too complicated and messy. Ha. 😉
This snowman craft is such a great idea. Easy enough for the very young
what a great idea for a fun project so easy and fun to do!
Very sweet – I love how simple crafts are often the most fun!!!
We used this craft for our New years day creative fun day and we had so much fun,thanks
These are adorable and I think kids would love making them, I especially like the one with the crossed over scarf, so sweet. 🙂
I work with preschoolers and we use to make Skinny Snowmen using rulers.
I gathered up a whole bunch of odds and ends to make these with the grandkids when they visit.
This would be such a fun craft for home or kindergarten. The children would love it and have something they could decorate gifts or the tree with. Thank you sharing.
Wonderful way to fill a snowy day. Also a greaty way to use up odds and ends from the holidays.