 A few short weeks ago both of my children celebrated their birthdays and we had a lovely family party. I had decided I was going to try my hand at creating a few fun treats for everyone, mostly the kids. Our party had a Show Your DisneySide Frozen theme and I had high hopes to incorporate some goodies I made to reflect this. Now the kitchen is definitely not my comfort zone and I take no responsibility for what may transpire while I am in one. I have made this disclaimer before, but it remains even more true after the Chocolate Dipped Oreo Cookie incident. You’ll see what I mean… I would like to share that the inspiration for attempting this feat came from my fellow blogger Little Miss Kate & Co and her Valentine’s Day Oreo Cake Pops. What resulted is in no way her fault though, I promise. 🙂
So let’s treat this as a recipe / chance to poke fun at Suzanne’s culinary talents / recipe post and let the chocolate chips fall where they may. First up we have the ingredients. They are really quite simple. One bag of Oreos, one bag of Hershey’s Chipits and some lollipop sticks. Other recipes suggest you use candy melts which are little wafer thin chocolates that come in a variety of colours. I went with the Chipits because every single candy melt I could find had a “may contain” warning on it. No good for those allergic to peanuts and tree nuts. I liked the idea of making the dipped Oreos a certain colour, but that was not mean to be. I purchased white chocolate Chipits as well as milk, but in the end we just used the milk chocolate.
 The first thing you want to do is put the lollipop stick in the cookie. In order to do this you will need to separate your cookies exposing the cream inside. Emily and I did this and I think for every cookie that stayed intact we broke two. I kid you not. Thank the heavens Wal-Mart had a sale that week because we went through two whole boxes of special Olympic Oreos to get about 25 dipped cookies. We tried various techniques like using a flat knife, but ultimately just slightly twisting with our hands yielded the least amount of broken cookies. But fear not, those broken cookies did come in handy later.
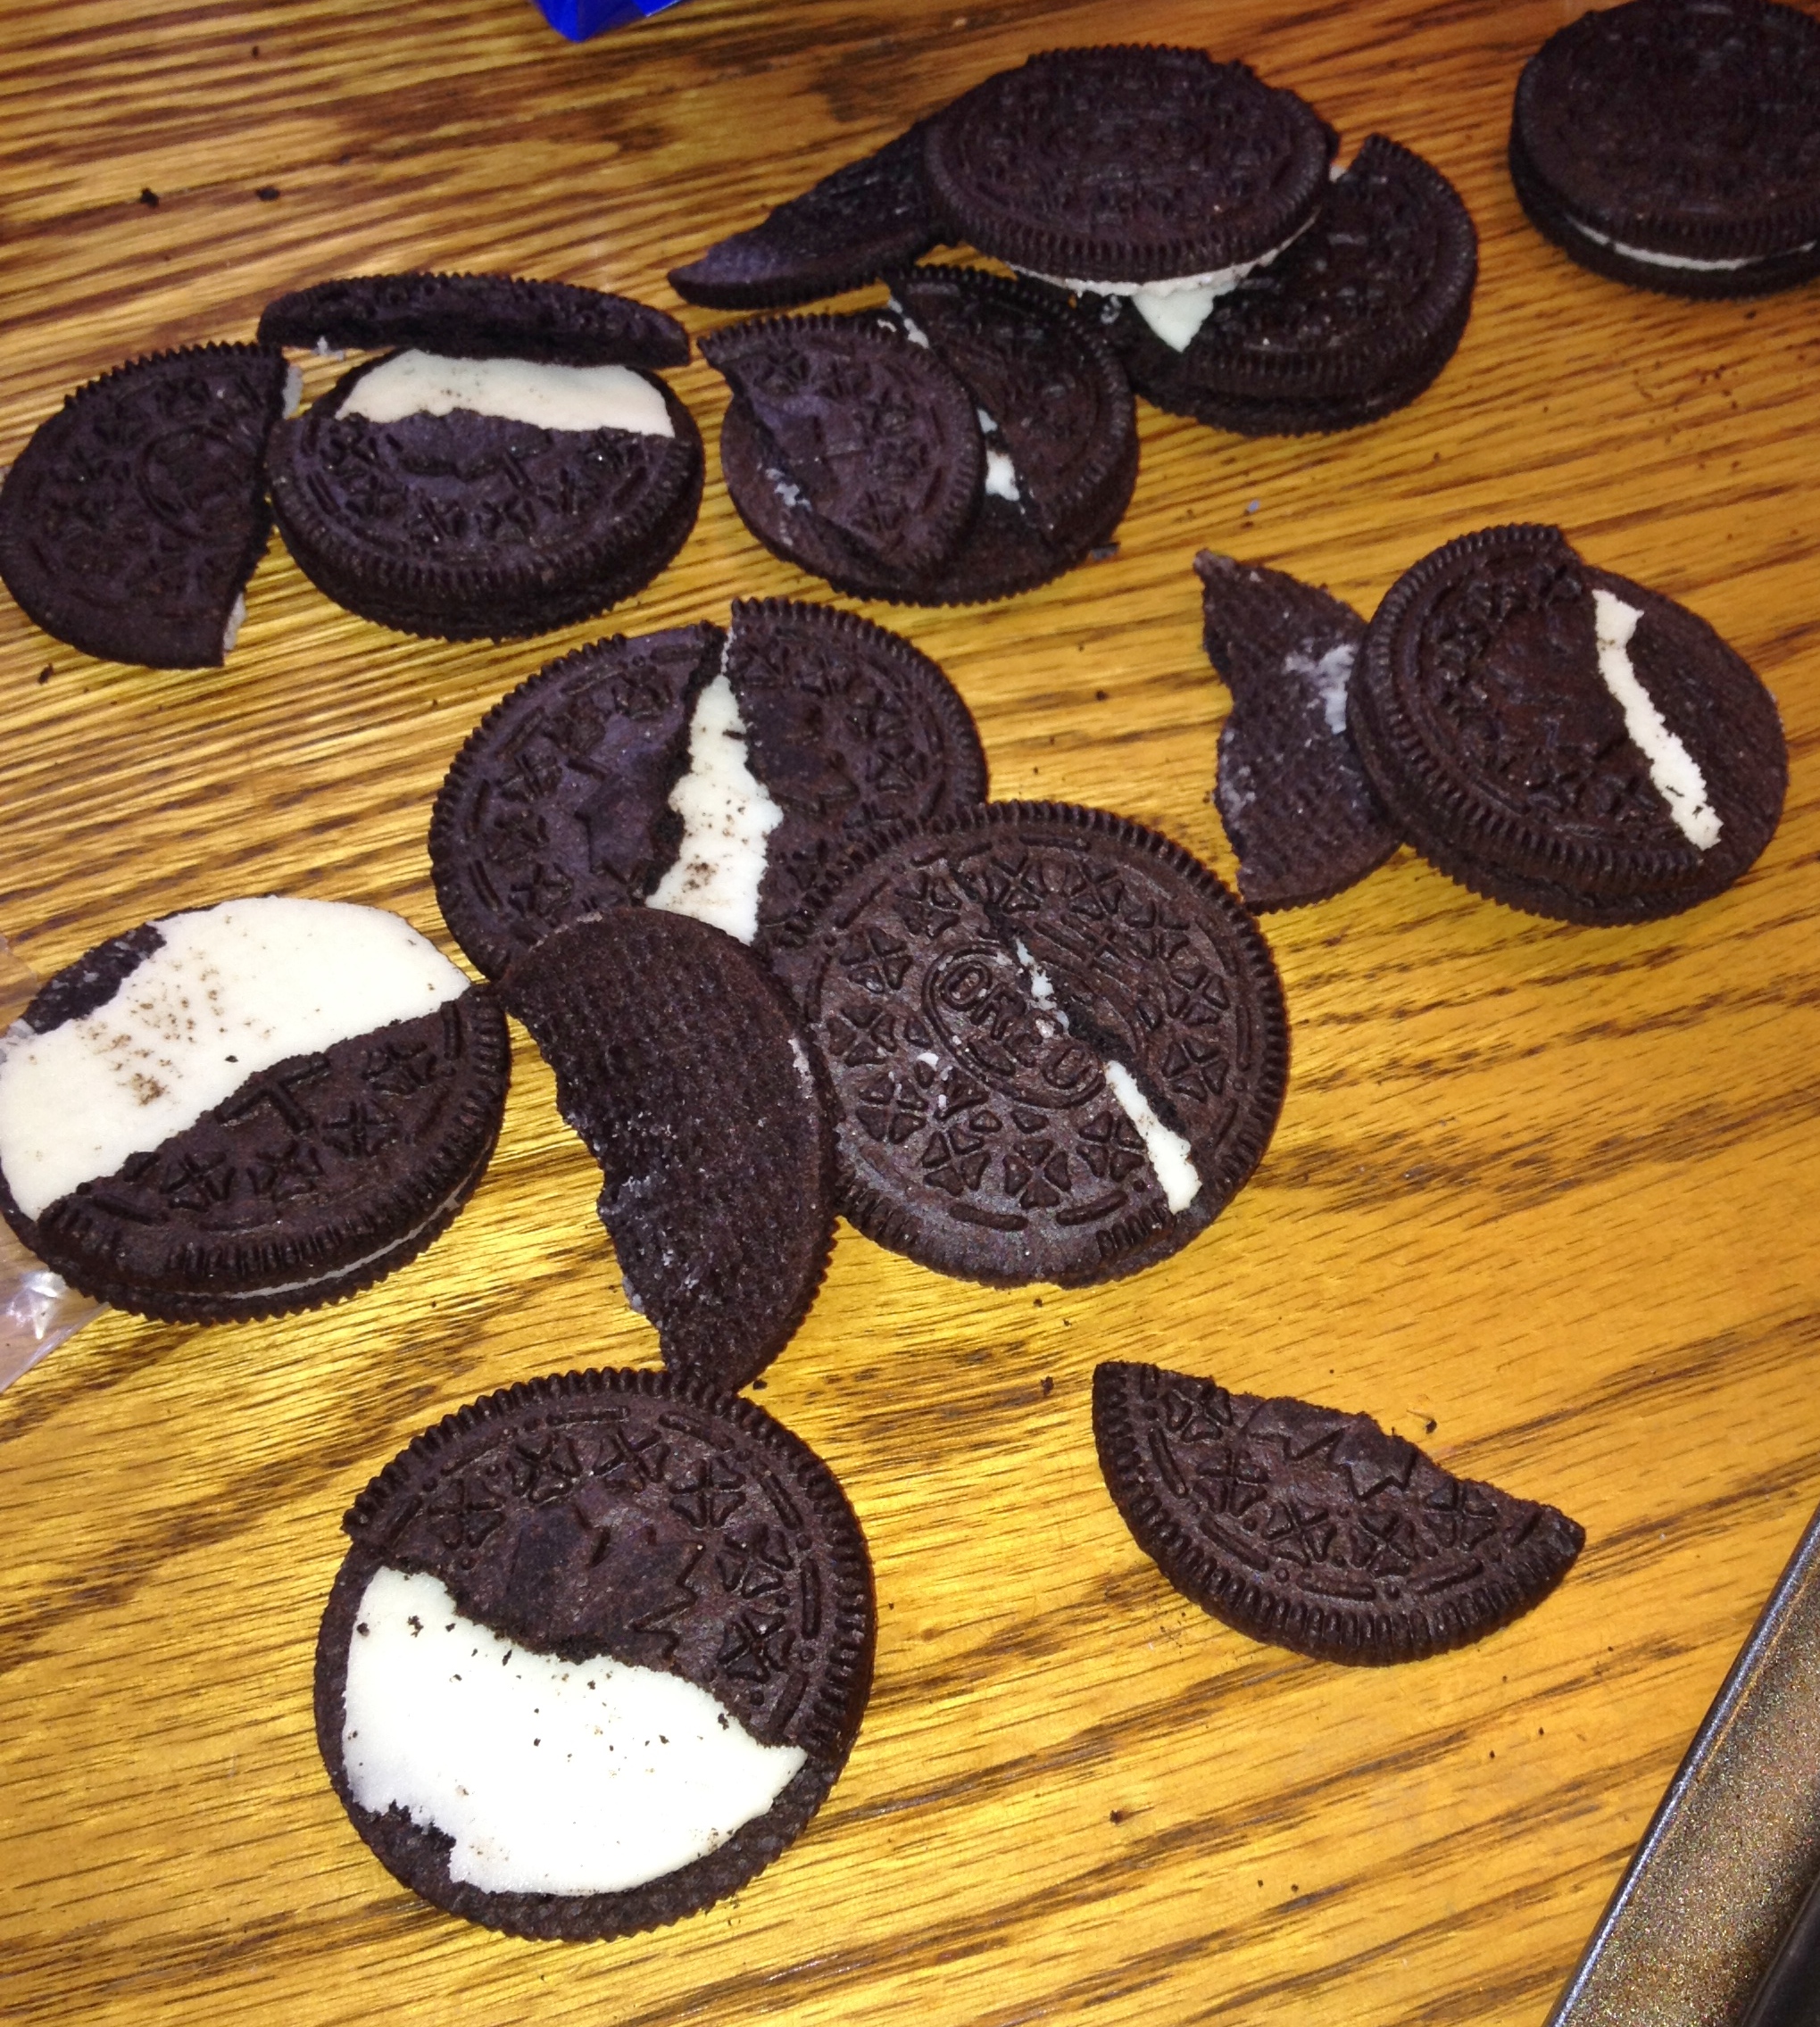
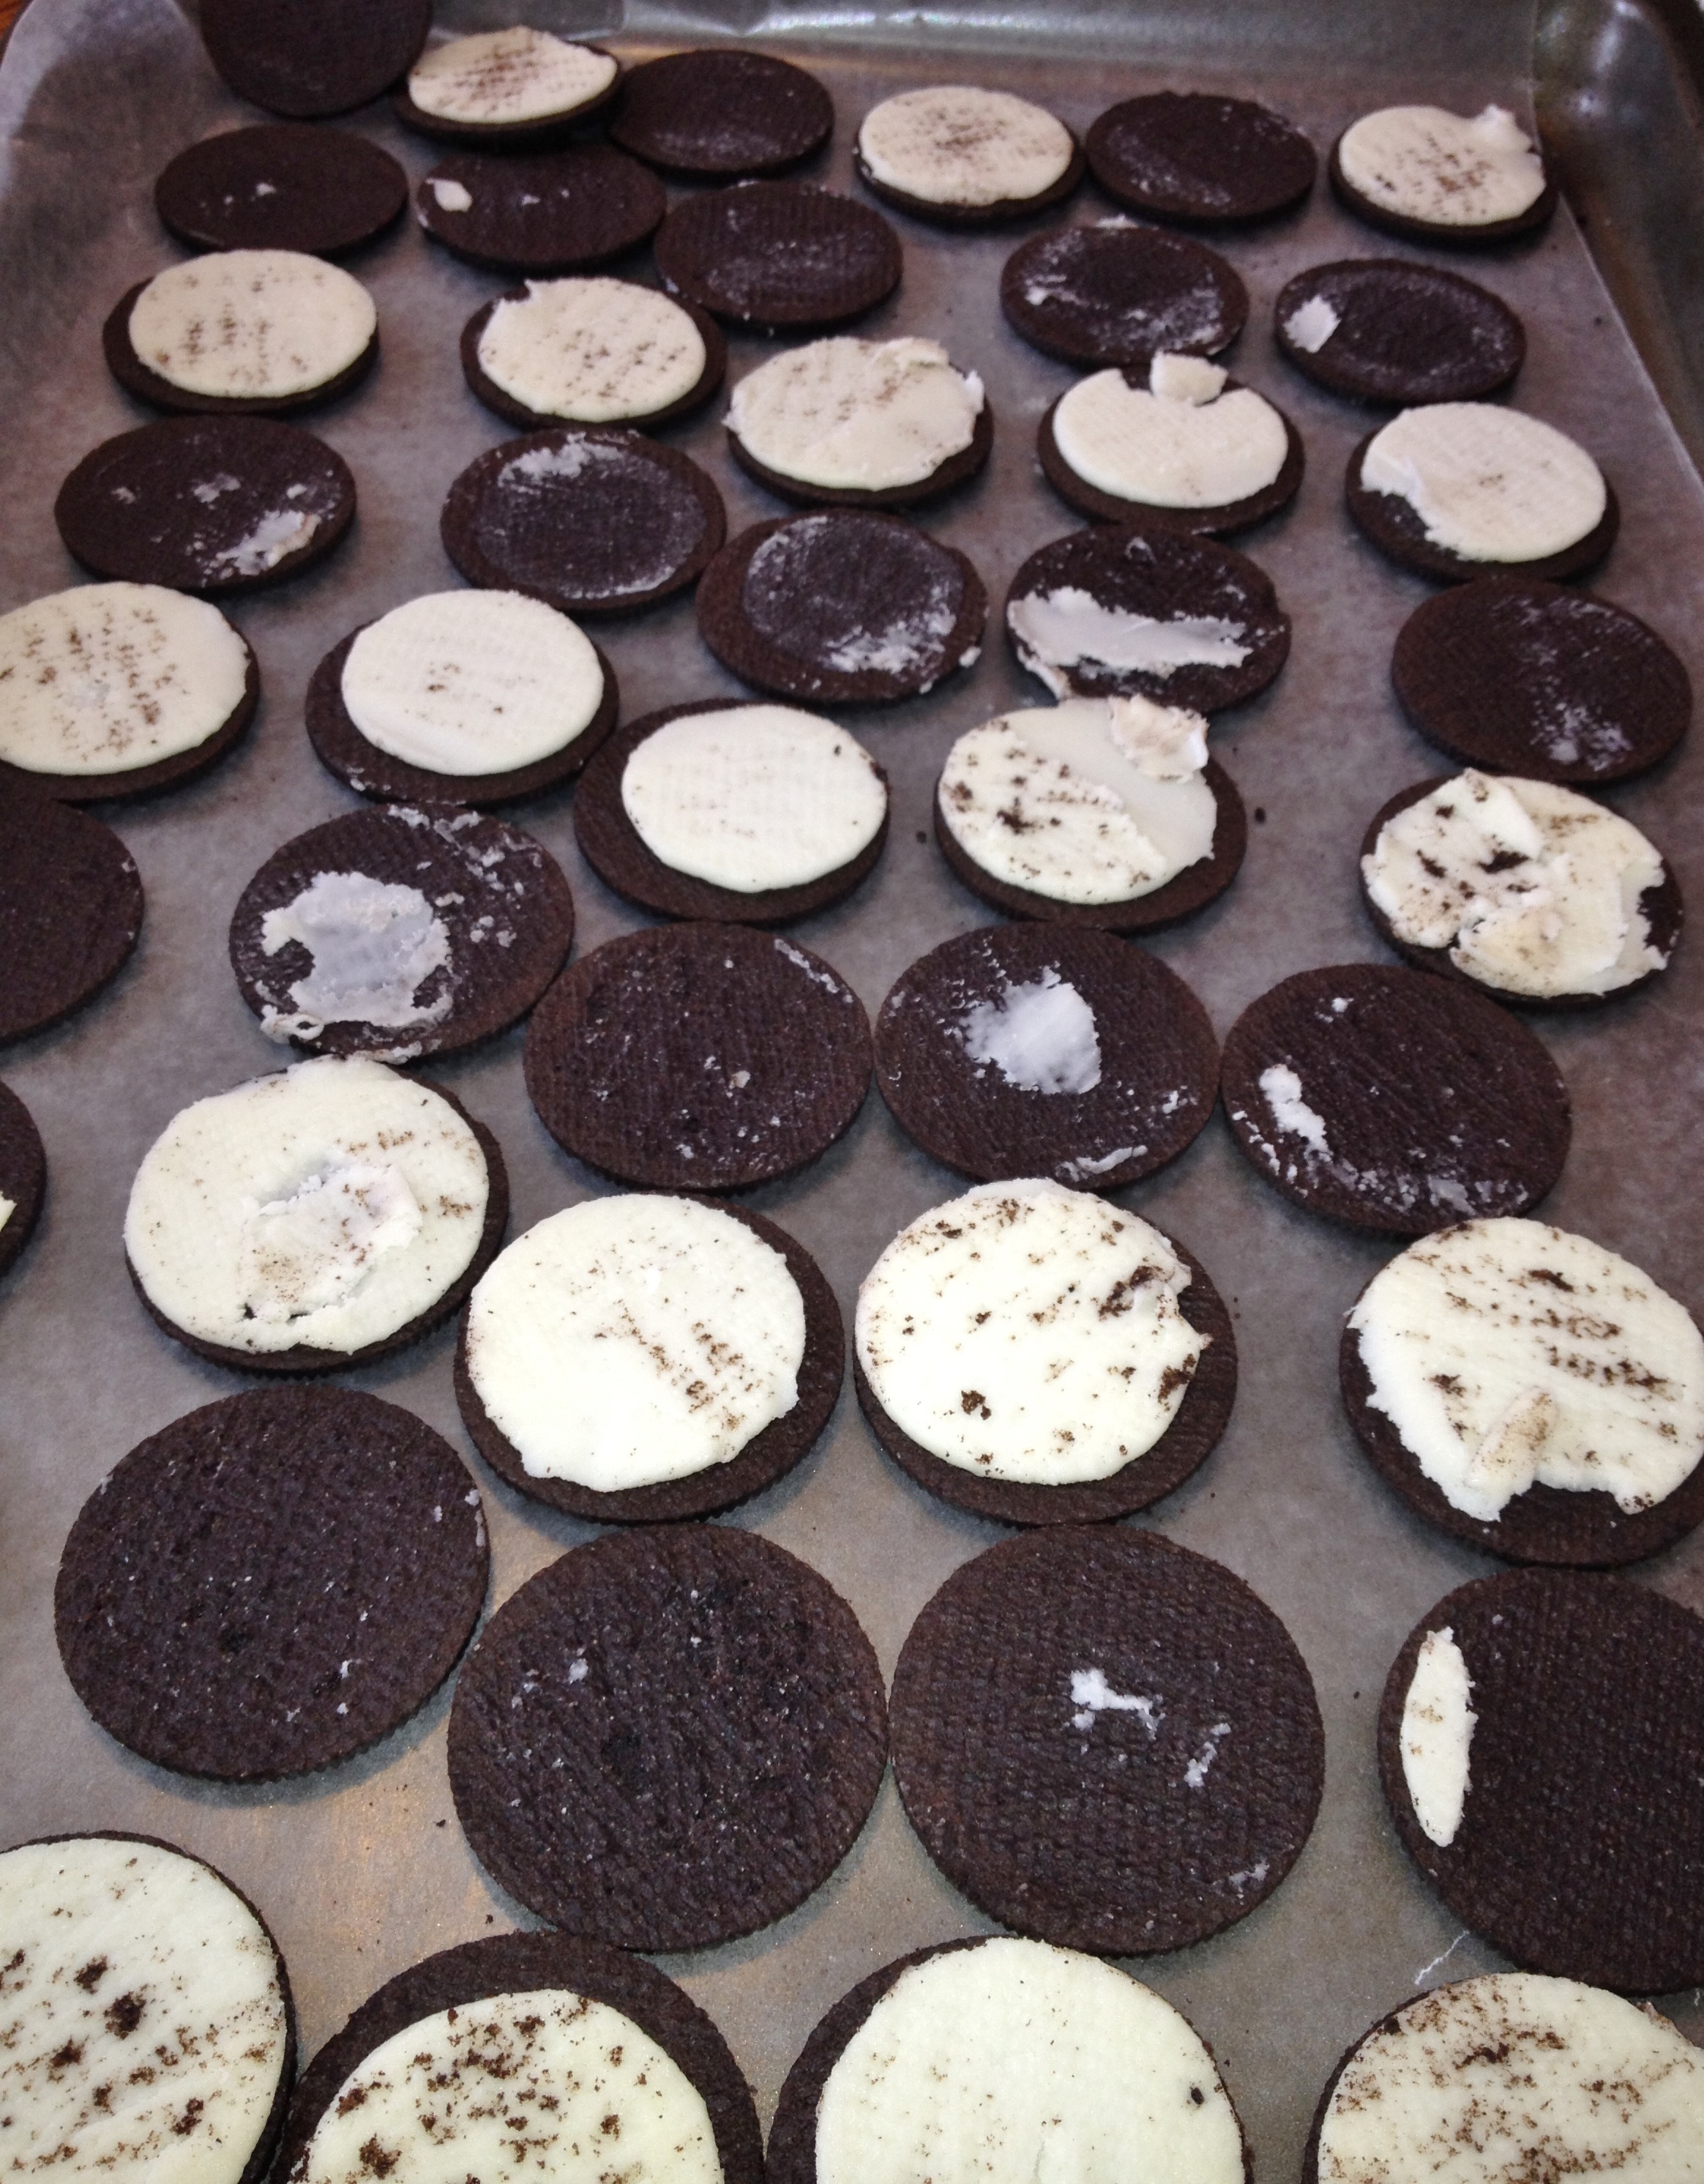
Next I went to lay the lollipop sticks on the cream side of each cookie when I discovered I had purchased “cookie” sticks, not lollipop sticks. The difference? One is about half the thickness of the other. When I put the top cookie back on the cream/stick side of our treat there was about a half inch gap! After breaking thirty or so cookies I was ready to throw in the towel ( or toss my cookies 😉 ) when inspiration struck! Why not use the cream from the broken cookies to shore up the good ones, in affect making them double stuffed?! So I painstakingly took the cream off each broken cookie and layered it on the cream of a good cookie.
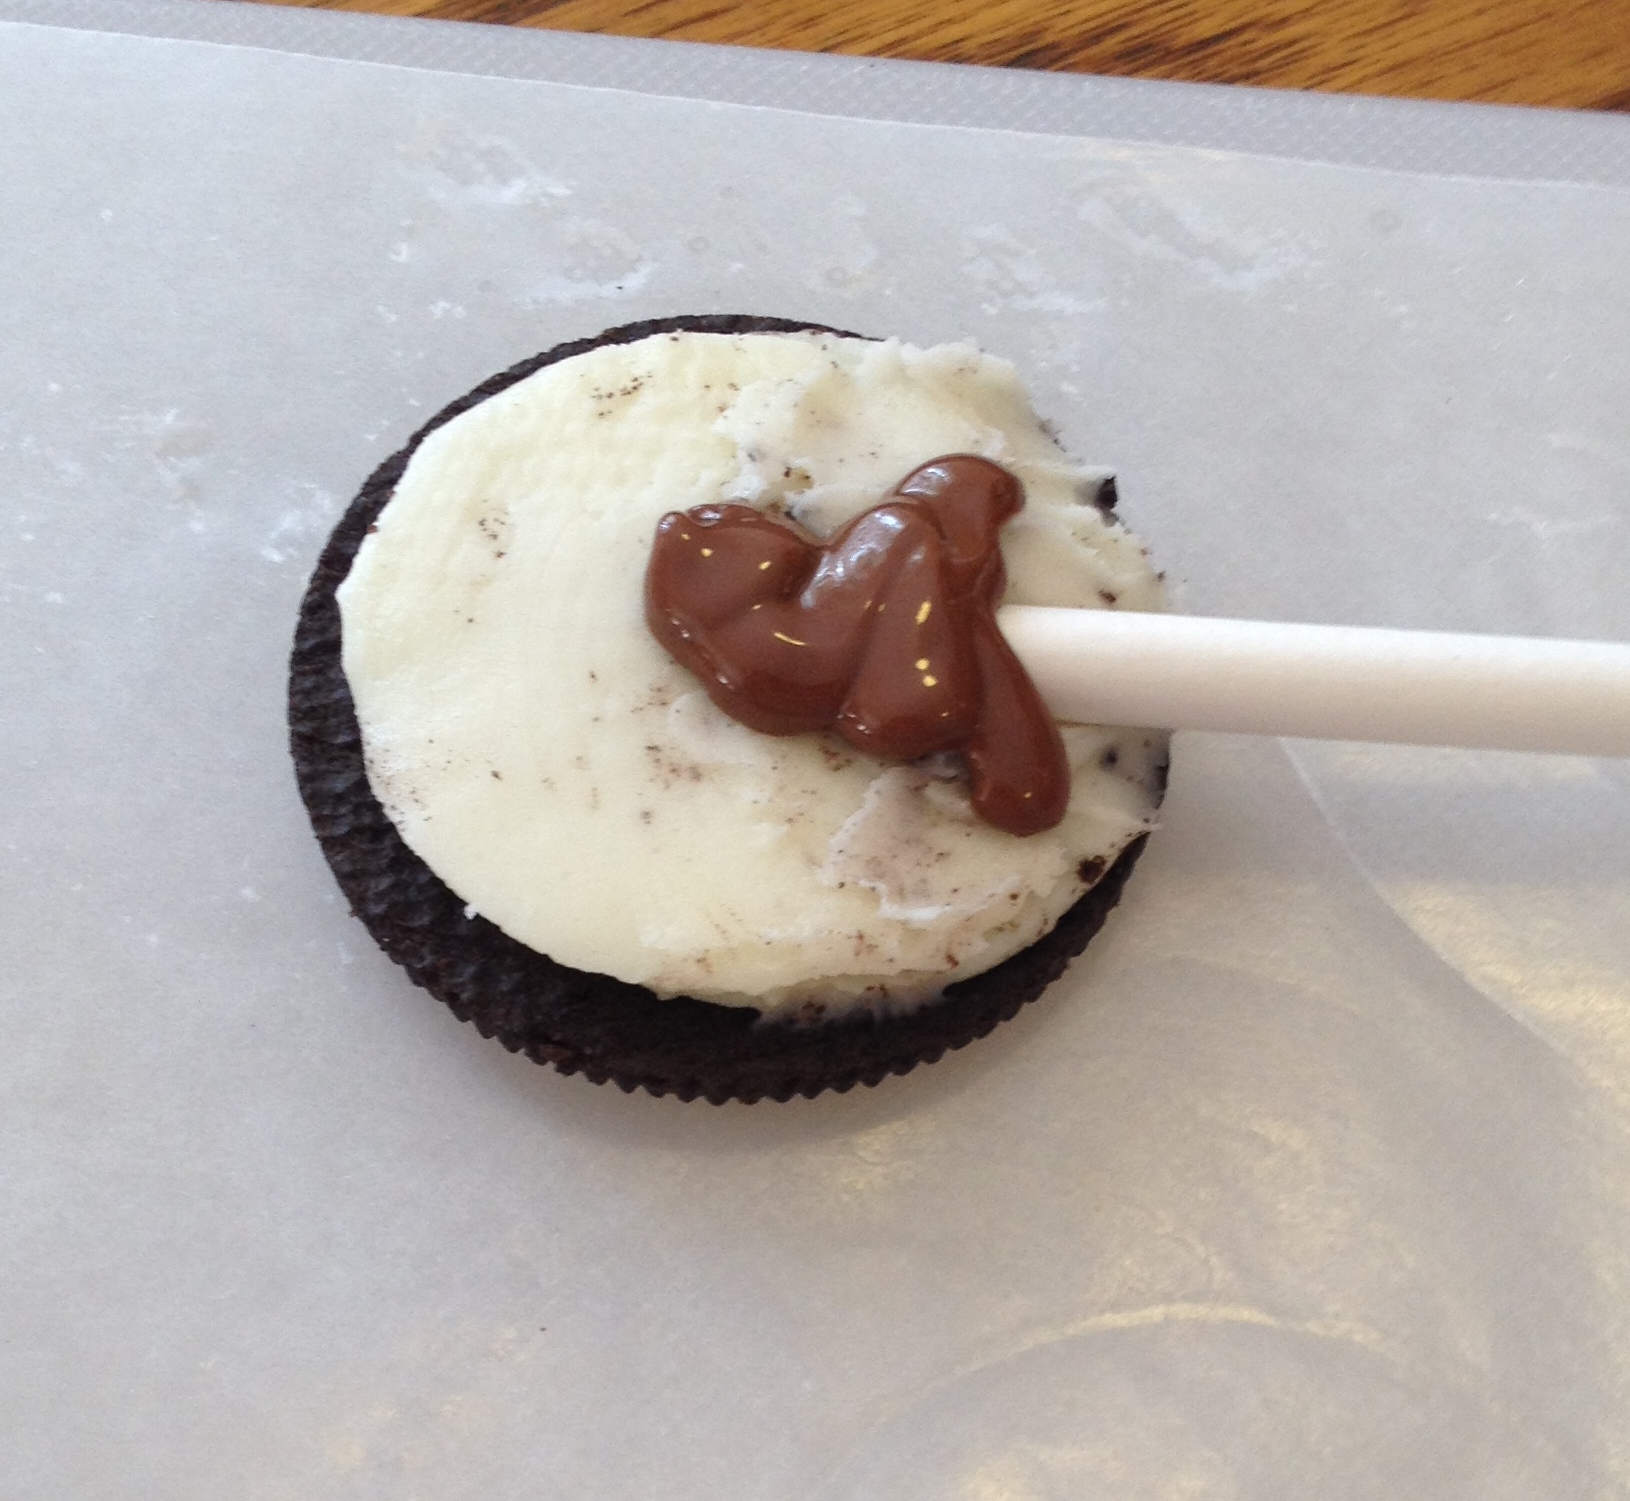
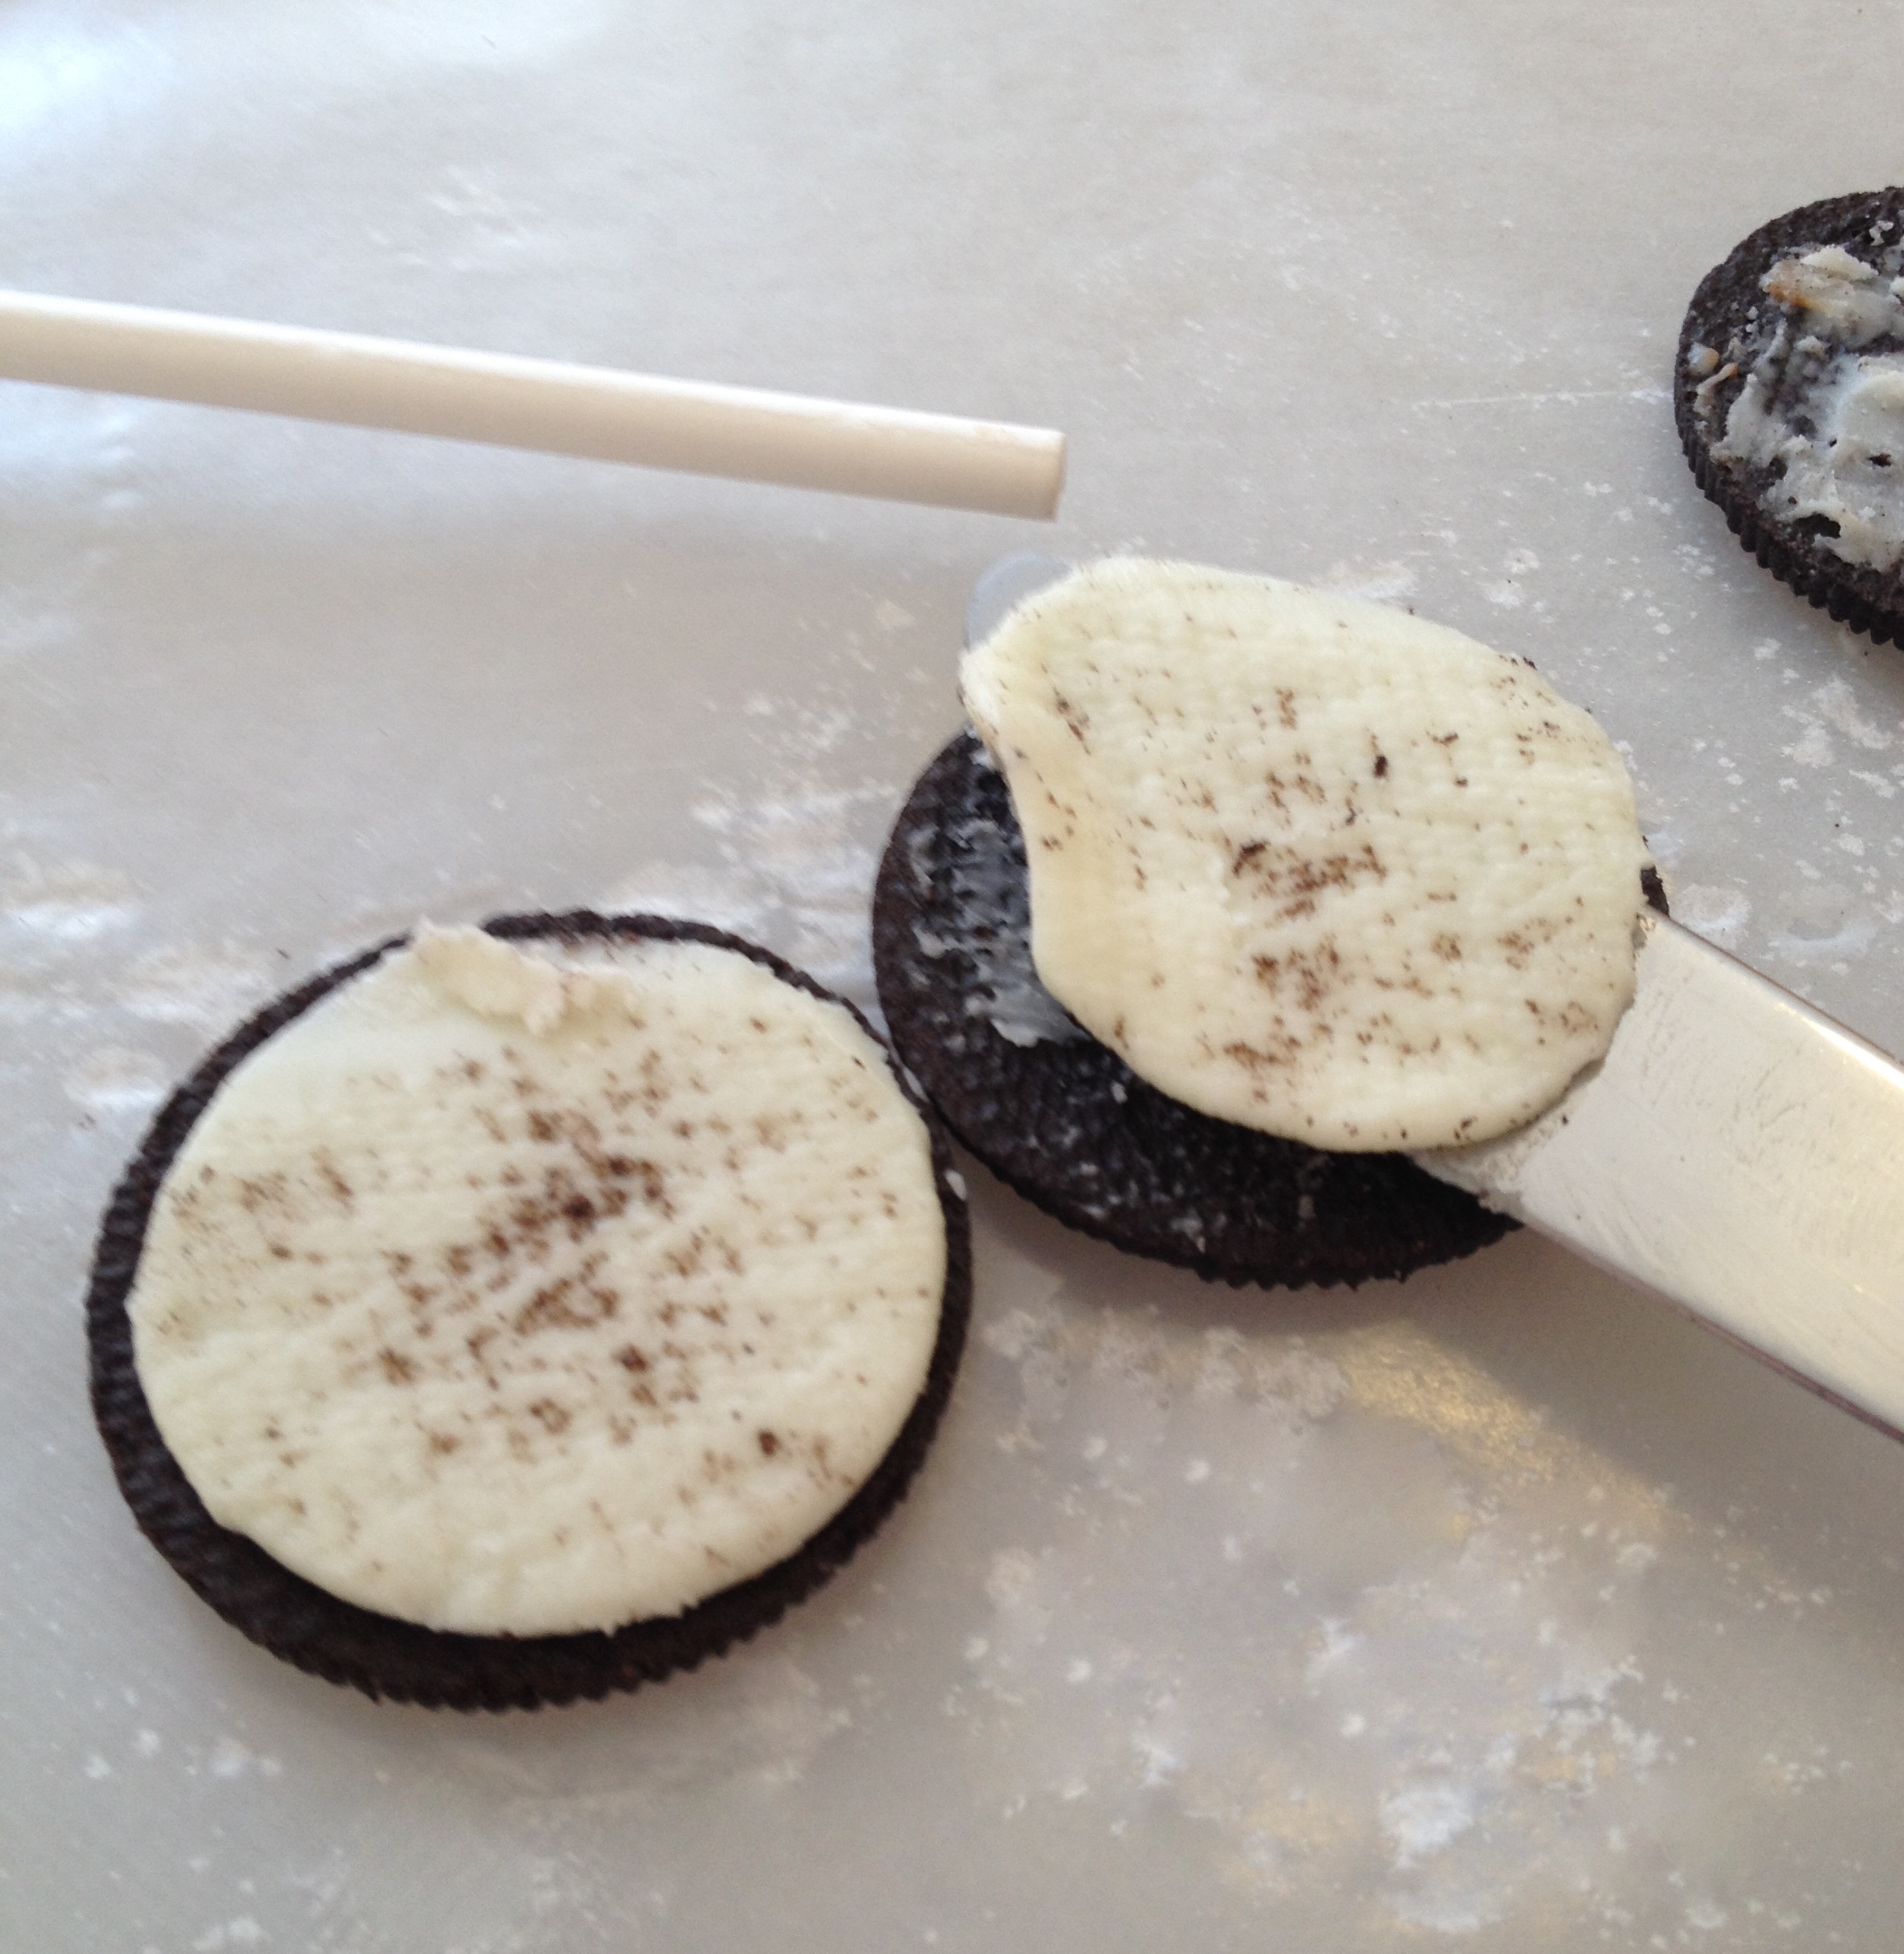 The next step was to lay those huge cookie sticks on the cream, about a third of the way “up” the cookie. To secure the stick Emily dabbed on melted chocolate. I won’t bother telling you about the amount of chocolate some of these cookies received. Let’s just say these Oreos were becoming more of a Fudgeeo at one point. Then the top layer of Oreo was placed gently, but firmly back in place. Despite mixing up the size of the sticks our new double-stuffed-by-hand Oreos seemed okay. At this point you want to let the cookies rest, possibly even put them in the fridge for a little while so they can set. Unfortunately, due to the doctoring we had to do to our poor cookies and the amount of chocolate we put in the middle ours took a few hours to set.
 When it came time to melt the chocolate for dipping I decided to use our giant glass measuring cup. It was deep enough to hold the chocolate and could go in the microwave. Do not be fooled the next time you read a recipe and it says that you can melt the chocolate in the microwave. NEVER, EVER MELT THE CHOCOLATE IN THE MICROWAVE. Do you want to know why? This is why:
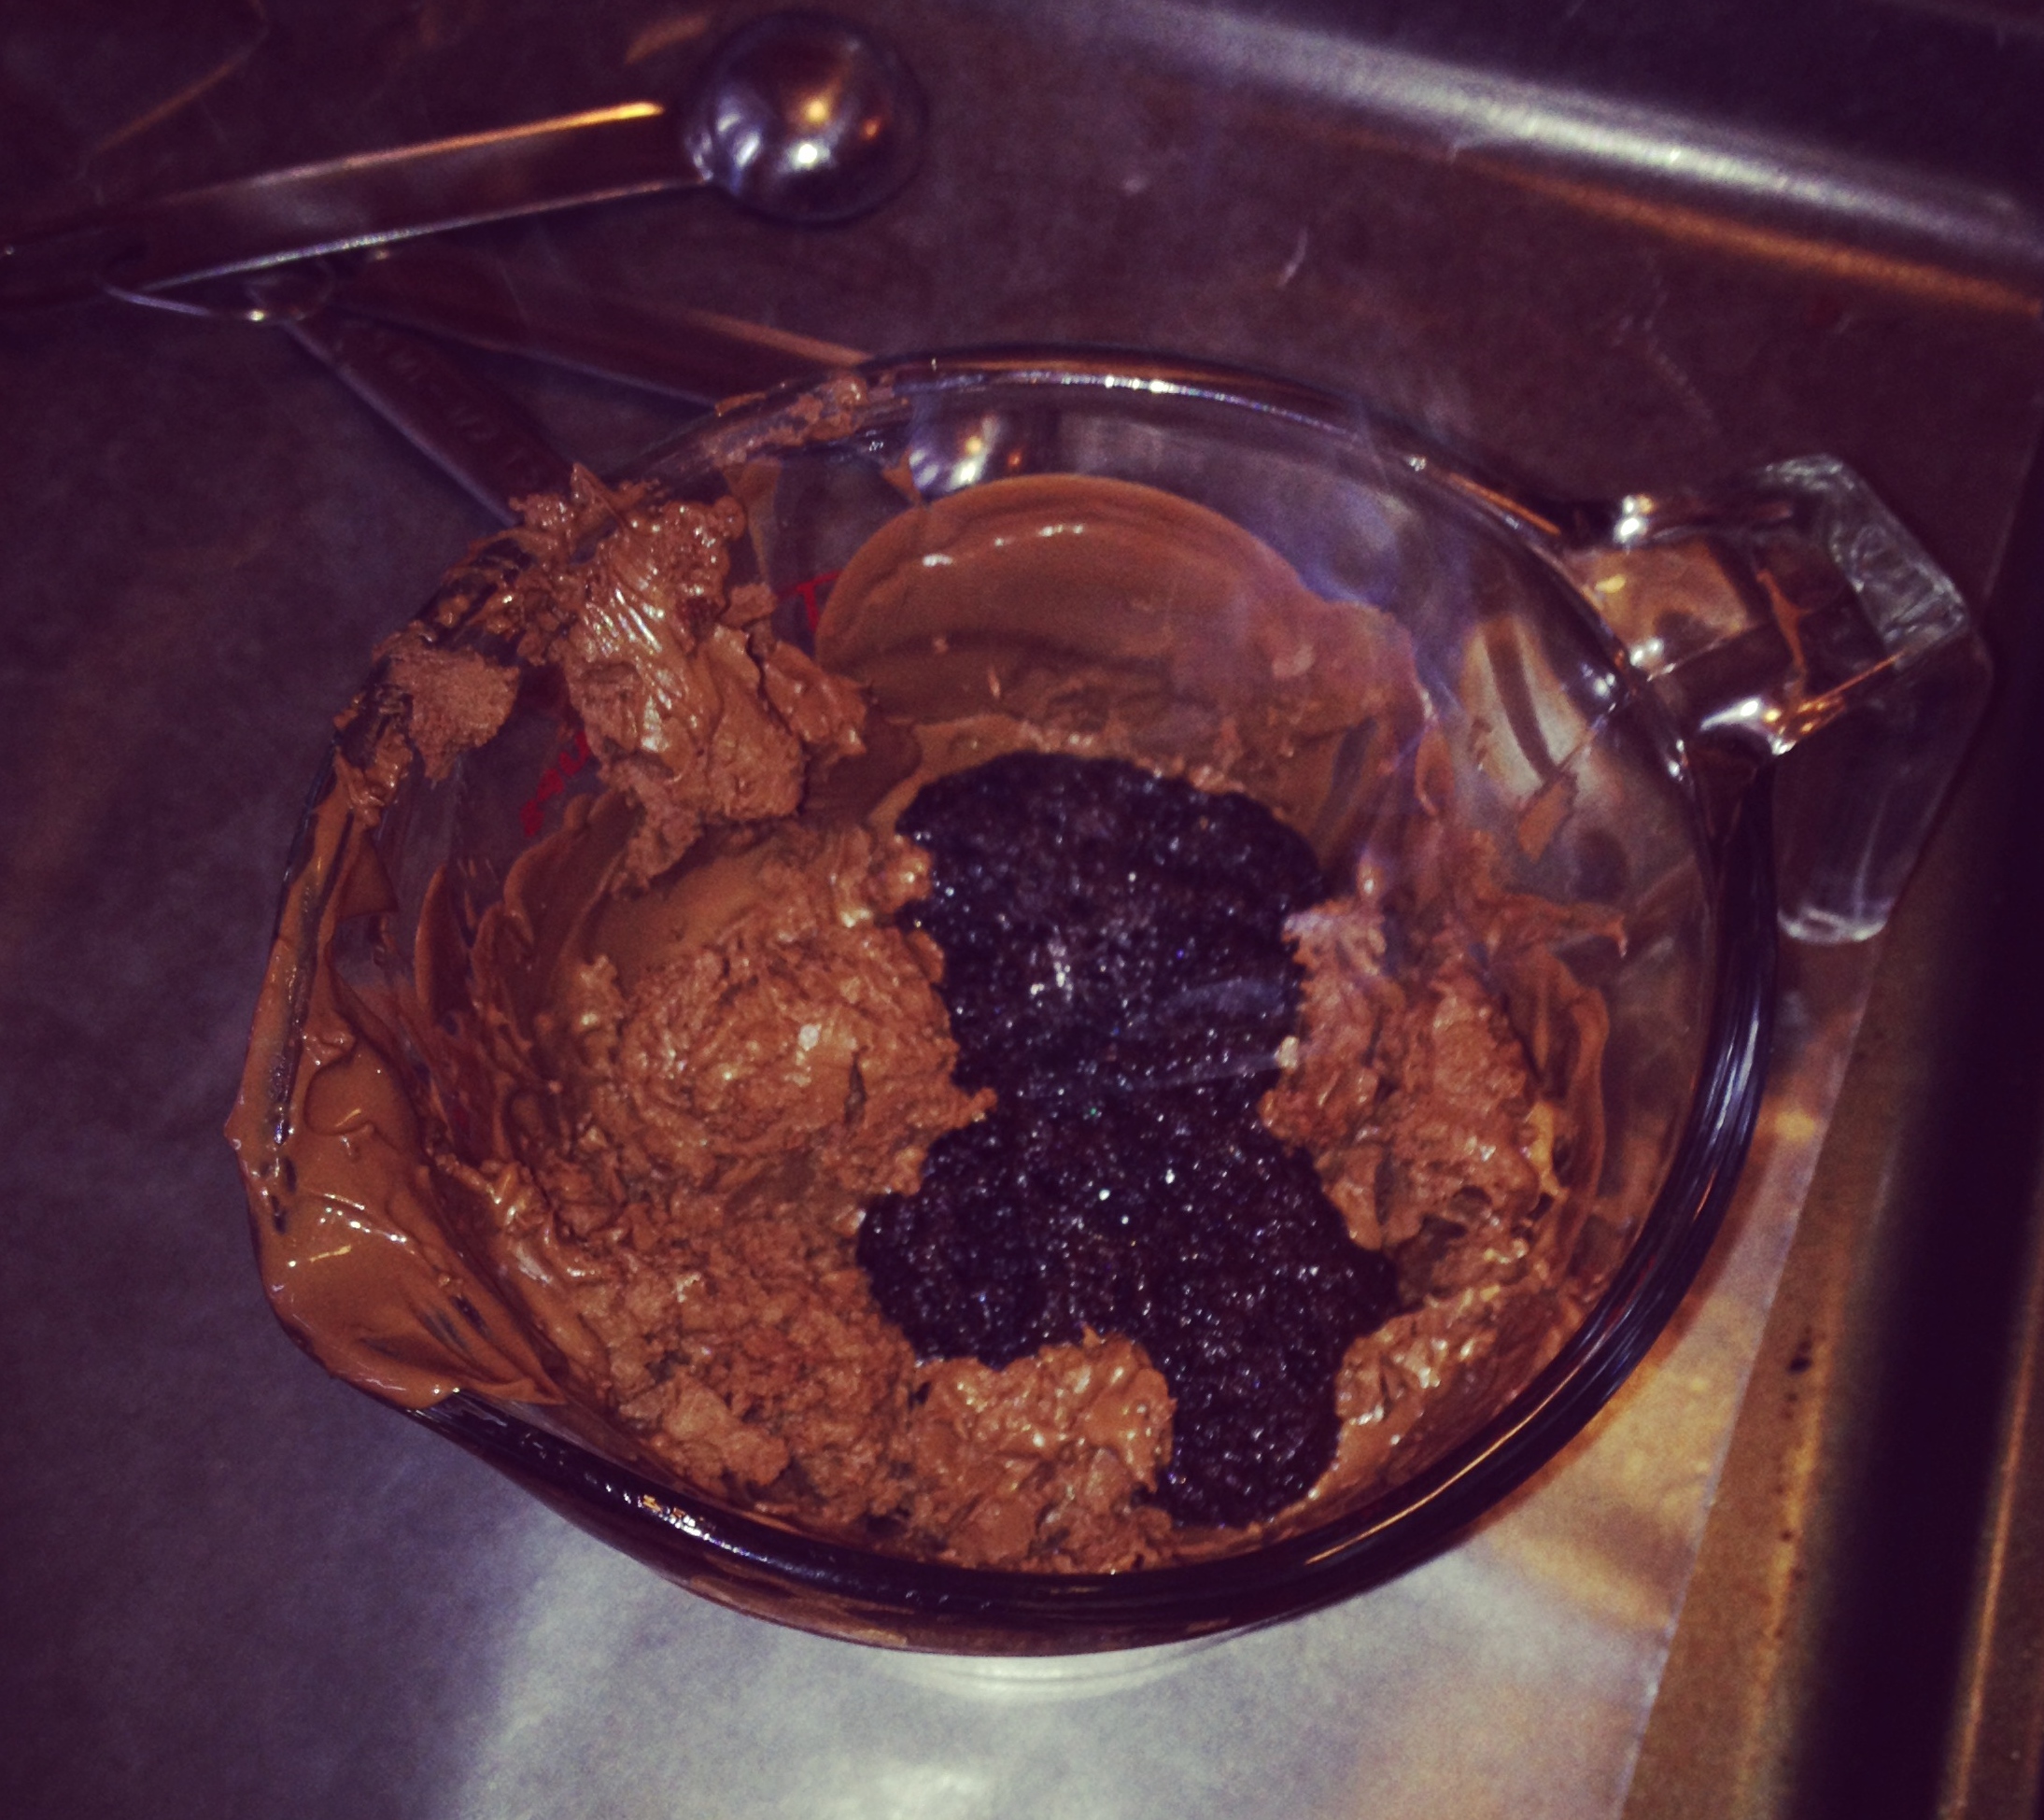 It took mere seconds for a whole 225g bag of Hershey’s Chipits to melt and then burn in our cup. When I say burn I mean char broiled right through to the bottom of the cup. It was not pretty and man did it smell horrible. 🙁 See why I have my disclaimer?
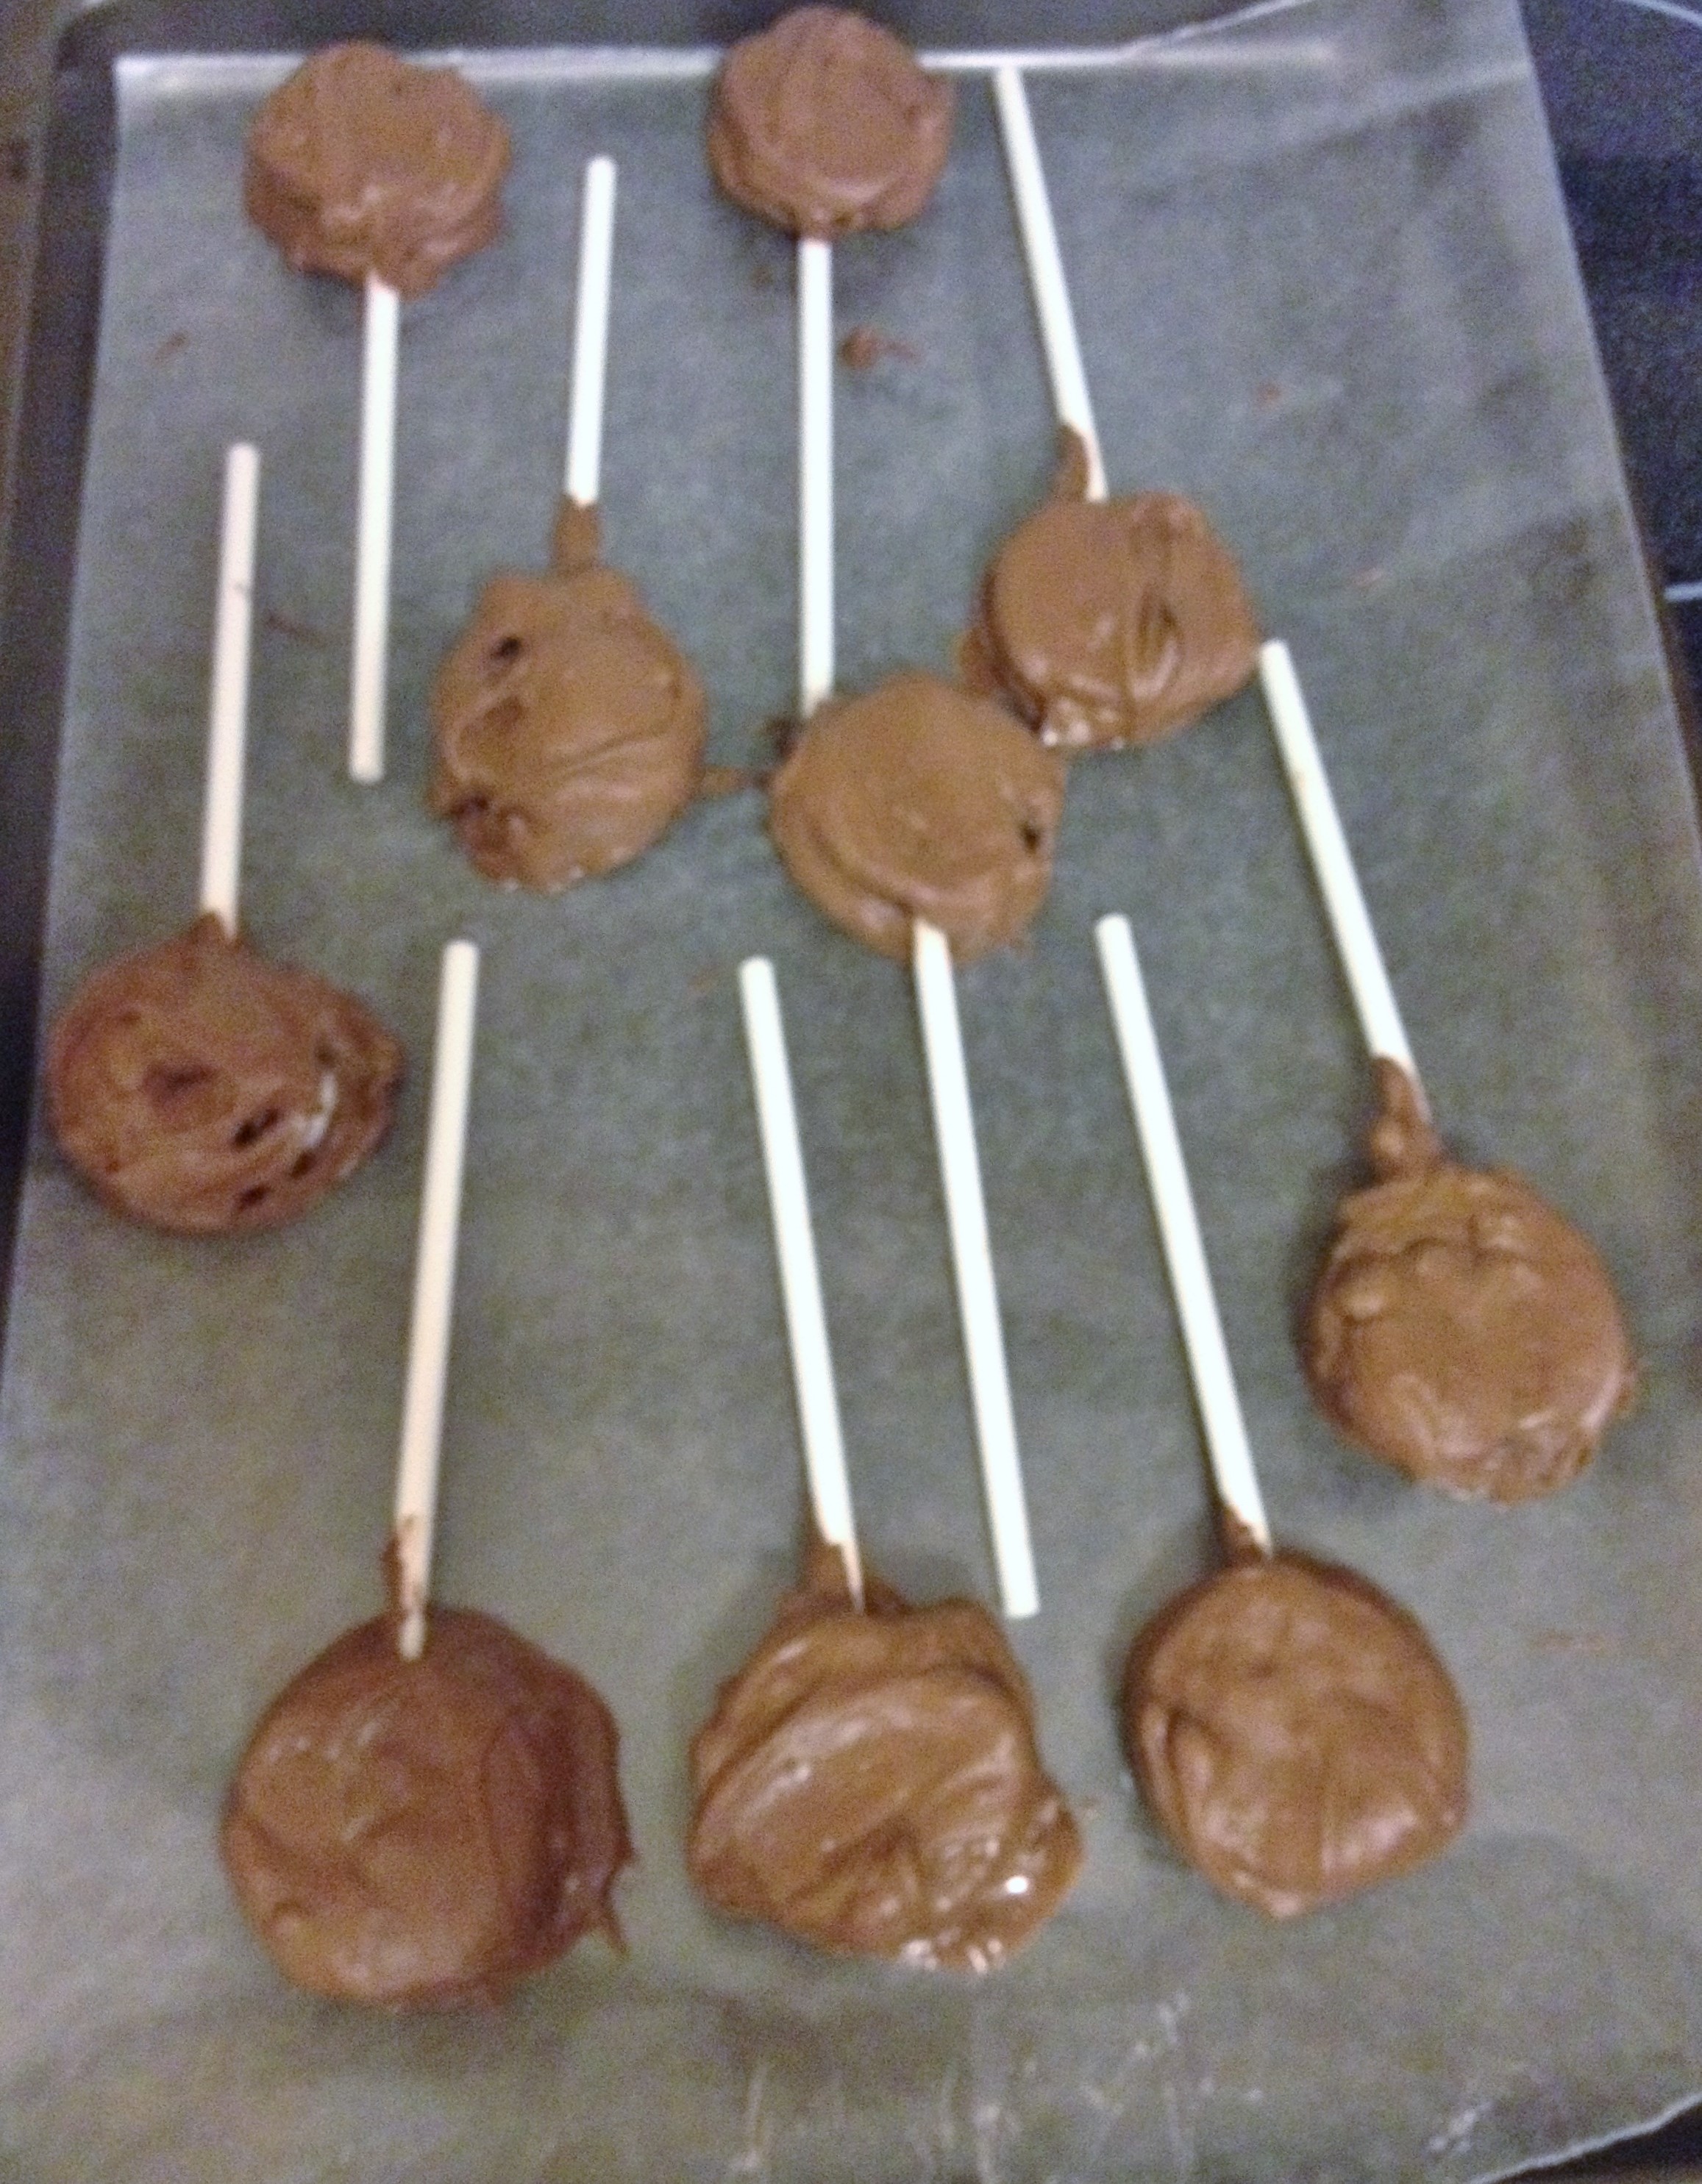
After a trip to the grocery store and some, ah, tutelage from my hubby we melted the chocolate on the stove using two pots for our double boiler. Yes, this worked just fine. The one thing I will note though is that in order to thin out the melted chocolate we had to add quite a bit of vegetable oil. In the end we used a 775g bag of Chipits and about a half cup of oil to coat about 25 cookies. Never again… Dipping the cookies should have been the easy part at this point, but it was still tricky due to the thickness of the chocolate. By the time we were done our Oreos looked more like lumps of coal, but the sticks stayed in place. Then they spent the night in the fridge to set the whole mess. 🙂
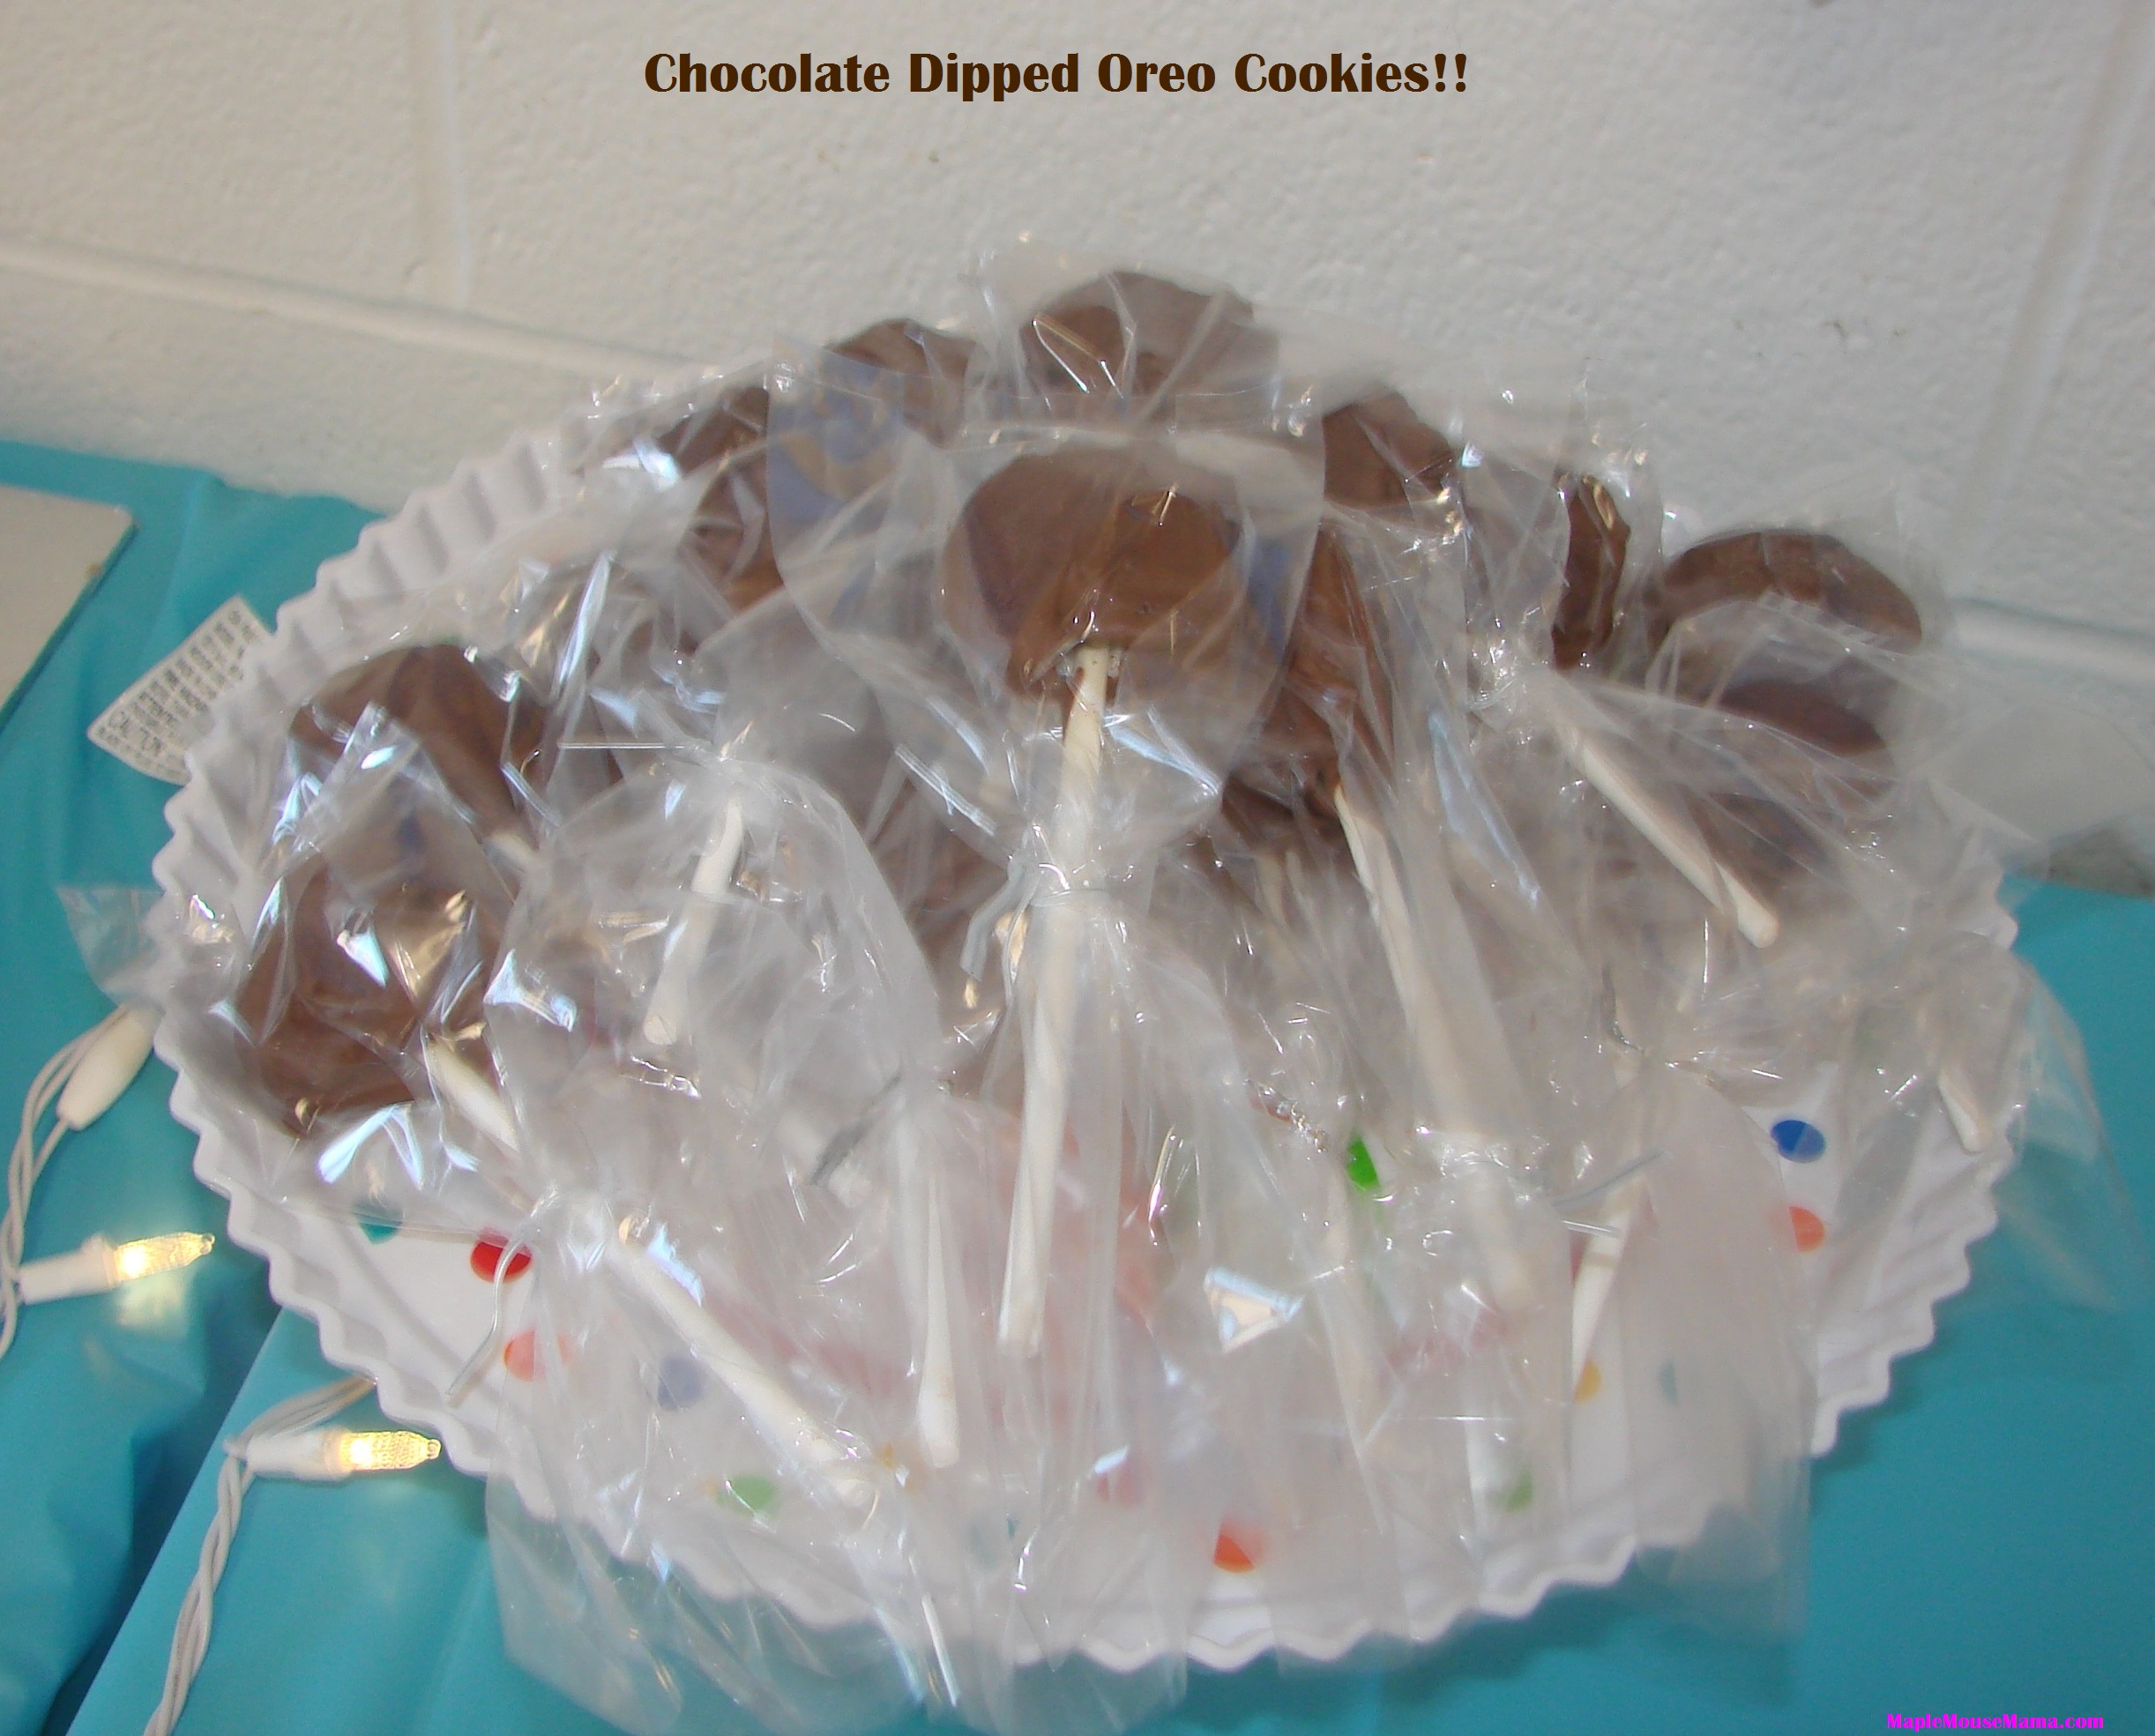
 For the party I did not trust our little cardboard cakepop display to withstand the weight of these creations. I think each one weighed a good pound or more. Instead I placed each one in a treat bag and tied it off with pretty ribbon. Thank heavens they were done! After all of that trouble I thought for sure the cookies would taste awful. Yes, at that point I was in a glass half empty kind of mood; however, they were a hit! The kids loved them and I had people asking to take home the leftovers. So I guess the moral of this story is to not judge a cookie by it’s chocolate dipped covering. 🙂
 After all of this do you think you will attempt to make some Chocolate Dipped Oreo Cookies? If you do you might want to check out Little Miss Kate & Co’s directions instead, LOL.
FT&PD
Suz
Who knew making dipped oreos would be such an adventure? I was thinking of making these, too, but after reading about the challenges you had trying to separate the cookie halves, I might try zapping the cookies in the microwave for a few seconds to hopefully make them come apart easier. Do you think this might help?
Hmm that is an interesting idea Julie. It might work, but I would do no more four or five seconds. Test a couple out. The knife was a disaster though for sure. Good luck!! They are pretty tasty after all the pain 🙂
Melting chocolate would definitely have been easier, even in the microwave, than chocolate chips (which are actually designed not to melt), although I completely understand why your family can’t use them. 30 seconds in the nuker, stir for 20 seconds, then, repeat until they are 3/4 melted. Keep stirring until you get all the way there, nuking for no more than 10 seconds at a time after that (chocolate continues to melt after you stop heating it). You can also add a bit of shortening or vegetable oil to the chips when you start out, to assist in melting and help safe guard against burning.
Just think – the next time you try this, you will be an expert! Think of how smoothly everything will go! 😉
LOL, expert is a stretch Melanie 🙂 I did not realize that chocolate chips were not intended to melt, but it makes total sense. Adding the oil in the beginning would to. Many lessons were learned that day I tell ya 🙂 I am pretty sure I can order allergen friendly melting chocolate, but it comes in bulk and costs big time $$$ so for now we will keep on with this route. Next time I hope the results will at least look pretty, LOL
Oh yummy! I really like how these are easy to make 🙂
LOL, I wish they had been easy for me Randa 🙁 C’est la vie!
Oh hun! lol Your experience sounds like when I try cook!! It may look easy but it isn’t!!! I’m sure your end product was delicious!!! HUGS!
Thanks Jenn, we culinary challenged ladies need to stick together 🙂
Those are great!! Those would make a fun treat for a party 🙂
They were fun Wendy and the kids loved them!
YOU REMOVED THE STUFFING TO RE PUT IT IN AGAIN. LMAO. That is dedication!
It was either that or dump the whole batch Kyla. WHat a pain!
I’ve made white chocolate dipped Oreo cookies and decorated them like ghosts for Little One’s kindergarten Halloween party. It was fun, and not toooooooo difficult, but not as easy as I thought it would be (if that makes sense?).
It totally makes sense Christine. It was not a walk in the park for me I tell ya…
I have had that happen to me with melting chocolate in the microwave before too!
Never again!
That definitely sounds like I wish there was a video of your escapades! I’m glad they turned out so yummy–they sound delicious!
LOL MaryBeth, it was definitely worthy of YouTube 🙂
They did turn out to be pretty good, all the kids can attest to that.
Very true Mom 🙂
haha funny! I hate it when something simple turns out to be so frustrating! I melt chocolate in the microwave all the time, wonder what went wrong! lol
It was such a pain Jennifer, truly. I think it was the timing, just left it a second too long before stirring or maybe left in a few seconds too long?
OMG Suz these look delicious! I might have a go at making some with the kids over the Easter break. I thought the suggestion above to warm them in the microwave, was a great idea too!
Sam xx
Despite my mess they did turn out to be pretty yummy Sam. Make sure you post about it when you make them!!
Thanks for adding a smile to my day. Your kitchen adventure sounds like some of mine!
I am glad I am not alone Cheryl and thanks for stopping in!
well thank you for making me laugh on a dreary Monday morning..this was hilarious!!!! but don’t fret by thinking this would only happen to you, I would have the same problems too lol!! the stuff we do for our children lol
I know right? I am not handy in the kitchen at all and my daughter has witnessed this time and again Lynda. She knew what a labour of love this was 🙂
Amazing edible craft that the grandchildren can make with supervision
Definitely Darlene!
Melting chocolate would have been so much easier,next try you will have perfection…
These look delicious and I can’t believe how easy they are. This is something every kid will love them
haha,what we will do for something dipped in chocolate,you should have seen the mess we made making chocolate bowls with balloons……
these sound so yummy , great for the lil ones , and a baking date with the grand kids ! thanks for sharing 🙂
Thank You These look so tasty, and I can’t believe how easy they are to make
These are my grandson favorite treat !
These look really good. Simple enough that the grandchildren could make them.
🙂
🙂