Earlier this year my family and I had a wonderful time on our vacation to Walt Disney World. My husband Doug, daughter Emily and I have been before, but it was my son William’s first time visiting the World. I was beyond excited to share this most magical of places with him. As with any vacation I did a lot of prep work ahead of time, but because William suffers from food allergies to peanuts and all tree nuts, I knew this trip would require a lot more planning. (You can read how we prepared for Traveling With Food Allergies here.)
One of the things that concerned me most was how to direct William’s attention away from the multitude of treats that are all over Disney World. William is very aware that we can not just buy any old candy bar off the shelf for him and even though he understands this it can still be upsetting. At home these situations are easy to avoid, but Disney was going to be a whole other story.
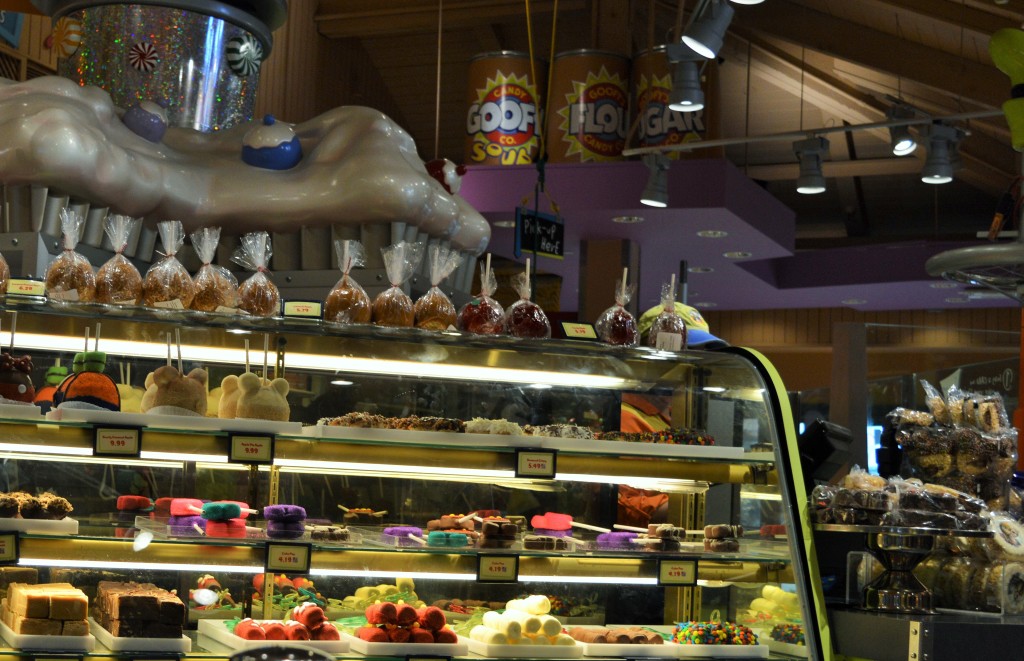
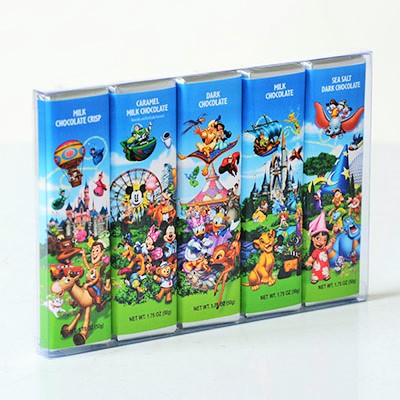
I knew one of the biggest problems was going to be the packaging. Sounds silly, but a display case full of candy wrapped in eye catching Disney magic is a lot harder to hide than a regular display. I mean candy has to taste better if Mickey and friends are plastered all over it, right? My solution for this problem was to make my own Disney themed treat bags. My daughter and I had fun shopping for the supplies and putting it all together. This is what we did:
Step One: Shop for candy!
A few days before our trip I hit up Walmart and purchased several bags of candy and treats I knew were safe for William. A couple he had had before and a couple were new for him. My daughter and I diligently checked the labels, as we always do so I was happy with our selection.
Step Two: Shop for stickers and baggies!
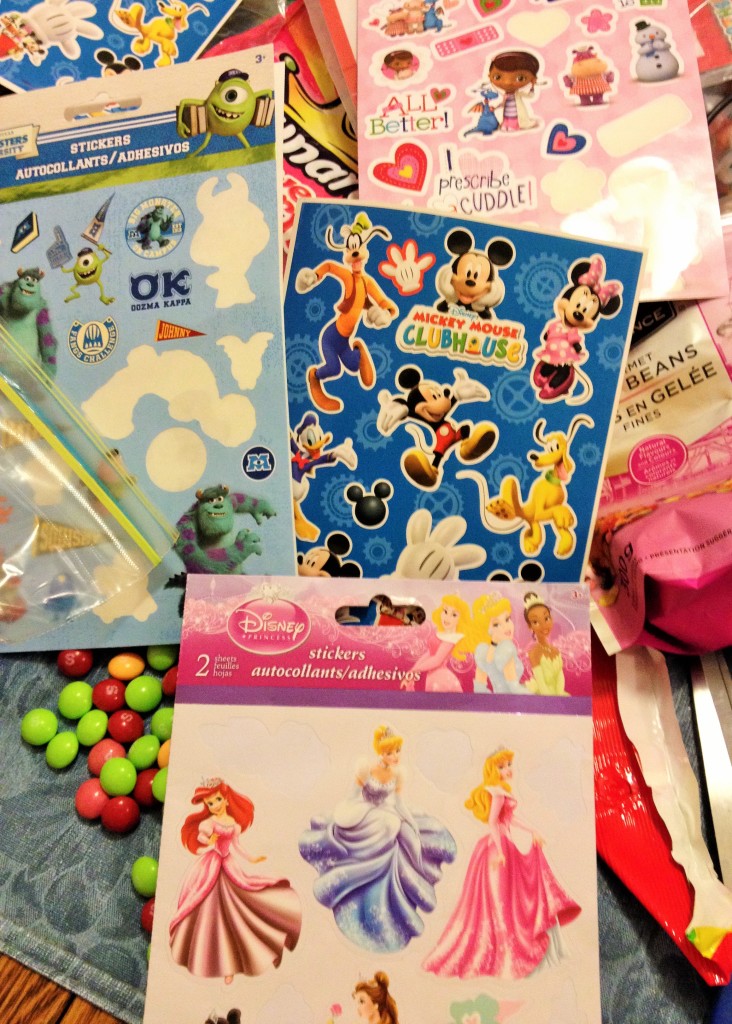
This time I hit up the nearest dollar store for supplies. I purchased the sandwich size baggies that zip close so they could be resealed. The dollar store always has tons of stickers of every conceivable character and show out there so we had to weed through them carefully. I chose a selection of stickers that were aimed at both girls and boys because the idea was for both Emily and William to have these treat bags.
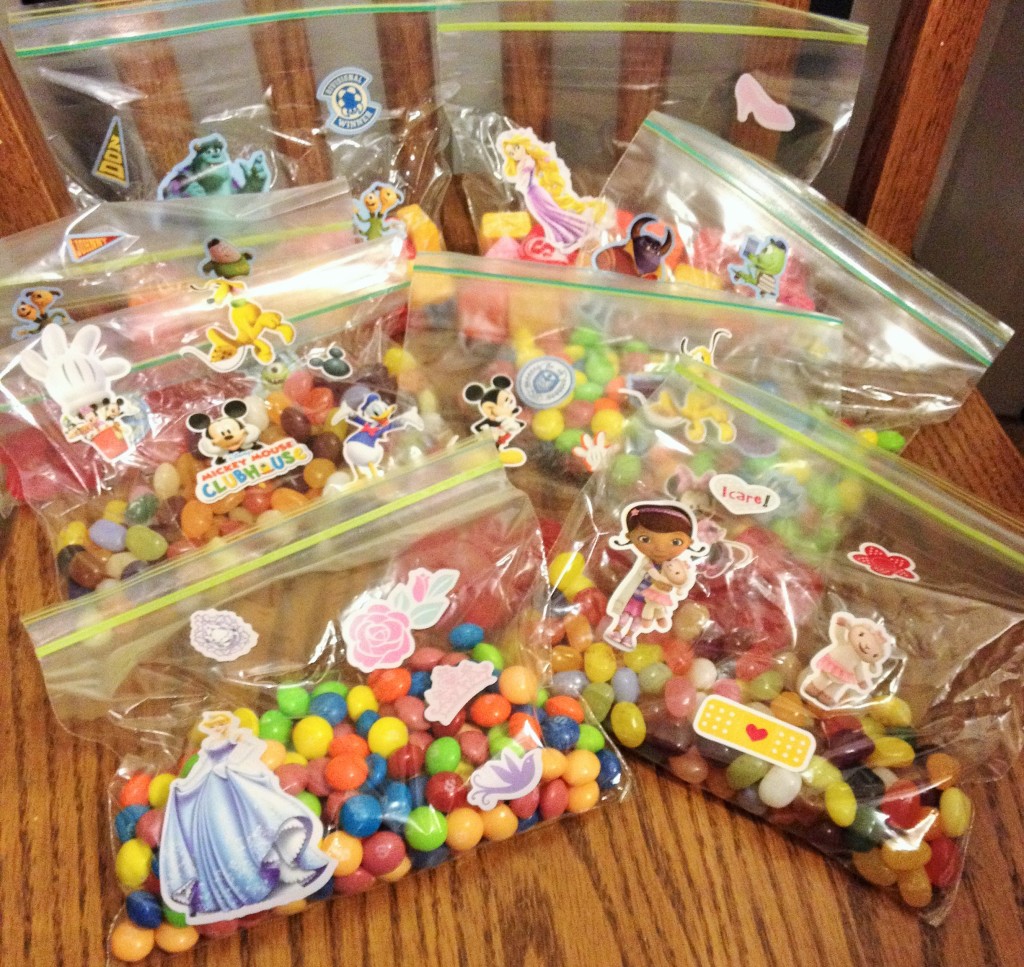
You can see from our photos I bought Disney Princesses, Monsters Inc., Doc McStuffins (my son loves this show) and more.
Step Three: Decorate your baggies!
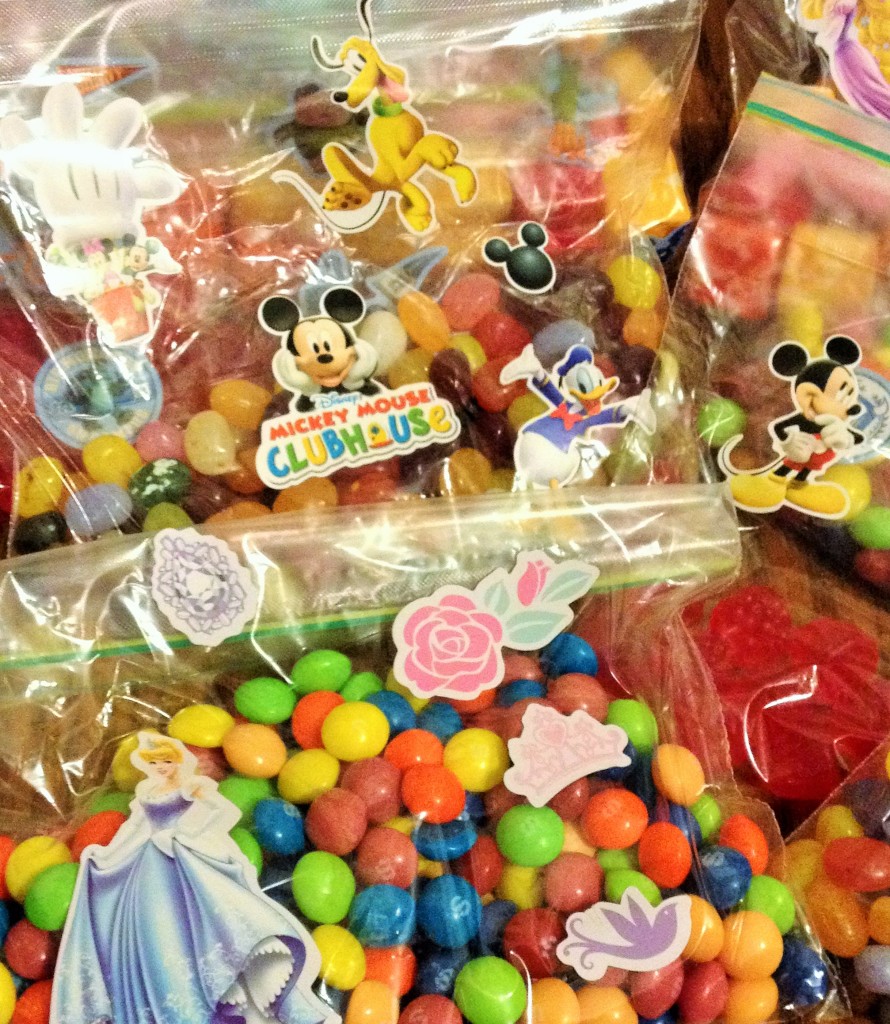
When all was said and done my daughter and I may have gone a little overboard with our treat bag creations, but we had fun doing it. We divided up the stickers and made each bag a different theme. I put stickers on both sides to try and conceal the generic look of the baggies (store packaging is definitely fancier, but we did a pretty good job of making ours look cool.) The only thing left was to fill them!
Step Four: Fill your treat bags!
By counting out the treats we made sure to put the same amount into each bag. If you have more than one child you know how important this is. The bags were plenty full and the idea was that I would take a selection of candy with us each day when we left our resort. We had enough variety that the kids would have something to look forward to each day.
All in all the homemade Disney themed treat bags were a success! My son never questioned where they came from and he was happily surprised each day. We ended up bringing some home with us to share long after our trip was over. Many people buy pre-packaged Disney treats as souvenirs to help prolong the magic and I think we did a great job of creating our own version.
What is your favourite type of sweet treat?
Traveling with kids this summer? Check out my post “11 Tips For Flying With Children!”
FT&PD
Suz
What a great idea to prepare the snacks ahead of time. I want to make these bags for our family vacation. They look so fun and yummy!
Those are great money saving ideas. I like the idea of adding the stickers
I agree, kids and adults alike are mesmerized by cleverly designed wrapping. I love your idea of using resealable bags with Disney stickers. You definitely get more treats for your buck and the kids feel satisfied too.
The wrappers get us, LOL, but this way the kids are happy, we are happy and my son has safe treats. It was a huge relief for me.
This is my heaven, Disney and a candy store! I love a good Jelly Belly, and whoppers, and really – anything.
What a great, simple idea. Whenever you need themed treat bags, save your money and make them yourself!
This would be great for a Cars themed birthday party!
Oh yes, definitely! You could do so much with it.
I love this idea, it keeps the magic of disney but definetly helps on the wallet & purse strings!
What a super idea this was, I’ll bet everybody was happy with the resulting goody bags
Thank you Elizabeth My son did not feel left out at all, which was my main concern, so it was perfect <3
This is a fantastic (and fun!) idea! Thanks for sharing!
Thank you for checking it out
I’ll bet everybody was happy with those yummy goody bags
This is so adorable!
Thank you! They were a hit with my kids which made things a lot easier.
Is there any problem getting this across the border?
This is such a great idea. Home made treat bags are always better than buying them.
This is a wonderful idea. Save money doing this. Very Creative.
great idea, the kiddies could get in on the making as well
I love the idea of decorating the bags with stickers. I bought my kids some bags with Paw Patrol printed on them. They worked great when we were at the zoo. The kids were happy and I didn’t have to pay for overpriced treats.
Great idea for packing snacks ahead of time.