 So I am not the craftiest person in the world, but every once in awhile I see something I just have to try with the kids. This melted bead project is one of those and making something for Mother’s Day was the perfect time to do it! To be honest I have had the supplies for this craft for several months. We are talking before Christmas. My intention had been to make Christmas ornaments with the kids, but, well, that didn’t happen. 🙂 Moving on!
 This craft is really quite simple and the ideas are endless as to what you can make. For our first time at bat we opted to make something easy, but the kids had such fun with the design part that I know we will do this again. We are going to turn ours into an ornament, but you can make key chains, sun catchers, gift tags and even jewelry! Talk about being blinged out! A huge medallion around your neck will surely get you noticed and maybe even a part in a rap video..
Supplies:
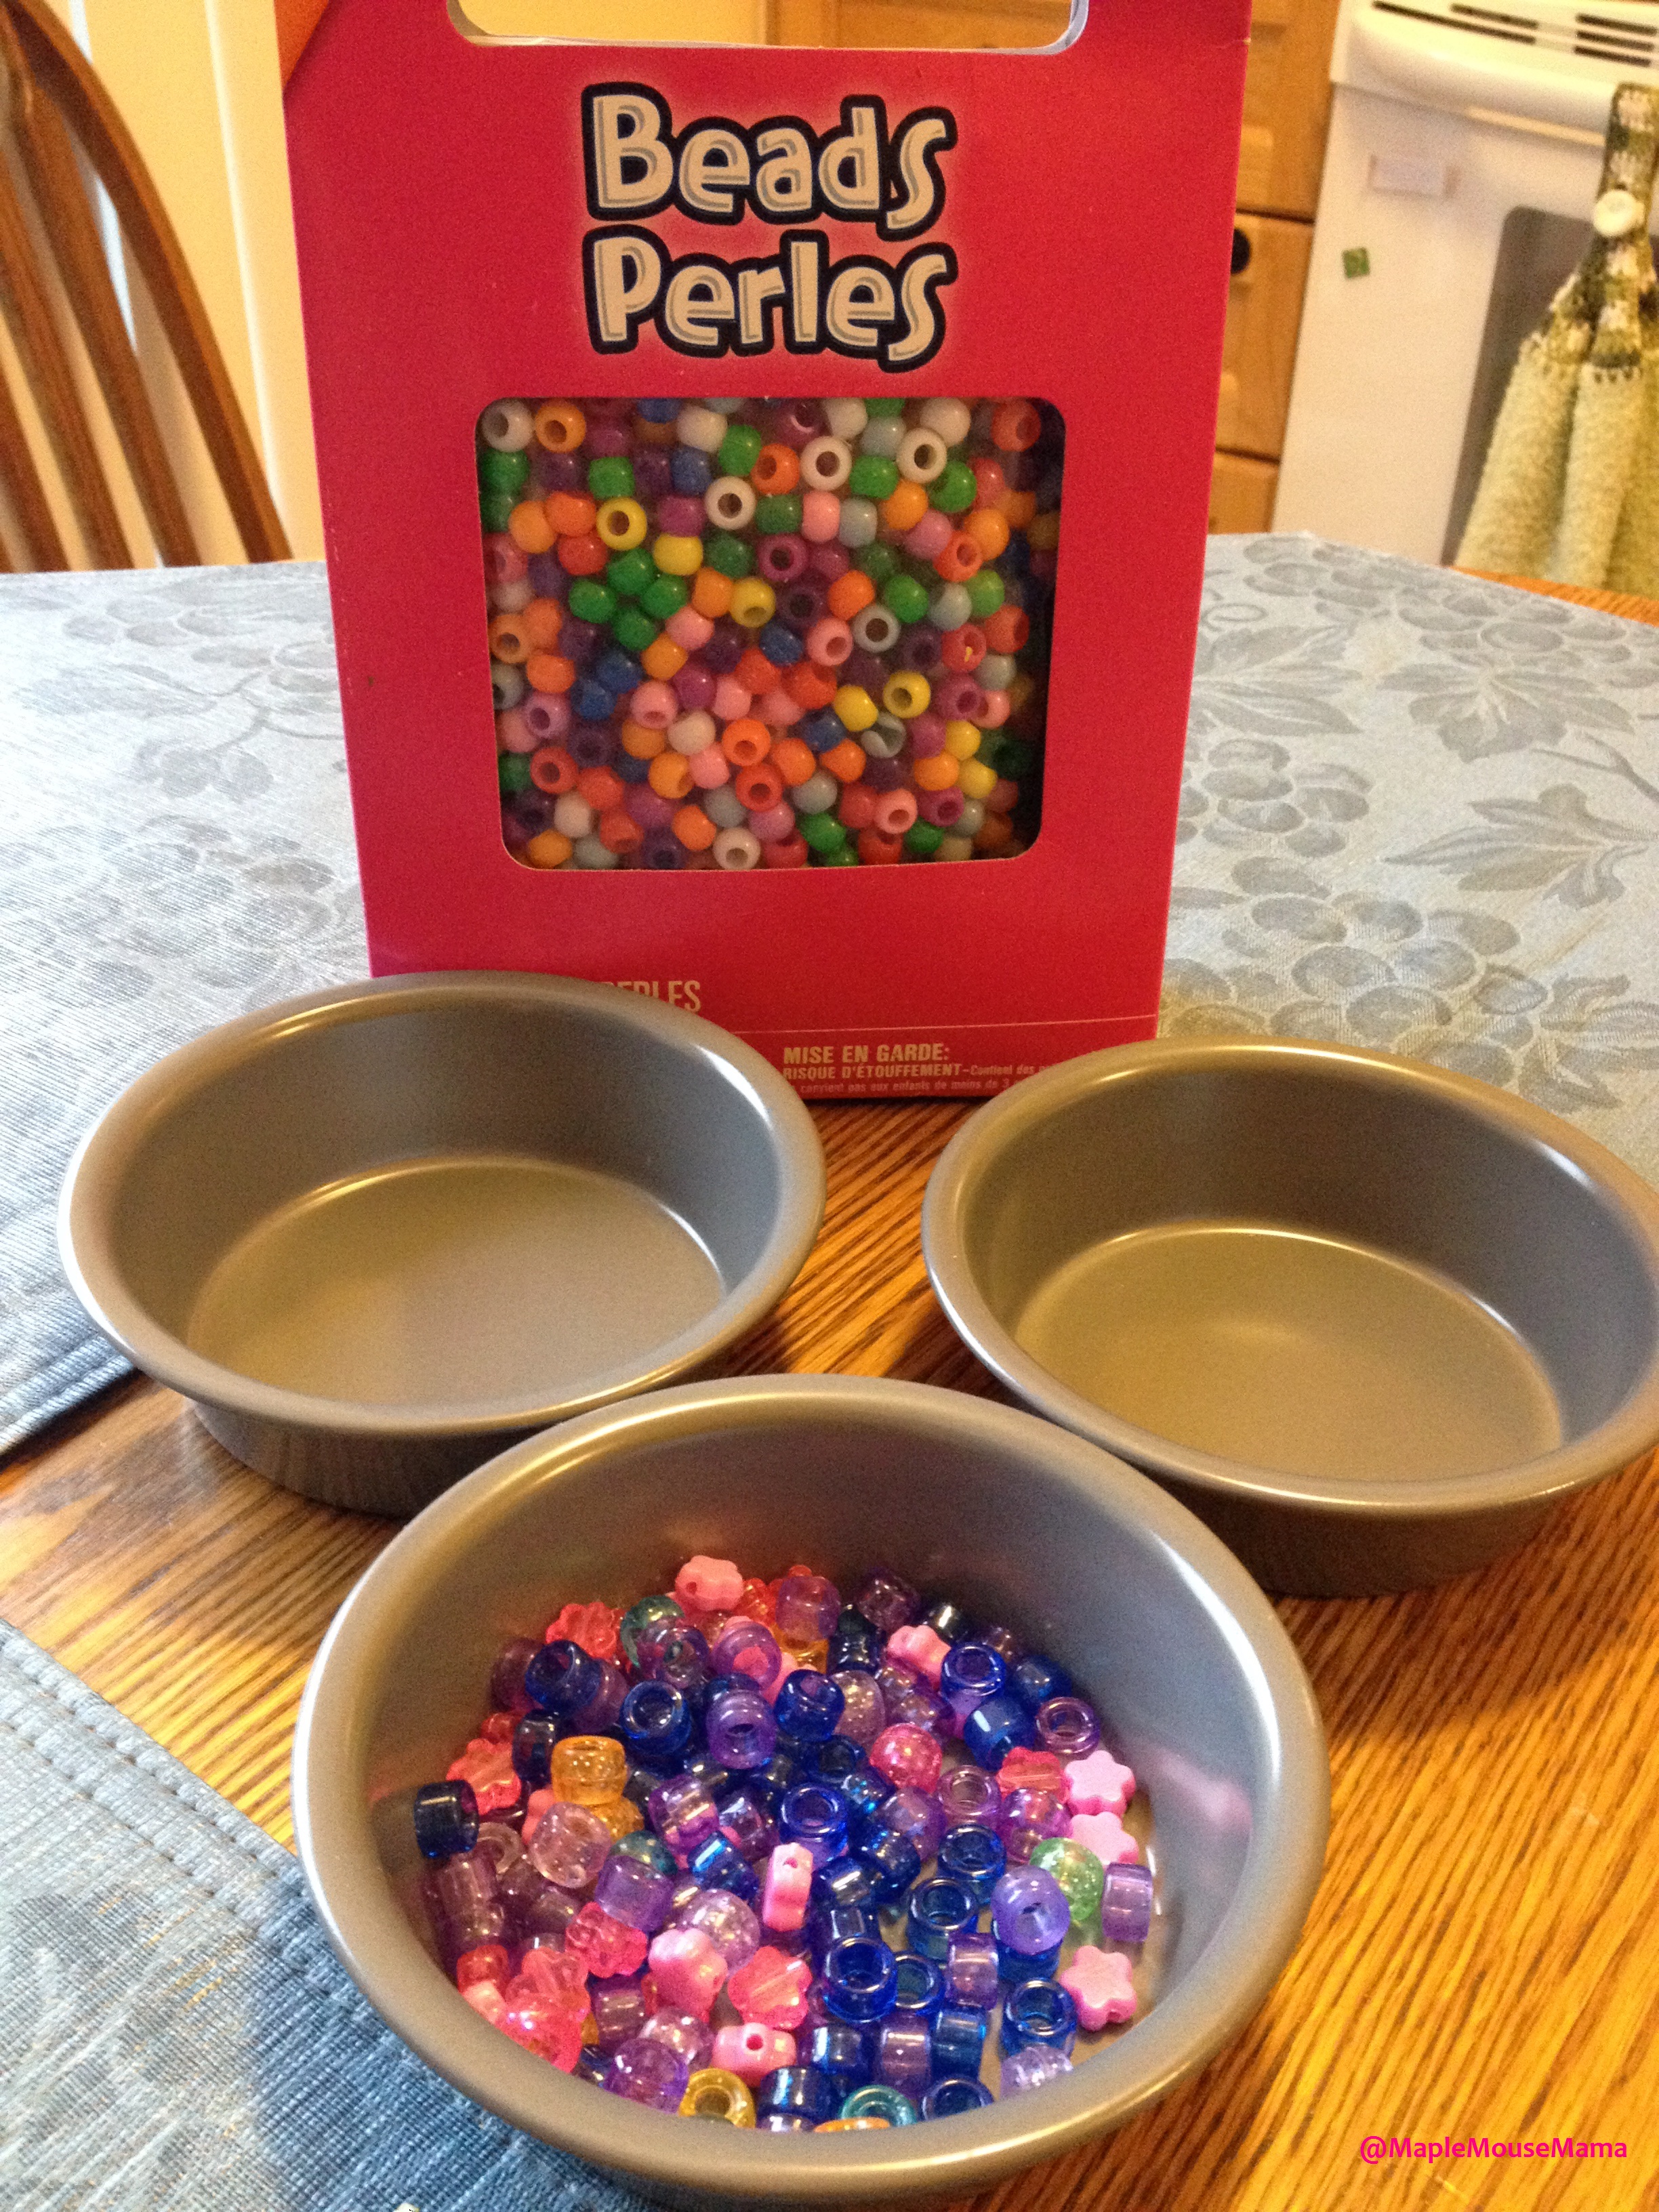
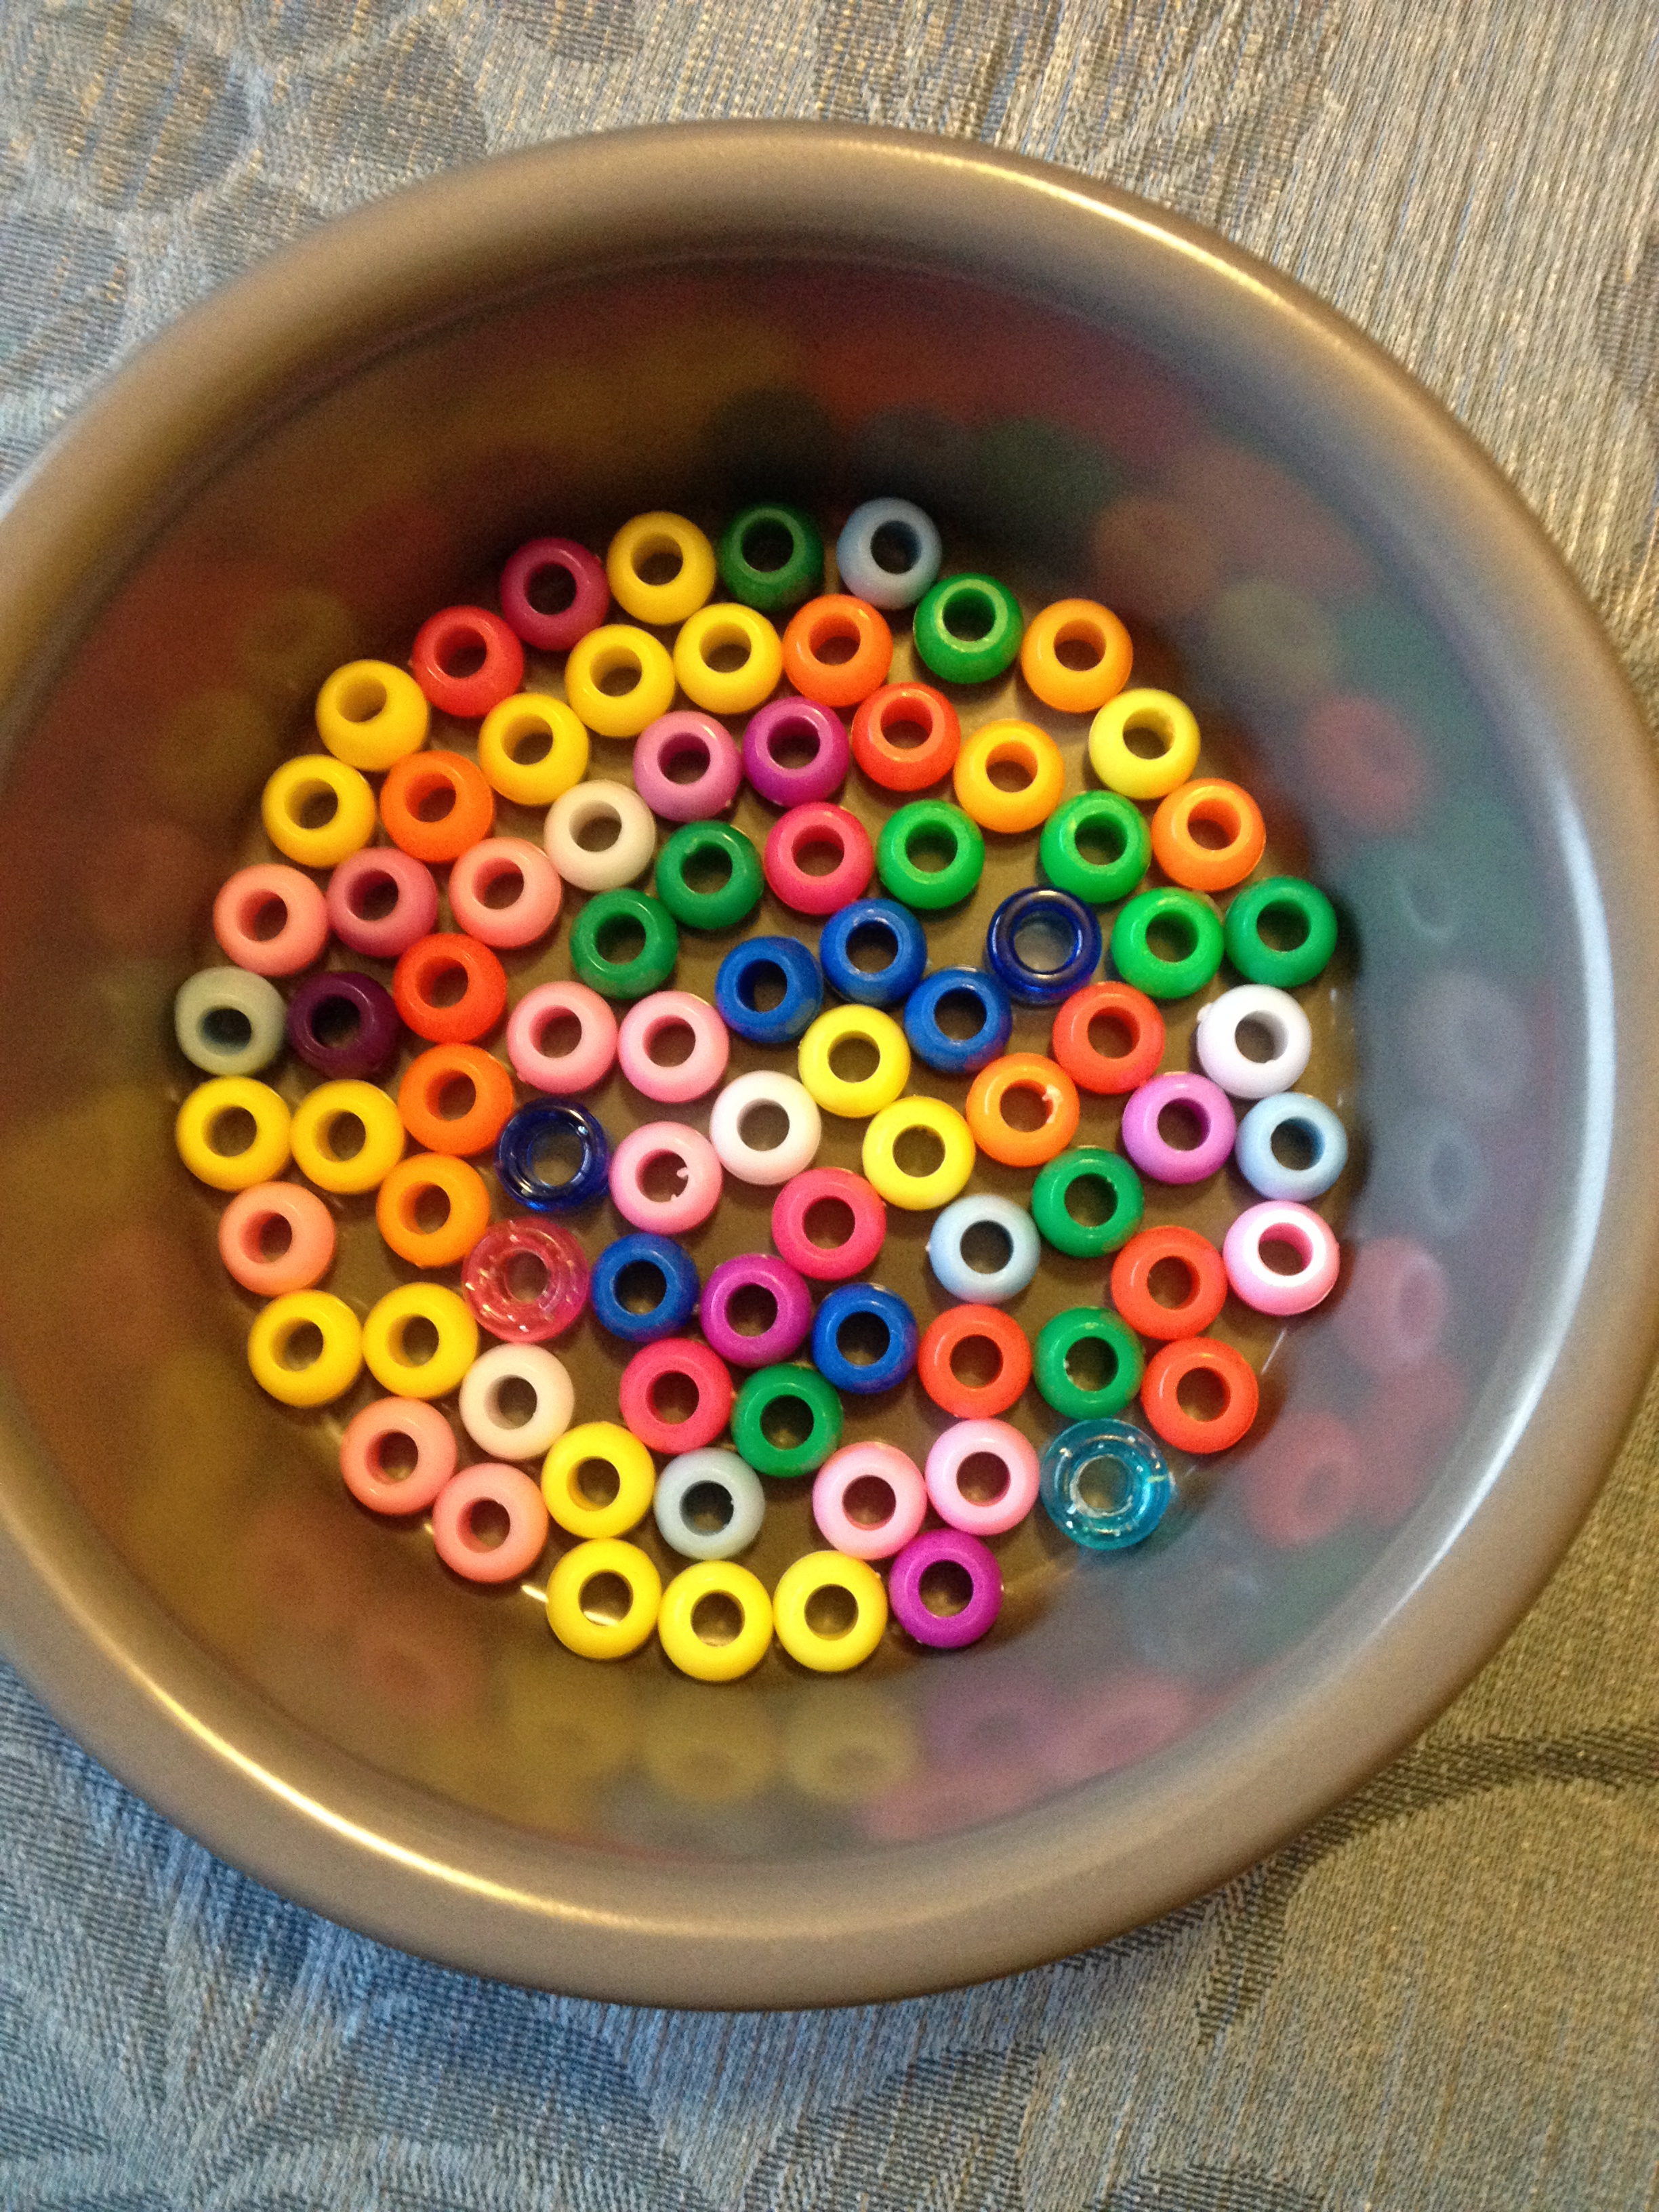
- assortment of plastic beads
- muffin tin, tart pans or disposable foil plates
- ribbon or strips of tulle
- an oven
Instructions:
First you want to make sure your muffin tin or tart pans are clean and dry. You don’t need to put anything on the bottom as the beads will pop right out when you are done. I bought these tart tins at the dollar store thinking we can keep them in our craft supplies if they get messed up, but so far they are fine. Next, preheat your oven to 400 degrees and let it come to full heat before you use it. I am notorious for not waiting until the preheat is ready, but in this case it helps with the timing.
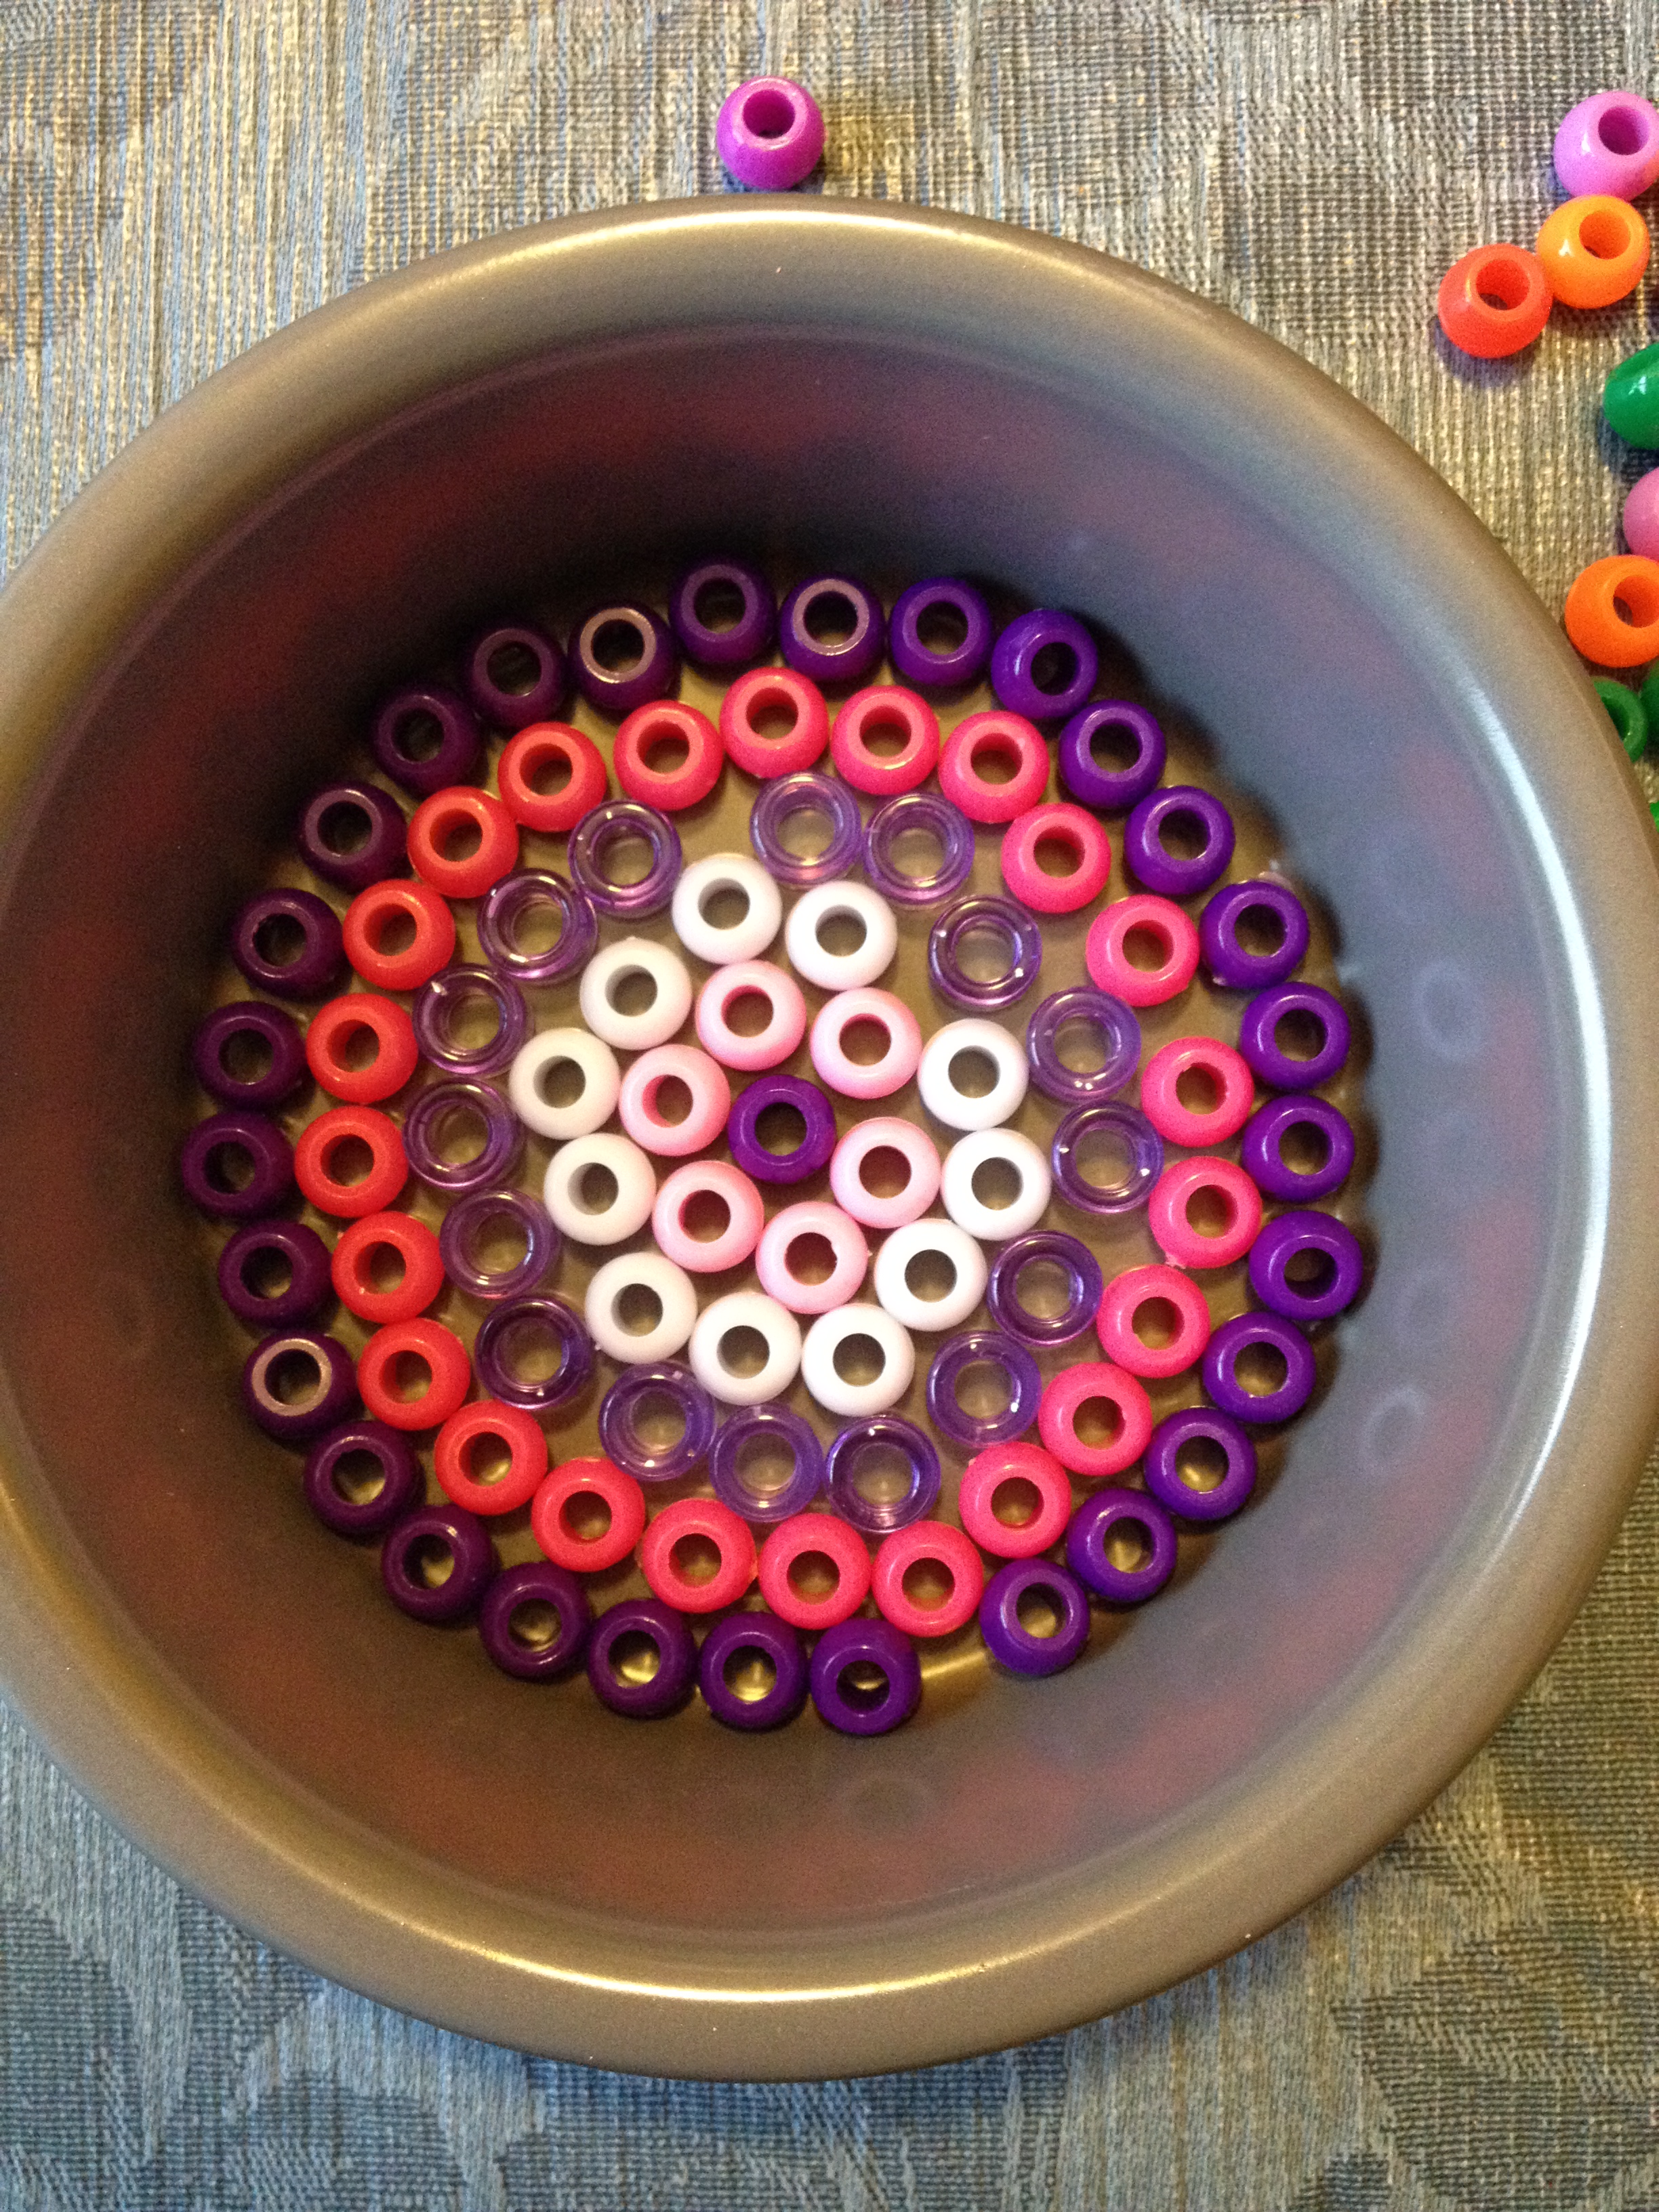
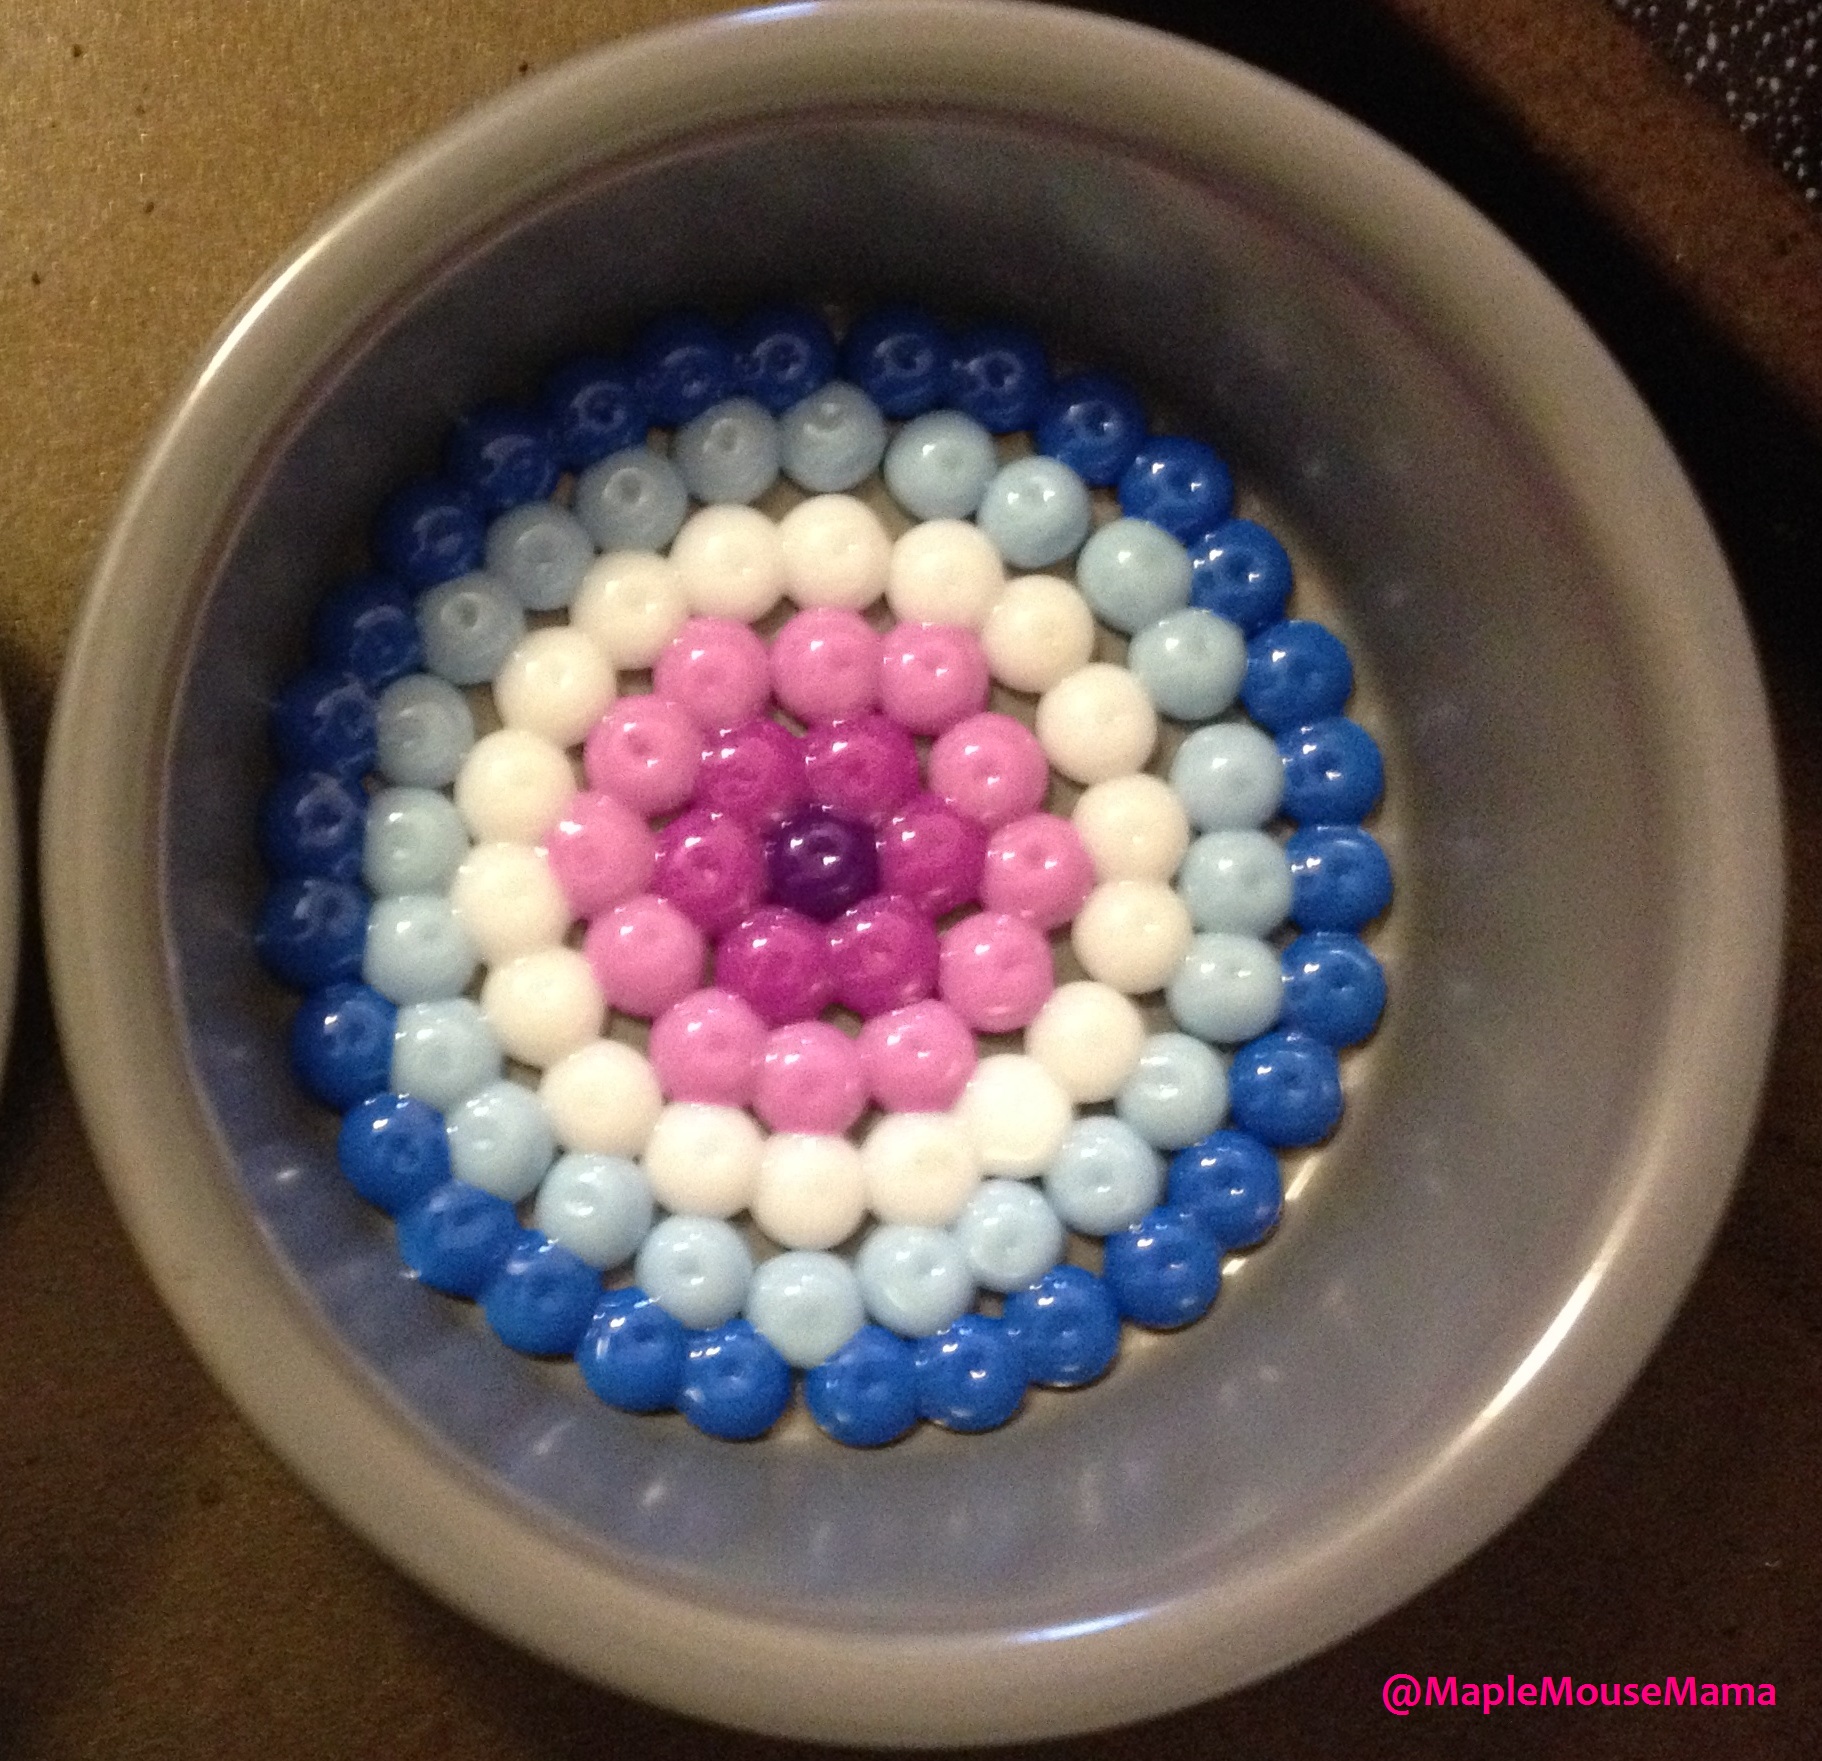
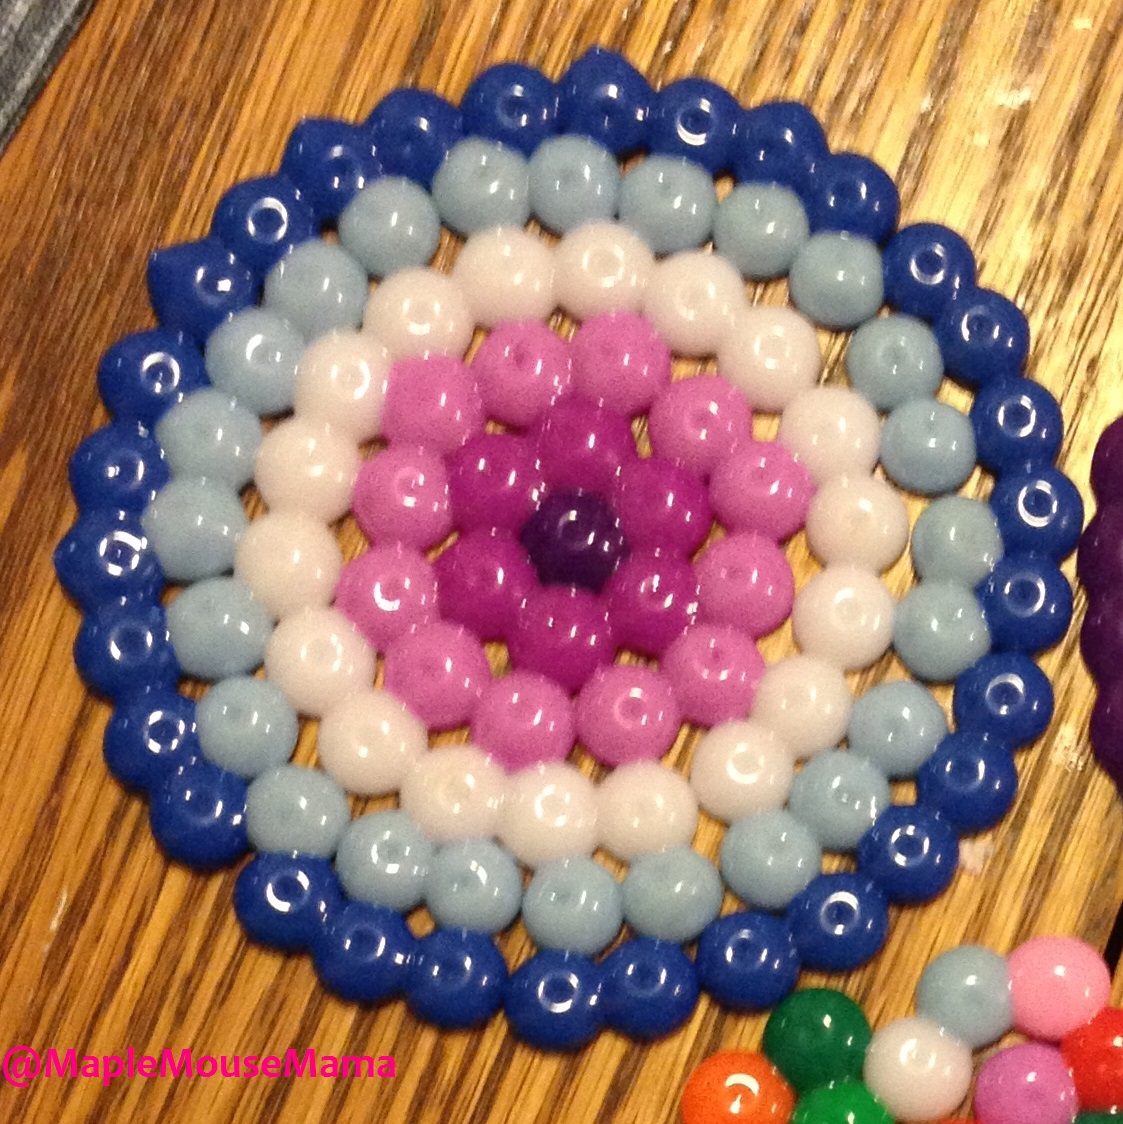
Uneven pattern
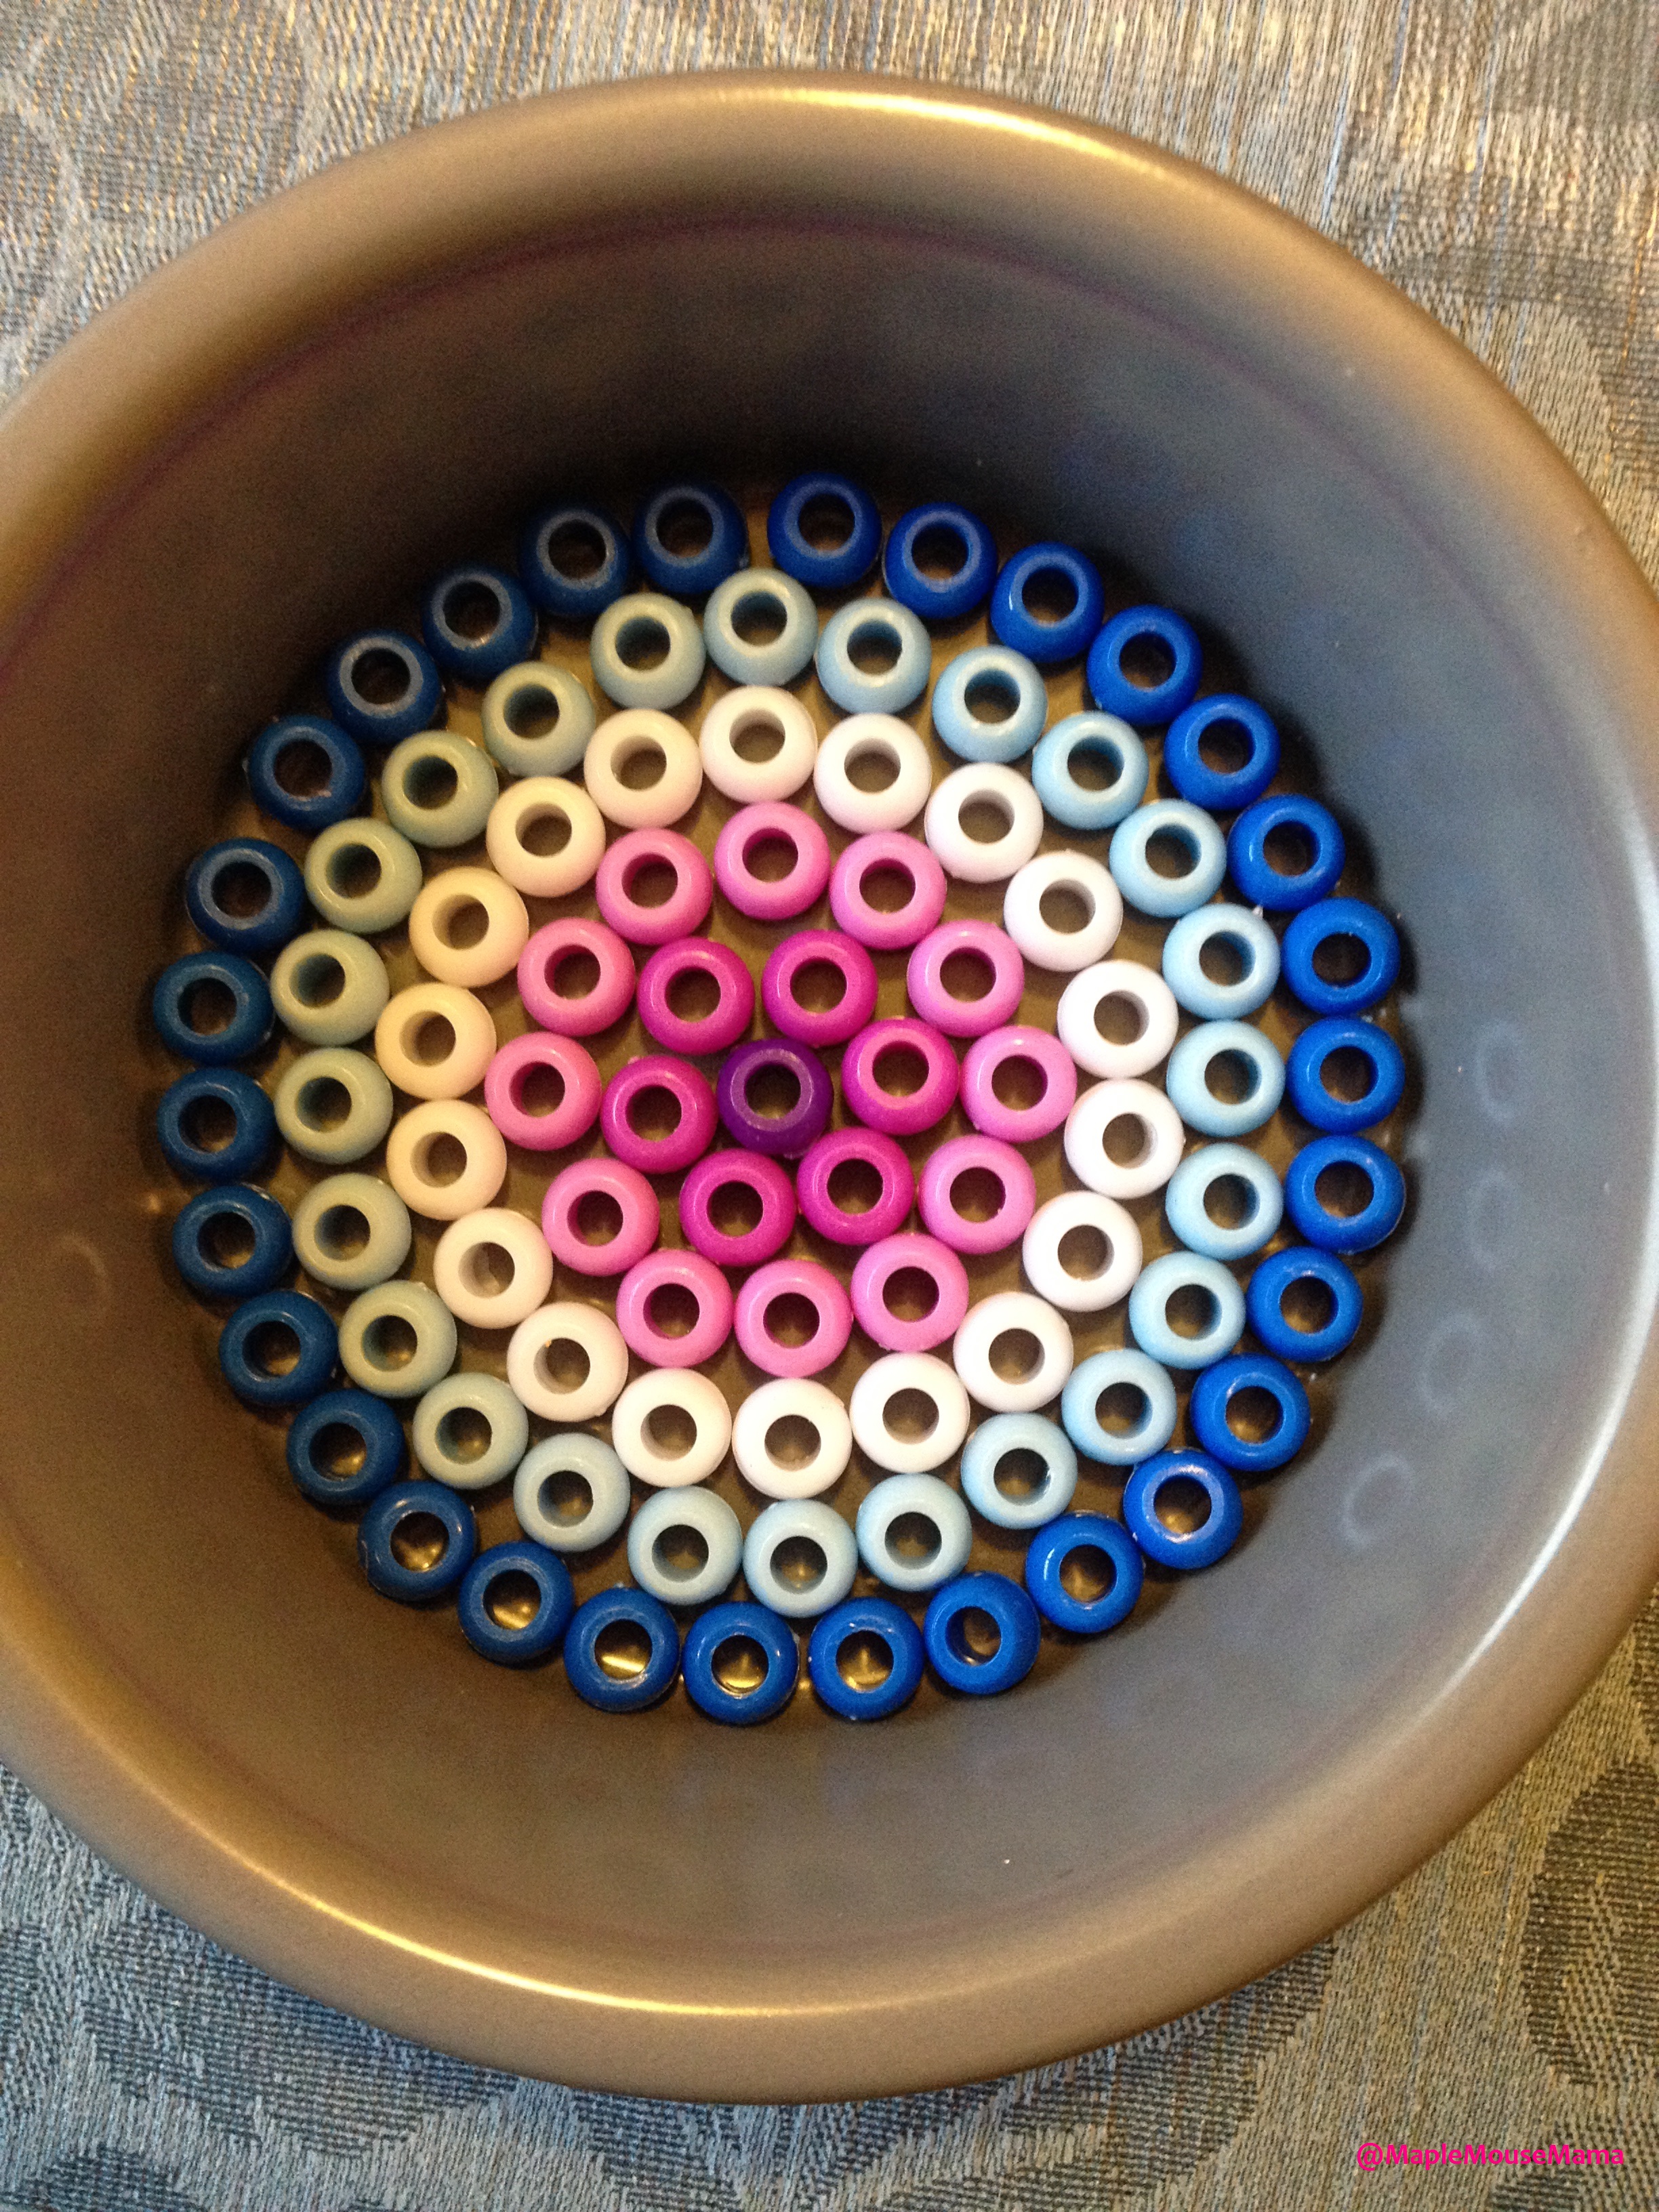
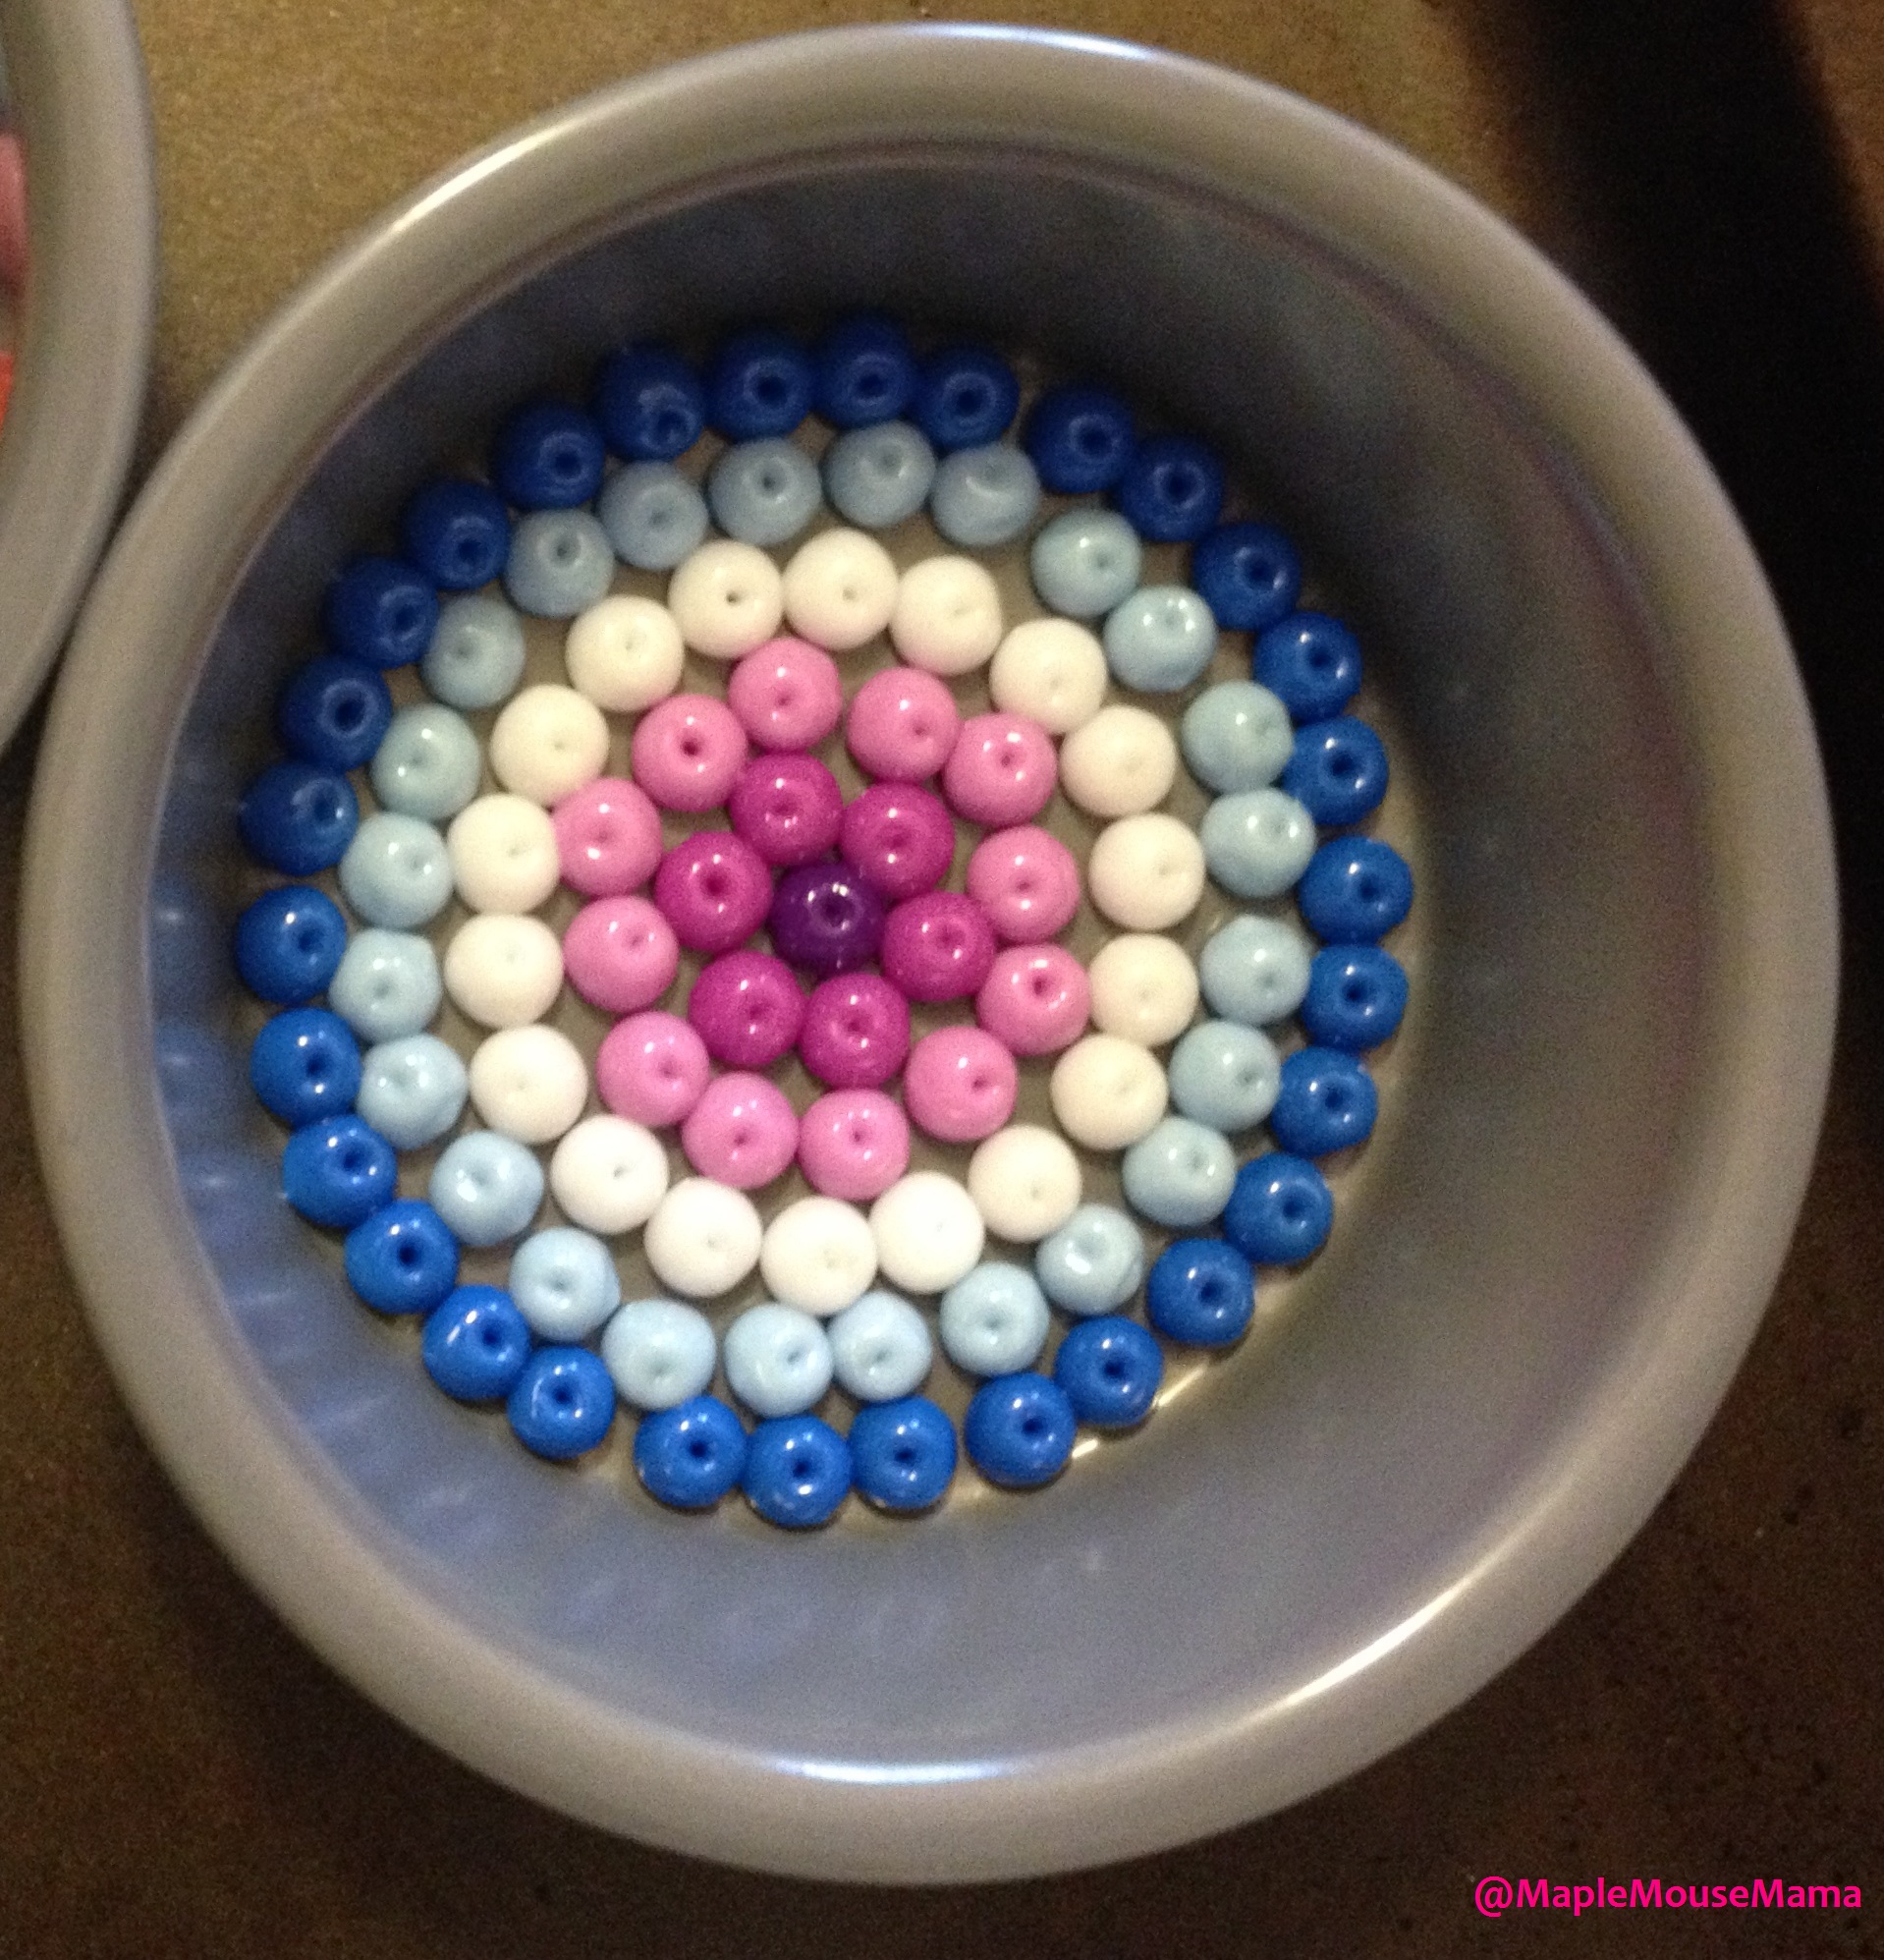
Even pattern
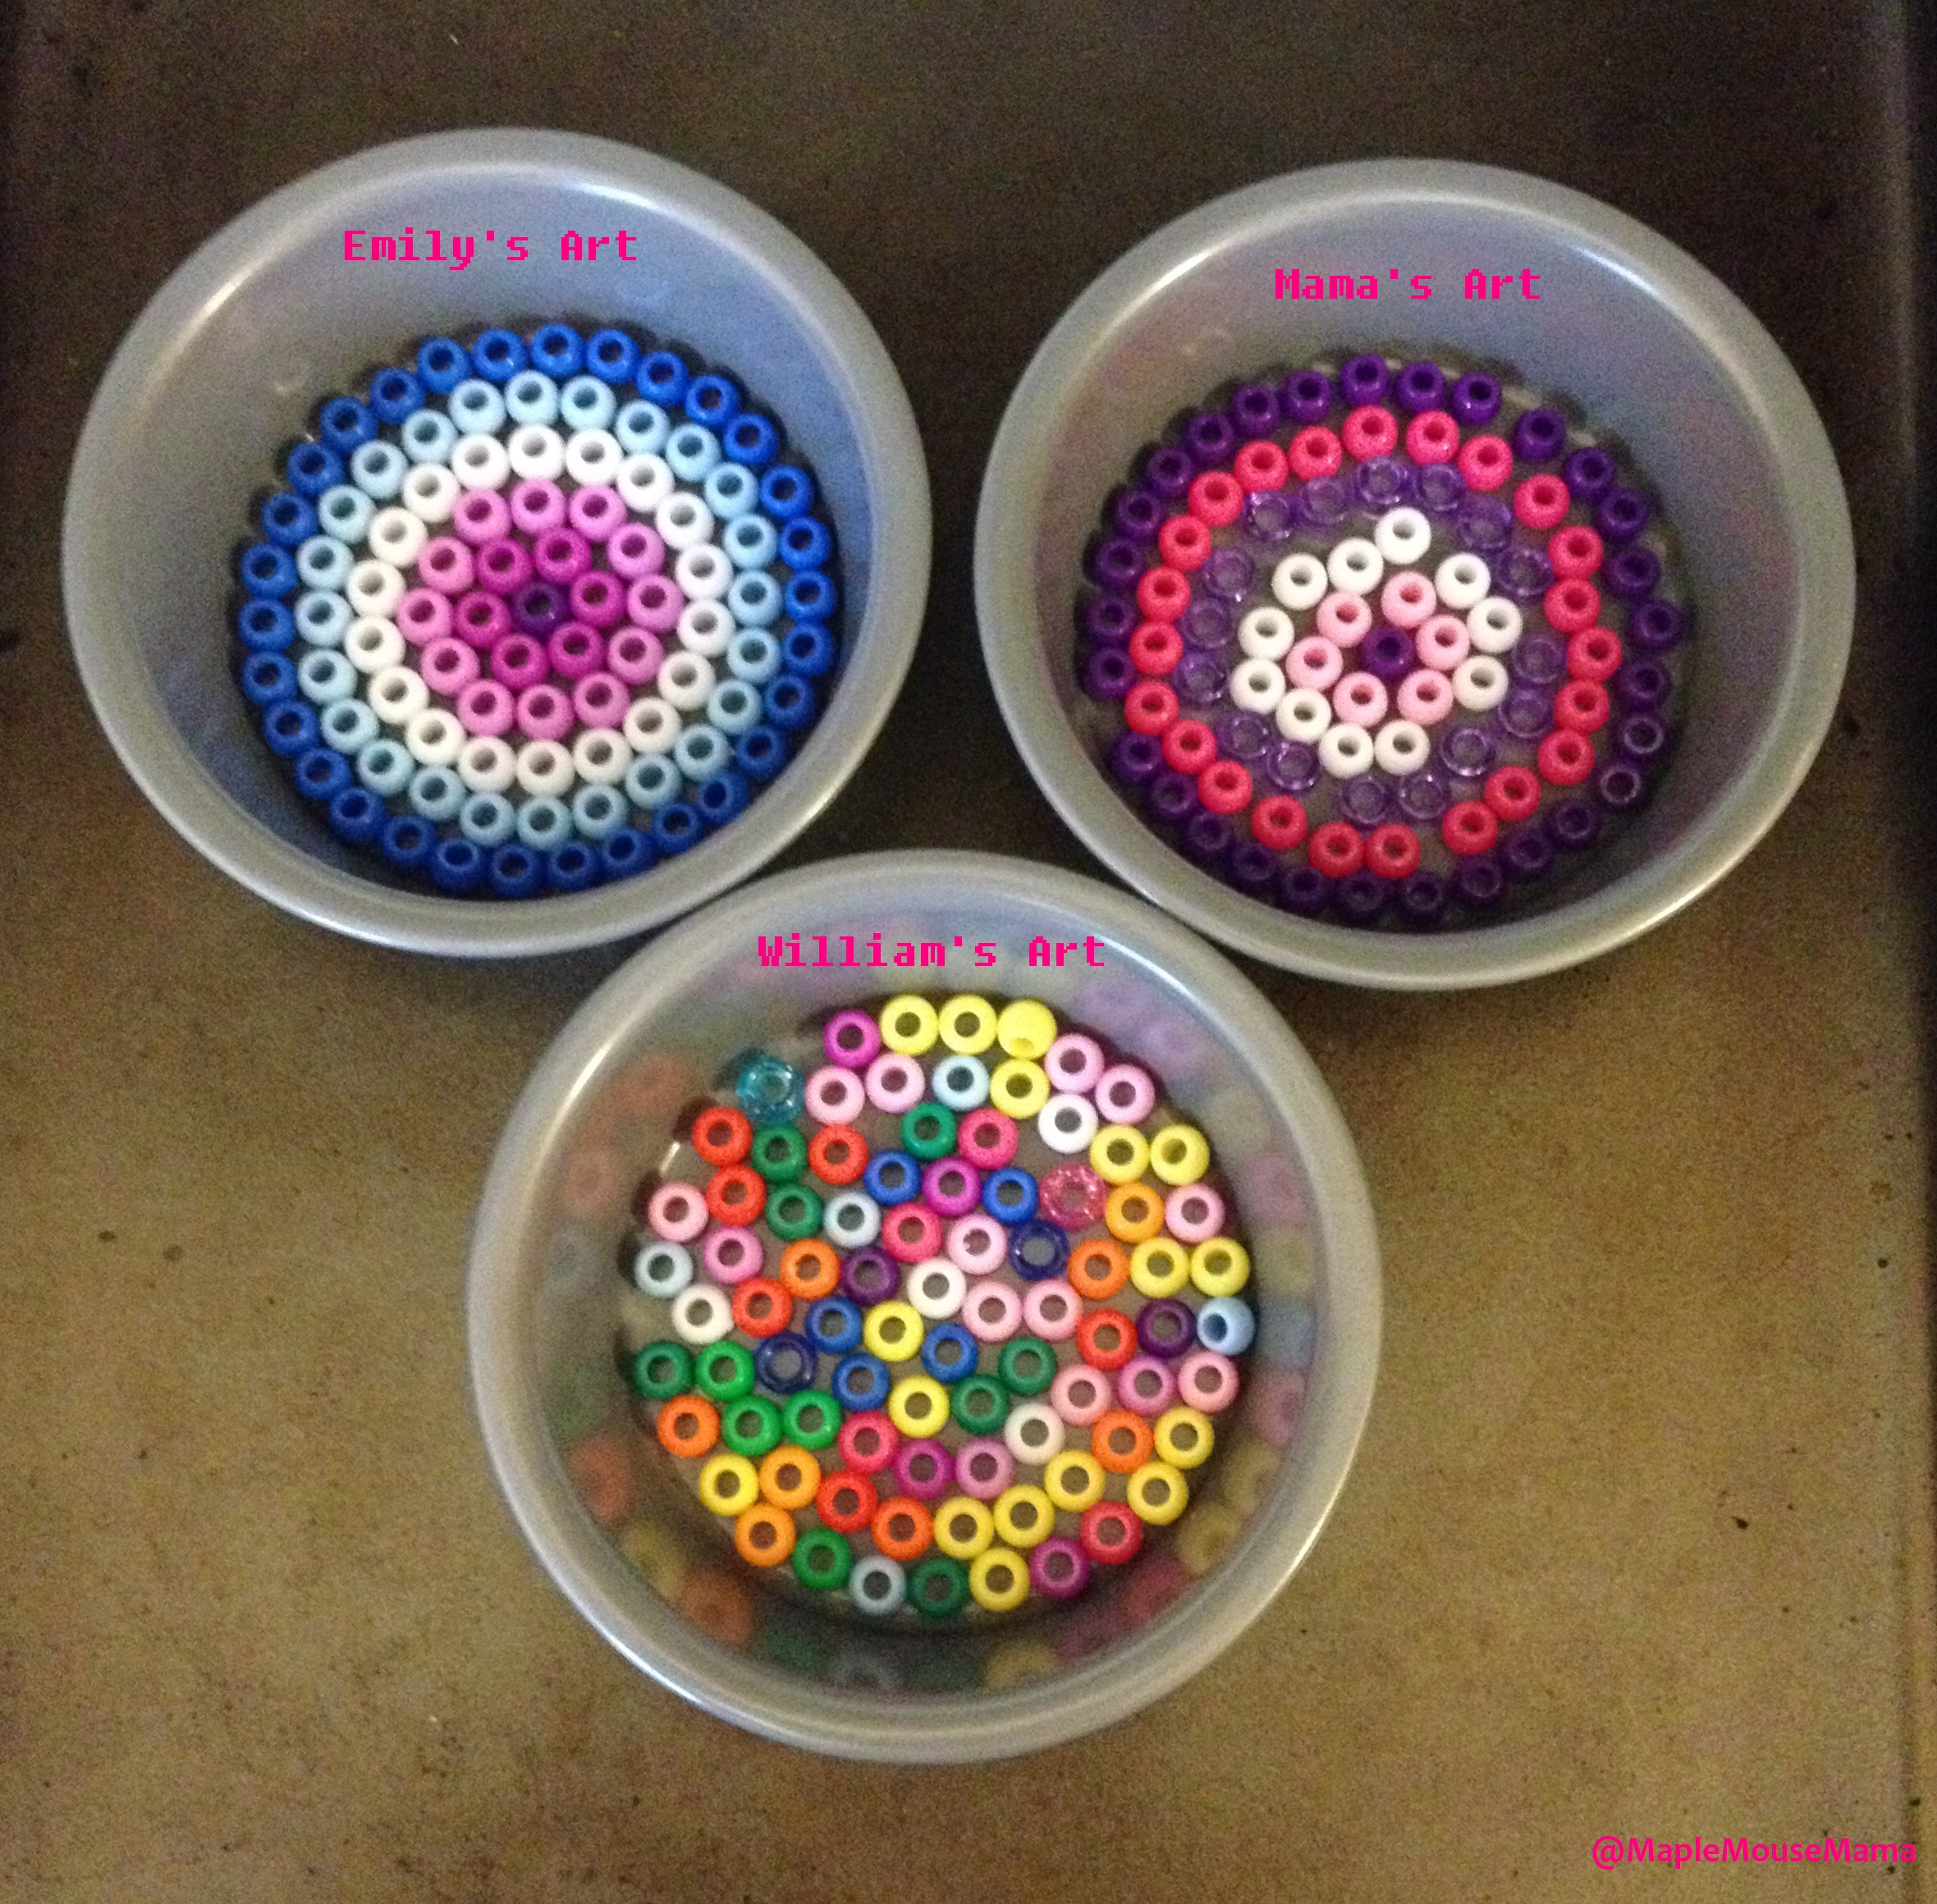
Now you can let your creativity shine through! Both Emily and I chose to make a pattern with complimentary colours and William went with something a little more random. 🙂 You can see that my piece is a little bit uneven while Emily’s is smooth and uniform. This is because I used two different sized beads for my creation and Emily stuck to one size. As I always tell my children, art is what you make it. What does not look perfect to you is a treasure to me so embrace the differences!
William tried several times to make a person, but it did not work to his satisfaction so he went with what he called “a bowl of Skittles,” which is rather appropriate I think. I suggested next time he let me help him with his design and he was okay with that, just not for the first one. 🙂 Artists are so temperamental 😉
Bowl of skittles
You want to make sure that each bead is lying with the holes facing up. I have not tried it the other way, but this way allows for the bead to expand when they melt.
Ready for the oven
Once your design is complete you just pop them in the oven! I would just put the pans right on the oven rack and not use a cookie sheet. It allows the pan to heat up a little faster. Set to 400 degrees the melting part should take about thirty minutes, but I suggest you check them after fifteen minutes and then a bit later. It is neat to see how the beads look as they start to melt!
Starting to melt
More melting
When the beads have melted together to your satisfaction remove the pans and let them cool for about twenty minutes. They will be hot so don’t let the kiddos touch them yet.
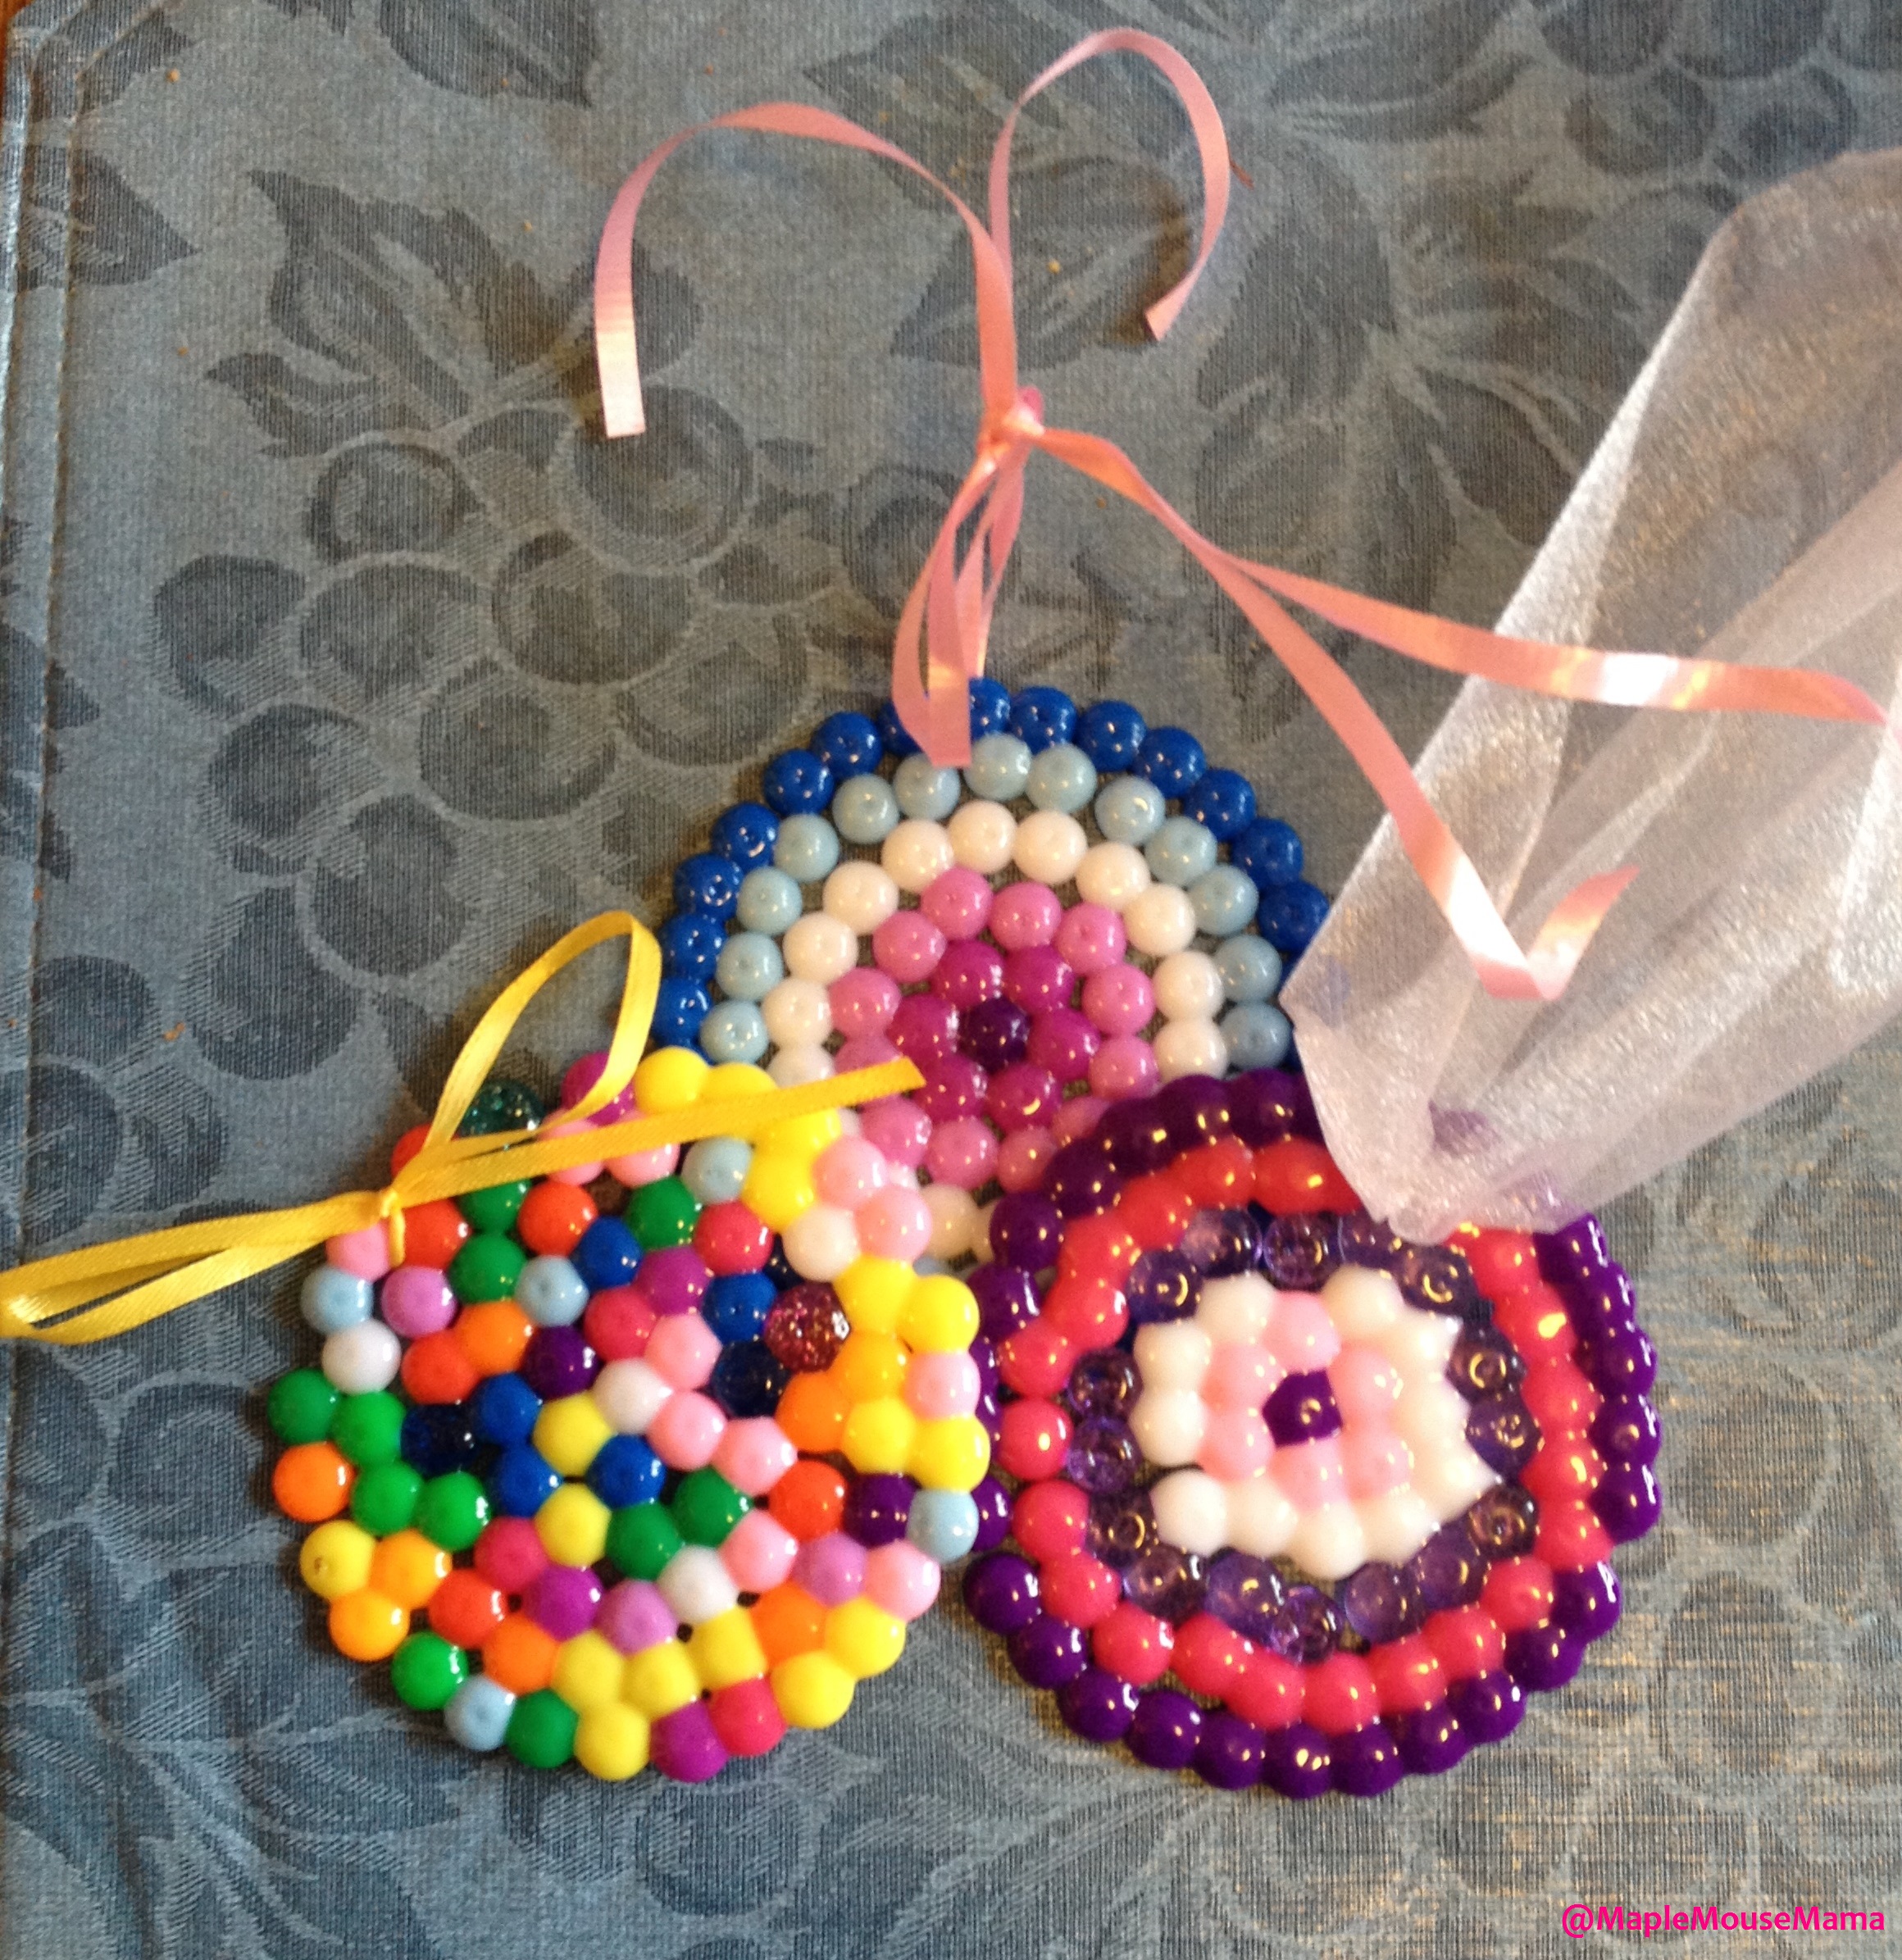
The end result
It has been noted that some beads will let off an unpleasant fume when they are melting, but ours never did. I think running a fan would help or cracking a window. You may want to let them cool off outside if you have a place to put them, but I just left them on the stove and they were fine.
Once they were properly cooled the melted bead discs just slid right out of the pan! If you want to hang your little discs you can do one of two things: use a small drill to make a hole or, as we did, find a hole that was left over from the melting process and use it! This part is trial and error. The smaller your pan is, the less room for holes so you may need to drill those ones. Then, you’re done!
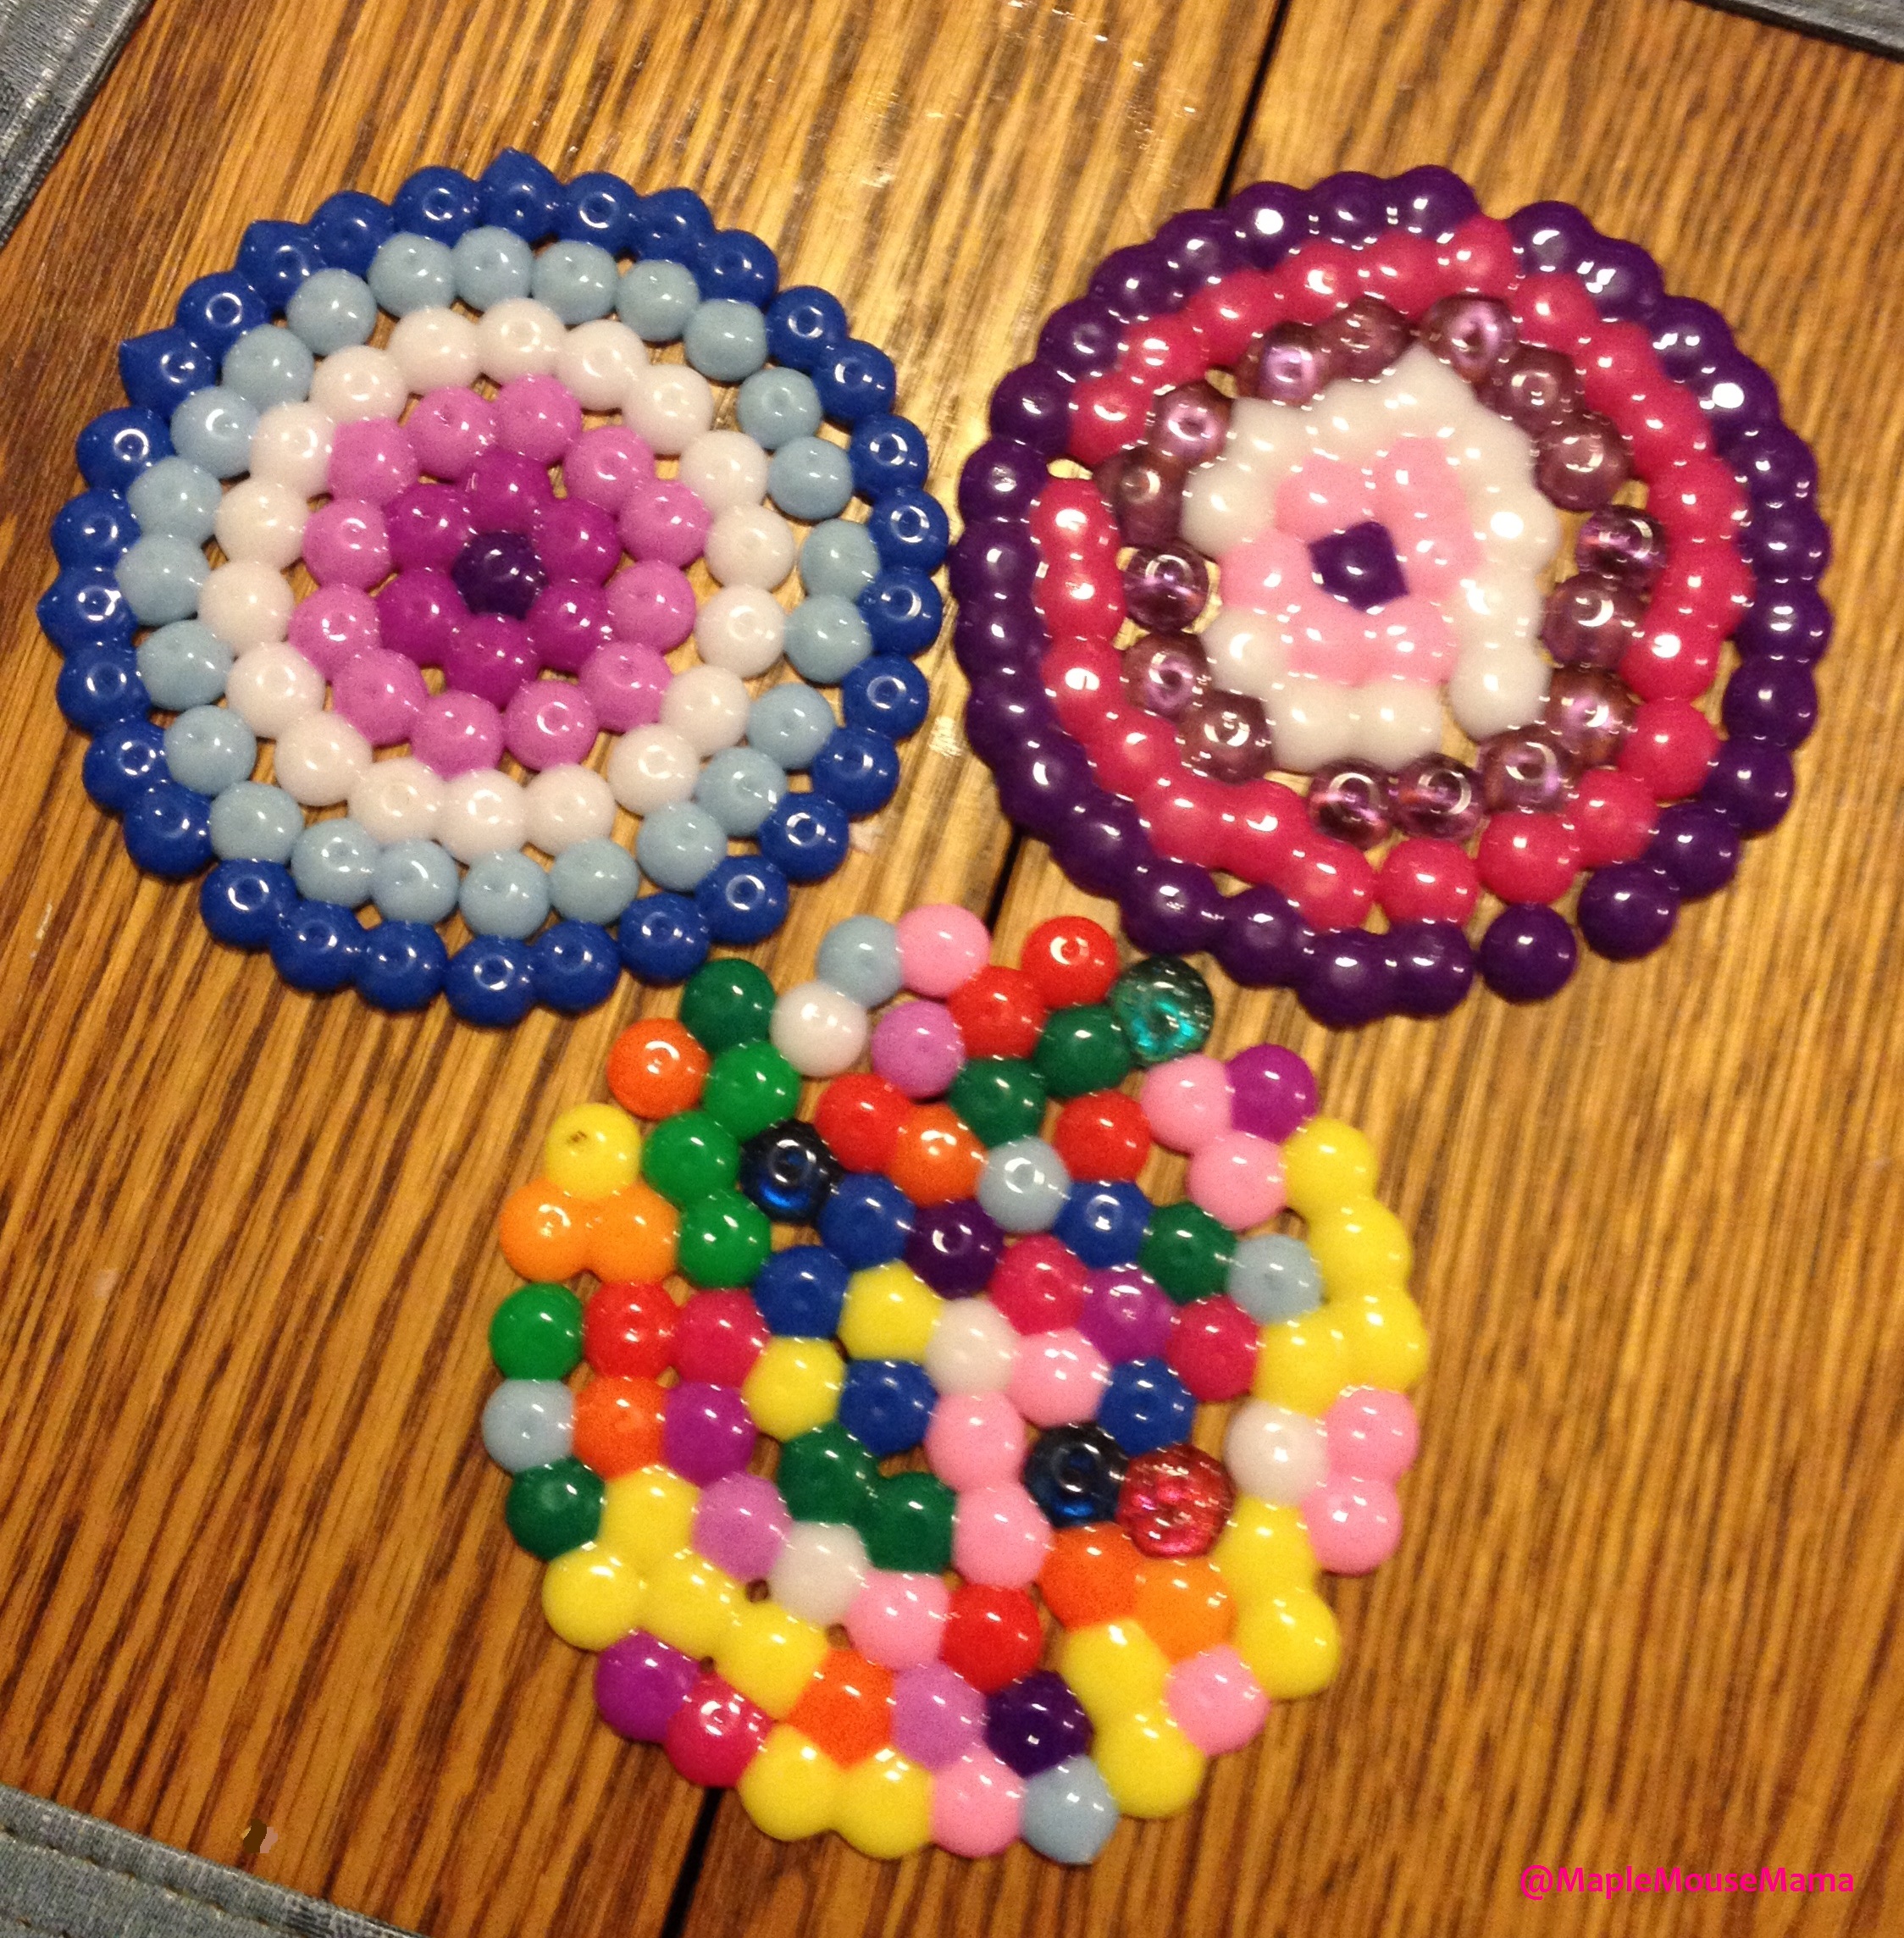
The finished products!
What do you think of our lovely melted bead craft for Mother’s Day?
FT&PD
Suz
Those are super cute! I think if made large enough they could be used as a coaster??
Thanks Heather and yes, yes I think they could work as a coaster 🙂
That’s really cool! What a neat idea, thanks for sharing. I love it.
Thank you Callista 🙂
I think “Bowl of Skittles” is the best! Mommy should butt out! 🙂
LOL, I think you are probably right Jud 🙂 Kids have the best ideas anyway 🙂
It is so much more fun for kids when they make a special gift themselves! Great idea!
Thanks Julie, you are so right!
Oh neat, I have never made this craft in the oven – when I was a kid we always used a iron.
I have never done it that way Katie, but now that you say it I recall the practice. Might have to try that to!
How cool! I didn’t know you could do that. It doesn’t make your oven smell funny?
Thanks Olivia, nope, no smell. I have heard that some beads to let off a fume, but ours did not 😉
What cute idea!
Thank you Jasmine 🙂
This is really cool! So pretty and colourful!
Thank you Christine 🙂
Awesome!! What a wonderful idea!
Thank you Veronica 🙂
almost looks good enough to eat! 😀
LOL, is does Christian, it really does 🙂
That is super cool! Im gonna have to try these with my kiddos! They would love it!
It was so easy and a lot of fun Valerie!
a really fun project for kids to do. I love the “Artists are so temperamental”. I remember these being done with an iron too, the oven sounds much better to me 🙂
Inexpensive and it gives you time with the kids = a perfect craft!
I didn’t know you could do that,what a fun project!
This is a great project for the kids. I love it and plan on getting the supplies and creating our masterpieces.
I totally love this idea!! its a way for my daughter to have fun with color without making a mess and creating something totally cool
Well, last year my Mother’s day gift was exactly that – a Christmas decoration. Maybe we can make it a tradition 🙂
The way these
The way these melt is amazing and the way they can make some amazing designs. I think kids must love this